

www.kiefer.com 800-323-4071
Assembly Instructions for
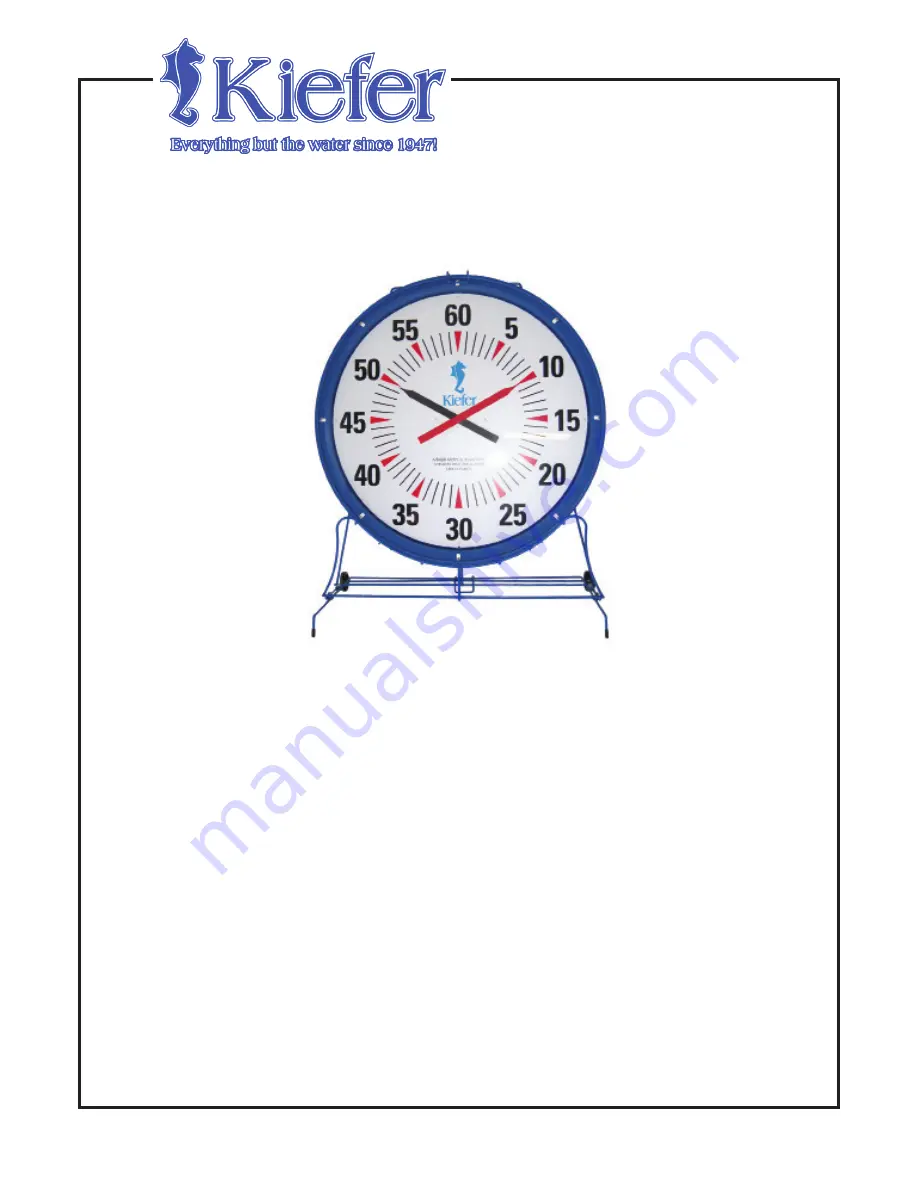
Kiefer’s 36” Pace Clock
Product#: 210603 (Battery)
Please follow these directions to set up your new pace clock:
1. The wire clock frame is partly assembled into two (2) sections. Remove the four (4) thumbscrews and their
brackets from the wheeled brace. Use the thumbscrews to attach the circular clock cradle to the base, with
the wheels on the backside. Place clock in the frame, and secure it into place with the top wire handle.
2. Loosen the eight (8) Phillip head screws and remove the lens cover.
3. Peel off protective brown paper from the acrylic cover lens.
NOTE:
To avoid scratches, clean lens with water
and a mild detergent. Wipe dry with a soft cloth. Avoid abrasive cleansers and aromatic solvents.
4.
CAREFULLY
remove bubble wrap packing from the clock’s hands. If hands have been bent in shipment, gently
straighten them.
5. Turn the clock around so you can access the motor. Remove white rear hatch cover by sliding it up. Take out the
bubble wrap packing.
6. Install the battery by inserting positive (pointed) end into left hand side of the battery compartment.
7. Next wedge the copper switch plate between the right hand side of the motor spring contact and the negative
(flat) end of the battery. Press down. Replace the rear hatch cover.
8. Replace the clock lens and re-attach the white plastic tabs.
9. Test the clock by clicking the on/off button.
If you have problems see the troubleshooting guide.
AKA/dag/08.04.09
Adolph Kiefer & Associates
1


