17
Installation
Type 8615500120-000 / 8615500130-000
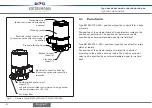
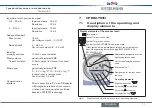
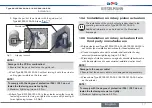
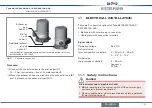
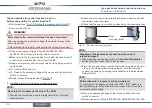
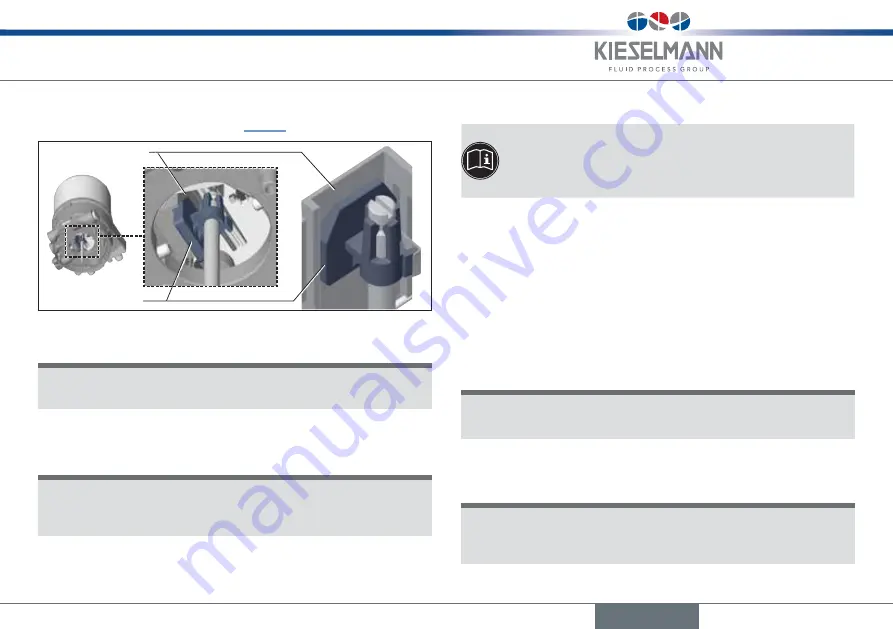
2. Align the puck of the actuator with the guide rail of
Type 8615500120-000 (see "Fig. 7")
Guide rail
Puck
Fig. 7:
Aligning the puck
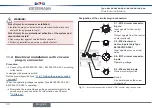
note!
damage to the pcB or malfunction!
▶
Ensure that the puck lies flat on the guide rail.
→
Push Type 8615500120-000 without turning it onto the actuator
until no gap is visible on the form seal.
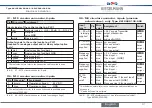
note!
to comply with the degree of protection ip65 / ip67, do not
fasten the fastening screws too tightly.
▶
Maximum tightening torque: 0.5 Nm.
→
Attach Type 8615500120-000 to the actuator using the two side
fastening screws. In doing so, tighten the screws only hand-tight
(max. tightening torque: 0.5 Nm).
10.4 installation on rotary piston actuators
The installation of the switch spindle is described in the
operating instructions for Type 8615500130-000.
Additional information can be found on the Kieselmann
homepage.
10.5 installation on rotary actuators from
third party manufacturers
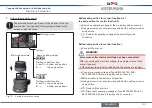
→
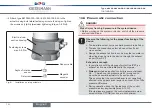
Align actuator and Type 8615500120-000 / 8615500130-000 to
each other (see installation instructions for the adaptation set).
→
Connect magnetic encoder to actuator shaft and attach using
setscrew (maximum tightening torque: 0.5 Nm).
→
Place angle of rotation sensor on magnetic encoder (attachment is
with the adaptation set; see associated installation instructions).
note!
damage to the sensor cable!
▶
Ensure that the sensor cable is not damaged during assembly.
→
Press down Type 8615500120-000 / 8615500130-000 as far
as the actuator.
note!
to comply with the degree of protection ip65 / ip67, do not
fasten the fastening screws too tightly.
▶
Maximum tightening torque: 0.5 Nm.
English
Summary of Contents for 8615500120-000
Page 93: ......
Page 94: ...www kieselmann de...

