7 Calibration
A calibration certificate is available as option under paper format.
We recommend to carry out a yearly checking.
7.1 KCC 320: perform a CO
2
measurement verification
To avoid potential drifts, it is recommended to perform regularly a CO
2
measurement verification.
➢
Before checking the CO
2
measurement, verify the atmospheric pressure values measured by the device: launch a
dataset with a measurement interval of 15 seconds, or press the
“Selection”
button to scroll the
measurements.
➢
If the atmospheric pressure values are not compliant, it is possible to carry out a measurement correction with the
KILOG
software (please see the
KILOG
software user manual, “Measurement correction” chapter).
➢
Once the atmospheric pressure checked, verify the CO
2
measurement: launch a dataset with a measurement interval of
15 seconds, or press the
“Selection”
button to scroll
the measurements.
➢
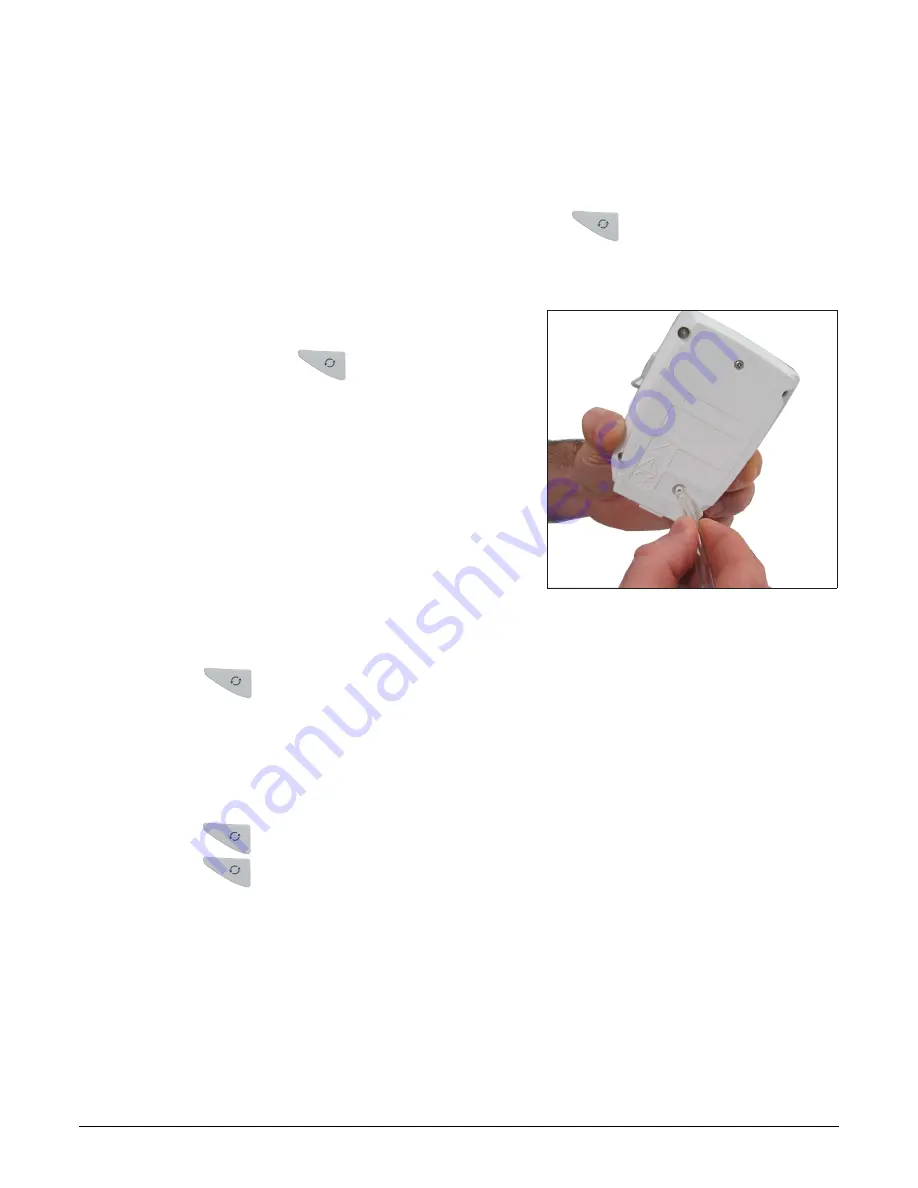
Connect a bottle of CO
2
standard gas on the gas connection on
the back of the
KCC 320
device with the supplied Tygon
®
tube.
➢
Generate a gas flow of 30 l/h.
➢
Wait for the measurement stabilisation (about 2 minutes).
➢
Check the CO
2
values measured by the
KCC 320
.
➢
If these values are not compliant, it is possible to carry out a
measurement correction with the
KILOG
software (please see
the
KILOG
software user manual, “Measurement correction”
chapter).
7.2 KP 320 – KP 321: perform an auto-zero
It is possible to reset the device during a recording dataset:
➢
Unplug the pressure tubes of the device.
➢
Press the
“Selection”
button during 5 seconds to carry out the auto-zero.
The instrument resets. The screen displays
“...”
➢
Plug the pressure tubes.
The device continues the measurements and the dataset recording.
It is possible to reset the device when values are measured but not recorded:
➢
Unplug the pressure tubes of the device.
➢
Press the
“Selection”
button to display the measurement.
➢
Press the
“Selection”
button during 5 seconds to carry out the auto-zero.
The instrument resets. The screen displays
“...”
➢
Plug the pressure tubes.
The device continues the measurements.
18
Calibration

