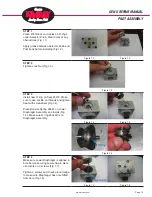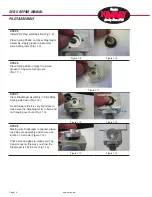
STEP 5
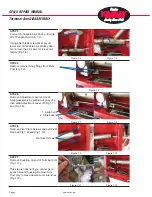
Install Pilot Plug small ball first (Fig 1.9).
Place Spring #5469 on Upper Diaphragm
Assembly. Apply grease to Assembly
were Spring rests (Fig 1.10).
STEP 6
Place Spring #585 in Upper Cap. Use
grease in Cap were Spring sets
(Fig 1.11).
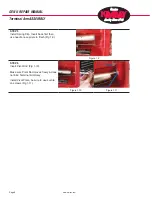
STEP 7
Place Diaphragm Assembly in Pilot Block
Spring side down (Fig 1.12).
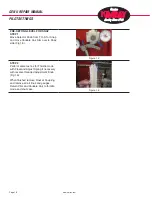
As with lower side it is very important to
make sure the Diaphragm sits in bore and
not hanging over bore (Fig 1.13).
STEP 8
Making sure Diaphragm is aligned, place
top Cap over assembly and secure use
loctite on 3 screws (Figure 1.14).
Check around edges to make sure Top
Cap sits evenly this way you know the
Diaphragm is still in bore (Fig 1.15).
www.kimray.com
Page 14
GEN II REPAIR MANUAL
PILOT ASSEMBLY
Figure 1.11
Figure 1.12
Figure 1.13
Figure 1.9
Figure 1.10
Figure 1.14
Figure 1.15
Diaphragm
Summary of Contents for GEN II
Page 1: ...GEN II Repair Manual...
Page 8: ...www kimray com Page 6 GEN II REPAIR MANUAL NOTES...
Page 14: ...www kimray com Page 12 GEN II REPAIR MANUAL NOTES...
Page 18: ...www kimray com Page 16 GEN II REPAIR MANUAL NOTES...
Page 21: ...www kimray com GEN II REPAIR MANUAL NOTES...
Page 22: ......

