Preparation for use:
1. Before attaching an air hose or accessories, make sure the On/Off switch is
set to “OFF” and the air regulator is closed (completely turned counter-
clockwise).
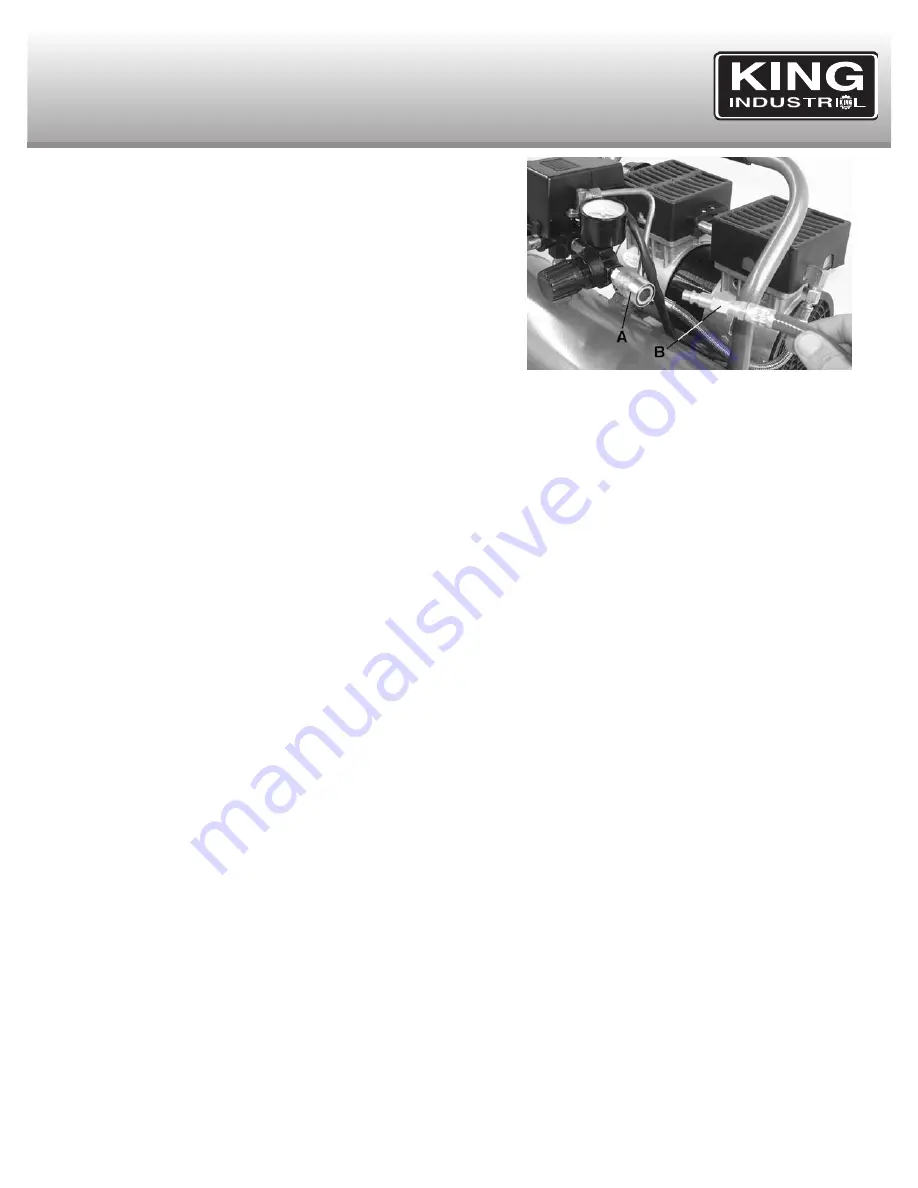
2. Connect an air hose having a male fitting (B) Fig.7 (not supplied) into the
female quick connect coupler (A). Pull the female quick connect coupler
ring backwards and push the male fitting into the coupler until it is secured,
release the female quick connect coupler ring. Attach optional air tool or
accessory to a female quick connect coupler installed at the other end of
the air hose. To prevent air leaks, it is recommended to install Teflon Tape
(not supplied) on the threads at both ends of the hose fittings.
WARNING
: Too much air pressure causes a hazardous risk of bursting. Check
the manufacturer's maximum pressure rating for air tools and accessories. The regulator outlet pressure must never exceed the maximum
pressure rating of the tool being used.
3. Turn the switch to the On position and allow tank pressure to build. Motor will stop when tank pressure reaches “cut-out” pressure.
4. Open the regulator by turning it clockwise. Adjust the regulator to the correct pressure setting. The compressor is ready for use.
After Use:
1. Set the switch to Off. Disconnect power cord from power source.
2. Turn the regulator counterclockwise to set the outlet pressure to zero.
3. Disconnect the air tool or accessory.
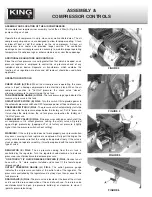
4. Pull ring on safety valve (D) Fig.5, allowing air to bleed from the tank until tank pressure is approximately 20 psi. Release safety valve ring.
5. Drain water from air tank. Turn drain valve (A) Fig.6, counterclockwise to open.
WARNING!: WATER WILL CONDENSE IN THE AIR TANK.
Moisture in compressed air
When humidity is high or when the compressor is in continuous use for an extended period of time, this moisture will collect in the air tank. When
using a spray gun or sandblast gun, this water will be carried from the tank through the hose and out of the gun as droplets mixed with the spray
material. This will cause water spots in a paint job, especially when spraying other than water based paint. If sandblasting, it will cause the
material to cake and clog the gun, rendering it ineffective.
DRAIN WATER FROM AIR TANK ON A REGULAR BASIS
or an optional air control
unit with dirt and moisture removal should be used to prevent these undesireable results.
NOTE:
If drain valve is plugged, pull ring on safety valve (D) Fig.5, and hold until all air pressure has been released. The drain valve can then
be removed, cleaned, and reinstalled.
6. After the water has been completely drained, turn drain valve clockwise to close. The air compressor can now be stored.
KEEP TOOL CLEAN
Periodically blow out all air passages with dry compressed air. Clean all plastic parts with a soft damp cloth. NEVER use solvents to clean
plastic parts. They could possibly dissolve or otherwise damage the material.
CAUTION
: Wear safety glasses while using compressed air.
FIGURE 7
OPERATIONAL GUIDELINES
& MAINTENANCE

