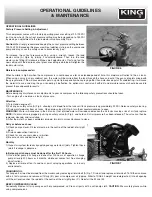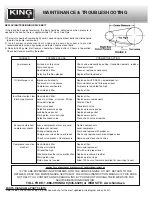
background image

COMPRESSOR CONTROLS

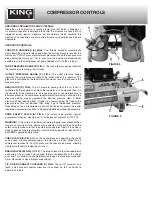
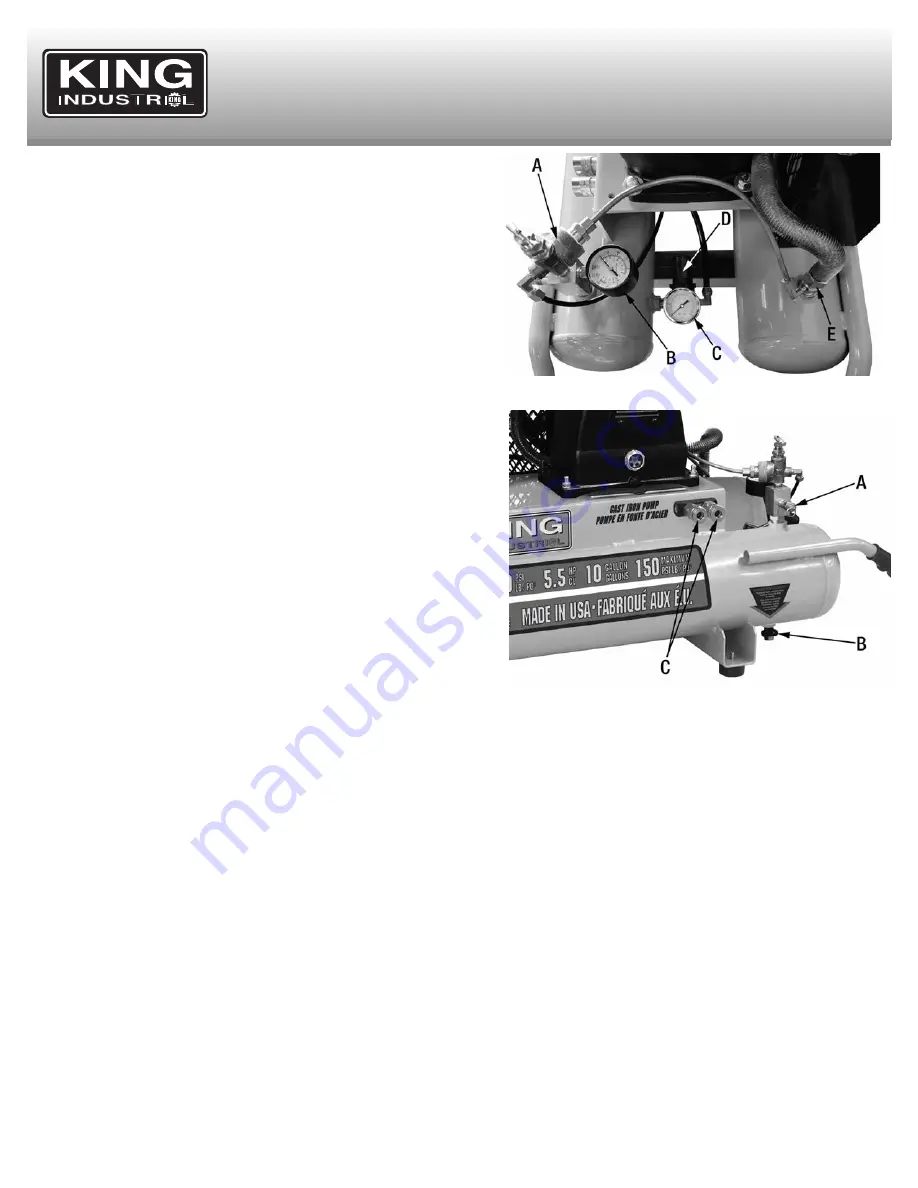
FIGURE 4

FIGURE 5

ADDITIONAL REGULATORS AND CONTROLS 

Since the air tank pressure is usually greater than that which is needed, an 
air pressure regulator is employed to control the air pressure ahead of any 
individual driven device. Separate air transformers which combine the            
function of air regulation, moisture and dirt removal should be used where 
applicable.  
 

OPERATION CONTROLS 


THROTTLE UNLOADER (A) FIG.4.

 The throttle unloader automatically 

slows down the engine to idle speed when the air tank pressure reaches the 
factory set “Cut-Out” pressure (maximum pressure). When the tank pressure 
drops below the factory set “Cut-In” pressure, the engine will automatically 
accelerate and the compressor will pump additional air into the air tanks. 
 

TANK PRESSURE GAUGE (B) FIG.4. 

The tank pressure gauge indicates 

the reserve air pressure in the air tanks. 

 
OUTLET PRESSURE GAUGE (C) FIG.4.

 The outlet pressure gauge          

indicates the air pressure available at the outlet side of the regulator. The 
pressure is controlled by the regulator and is always less than or equal to the 
tank pressure.  
 

REGULATOR (D) FIG.4. 

The air pressure coming from the air tanks is          

controlled by the regulator. To unlock the regulator, pull it outwards then turn 
the regulator knob clockwise to increase pressure or counterclockwise to 
decrease pressure. To avoid minor readjustment after making a change in the 
pressure setting, always approach the desired pressure from a lower        
pressure. When reducing from a higher to a lower setting, first reduce the 
pressure less than that desired, then bring it up to the desired pressure. 
Depending on the air requirements of each particular accessory, the outlet 
regulated air pressure may have to be adjusted while operating the accessory. 
 

ASME SAFETY VALVE (A) FIG.5.

 The safety valve protect against          

overpressurization by “popping out” at its factory set pressure of 150 PSI. 

 
WARNING!

: If the safety valve does not work properly, over pressurization 

may occur, causing air tank rupture or an explosion. Daily pull the ring on the 
safety valve to make sure that the safety valve operates freely. If the valve is 
stuck or does not operate smoothly, it must be replaced with an identical 150 
PSI ASME approved safety valve. 
 

CHECK VALVE (E) FIG.4. 

When the air compressor is operating, the check 

valve opens, allowing compressed air to enter the air tanks. When the air 
compressor reaches its “Cut-Out” pressure, the check valve closes, allowing 
air pressure to remain inside the air tanks. 
 

DRAIN VALVES (B) FIG.5 (1 OF 2).

 The drain valves are located underneath 

each end of the air tanks and are used to drain condensation at the end of 
each use. Turn drain valve counterclockwise to open (no tank pressure build-
up) or clockwise to close it (pressure build-up). 
 

1/4” QUICK CONNECT COUPLERS (C) FIG.5.

 These 1/4” universal “one 

touch” quick connect couplers allow user to connect up to 2 air hoses to    
operate 2 air tools.

Summary of Contents for KC-5510G3

Page 1: ...INSTRUCTION MANUAL MODEL KC 5510G3 COPYRIGHT 2020 ALL RIGHTS RESERVED BY KING CANADA TOOLS INC 10 GALLON 5 5 HP GAS HONDA WHEELBARROW AIR COMPRESSOR ...

Page 2: ...ts high quality and durability standards King Canada warrants to the original retail consumer a 1 year limited warranty as of the date the product was purchased at retail and that each product is free from defects in materials Warranty does not apply to defects due directly or indirectly to misuse abuse normal wear and tear negligence or accidents repairs done by an unauthorized service center alt...

Page 3: ...ply system RISK OF BURNS WHAT CAN HAPPEN Touching exposed metal such as the compressor head or outlet tubes can result in serious burns HOW TO PREVENT IT Never touch any exposed metal parts on compressor during or immediately after operation The compressor will remain hot several minutes after use Do not reach around protective shrouds or attempt maintenance until the compressor has cooled down co...

Page 4: ...ntact with hot components such as the muffler engine exhaust gases or from an electrical spark Turn engine off and allow it to cool before adding fuel to the tank Equip area of operation with a fire extinguisher certified to handle gasoline or fuel fires SPARKS FIRE HOT OBJECTS Cigarettes sparks fires or other hot objects can cause gasoline or gasoline vapors to ignite Add fuel to tank in well ven...

Page 5: ...loaded position as shown to allow the compressor pump to run without compressing air 4 Make sure there is sufficient amount of fuel in the gas tank and oil in the engine crankcase as per instructions in the Honda engine instruction manual then start the Honda engine 5 Run the engine compressor for 15 minutes Make sure there is no tank pressure build up tank pressure gauge at zero 6 After 15 minute...

Page 6: ...ustment after making a change in the pressure setting always approach the desired pressure from a lower pressure When reducing from a higher to a lower setting first reduce the pressure less than that desired then bring it up to the desired pressure Depending on the air requirements of each particular accessory the outlet regulated air pressure may have to be adjusted while operating the accessory...

Page 7: ...ll ring on safety valve A Fig 5 allowing air to bleed from the tank until tank pressure is approximately 20 PSI Release safety valve ring 3 Drain moisture water from air tanks Open drain valves B Fig 5 turn them counterclockwise to open WARNING Water will condense in the air tanks If not drained water will corrode and weaken the air tanks causing a risk of air tank rupture NOTE If a drain valve is...

Page 8: ...uge Replace head gasket Replace worn parts Clean check valve or replace Tighten components Level compressor Drain and replace with proper oil Check and replace worn or damaged valves Remove and clean check valve Replace filter Drain and replace oil Fill with oil to proper level Replace crankcase breather Replace piston rings Allow 100 hours of normal operation for new rings to seat HONDA ENGINE SE...

Reviews: