Operation Instruction
SI-2
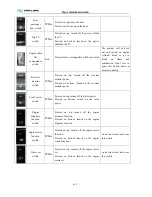
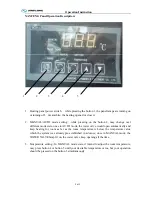
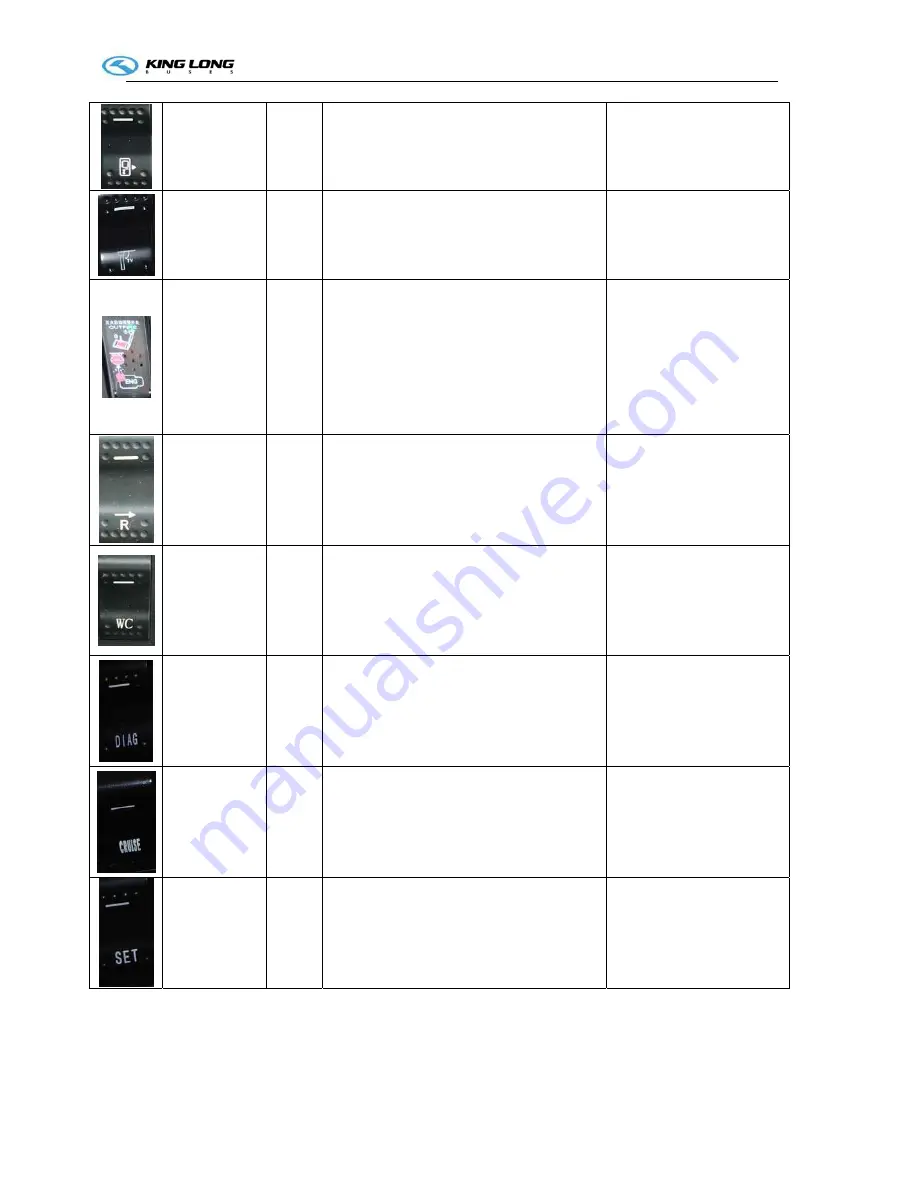
Rear
passenger
door switch
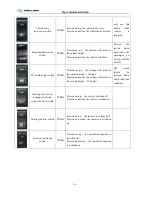
White
Pressed on top: close the door
Pressed on bottom: open the door
Flip TV
switch
White
Pressed on top: turned off the power, folded
the TV
Pressed on bottom: turned on the power,
unfolded the TV
Engine cabin
fire
extinguisher
switch
Red
Pressed down : extinguisher will be activated
The powder will be burst
out and coated on engine
cylinder block so as to
block up flame and
combustion. Don't test to
press this button down at
normal condition
Reversal
monitor
switch
White
Pressed on top: turned off the reversal
monitor power
Pressed on bottom: turned on the reversal
monitor power
Toilet power
switch
White
Pressed on top: turned off the toilet power
Pressed on bottom: turned on the toilet
power
Engine
Diagnose
function
switch
White
Pressed on top: turned off the engine
diagnose function
Pressed on bottom: turned on the engine
diagnose function
Engine cruise
function
switch
White
Pressed on top: turned off the engine cruise
function
Pressed on bottom: turned on the engine
cruise function
we advise clients not to use
this switch
Cruise set
switch
White
Pressed on top: turned off the engine cruise
set
Pressed on bottom: turned on the engine
cruise set
we advise clients not to use
this switch
Summary of Contents for XMQ6127 series
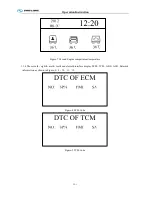
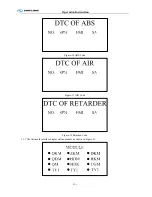
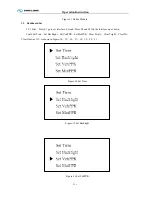
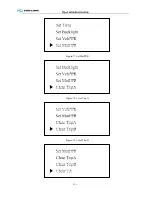
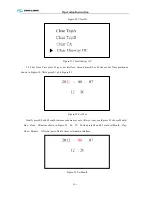
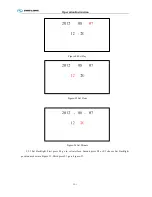
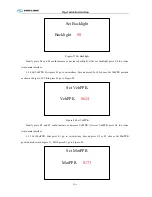
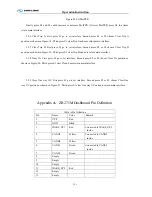
Page 18: ...Operation Instruction CI 1 Figure 17 Set MotPPR Figure 18 Clear Trip A Figure 19 Clear Trip B...
Page 32: ...Operation Instruction P A 1 2 Control panel operation...
Page 33: ...Operation Instruction P A 1...
Page 34: ...Operation Instruction P A 1...
Page 35: ...Operation Instruction P A 1...
Page 36: ...Operation Instruction P A 1...
Page 41: ...Operation Instruction 0 G 1 1 1 2 2 Pushbutton Settings...
Page 42: ...Operation Instruction 0 G 1 1 2 Starting the Engine 1 3 Selecting the Gear...
Page 43: ...Operation Instruction 0 G 1 1 4 Setting Off 1 5 Driving Ranges...
Page 44: ...Operation Instruction 0 G 1 1 5 1 Downhill Travel 1 5 2 Downhill Travel 1 5 3 Kickdown...
Page 46: ...Operation Instruction 0 G 1 1 6 Stopping Parking...
Page 51: ...Operation Instruction 0 G 1 1 11 1 Limp Home Mode 1 12 Auxiliary Control Unit...
Page 52: ...Operation Instruction 0 G 1 1 12 1 Operating Instructions for the Auxiliary Control Unit...
Page 53: ...Operation Instruction 0 AB 1 WABCO ABS BASIC INTRODUCTION...
Page 54: ...Operation Instruction 0 AB 1...
Page 55: ...Operation Instruction 0 AB 1...
Page 56: ...Operation Instruction 0 AB 1...
Page 57: ...Operation Instruction 0 AB 1...
Page 58: ...Operation Instruction 0 EC 1 ECAS System Introduction 1 System introduction...
Page 59: ...Operation Instruction 0 EC 1 3 System function...
Page 60: ...Operation Instruction 0 EC 1...
Page 77: ...Operation Instruction 0 E 1 CAN bus module...
Page 158: ...Appendix A 4 Air braking schematic diagram...
Page 159: ...A 5 Electric schematic diagram of the complete vehicle 1...
Page 160: ...A 6 Electric schematic diagram of the complete vehicle 2...
Page 161: ...A 7 Electric schematic diagram of the complete vehicle 3...
Page 162: ...A 8 Electric schematic diagram of the complete vehicle 4...

