Appendix
7-4
4. Installation
4.1 In order to avoid unnecessary failure, should pay attention to safety mark before installation.
4.2 In order to avoid corrosion, should smear Vaseline on battery terminal before installation.
Connection should be steady and dependable. Do not knock the terminal to avoid it loosening and
inner acids leaking.
4.3 Connect batteries positive with vehicle or engine positive first at installation, then connect
batteries negative with vehicle or engine negative.
4.4 In order to avoid batteries damage, Please fix the battery firmly in the battery bracket .
5. Maintenance
5.1 There is the indicator of electric charge on the batteries cover. When the indicator shows green,
the batteries use normally. When the indicator shows black, the batteries should be charged in time.
When the indicator shows white, should change in time.
5.2 It should be charged in time if the battery capacity decrease for any reason.
5.3 The battery should avoid over-charging during charging to prolong its’ service life.
5.4 It should be dismantled from the vehicle and stored in a dry and ventilative place if disused
for a long time (normally more than 15days). It should be charged again every 3 to 6 months. (It
depends on the indicator shows black).
Summary of Contents for XMQ6900 Series
Page 19: ...Operation Instruction 3 1 Figure 17 Set MotPPR Figure 18 Clear Trip A Figure 19 Clear Trip B...
Page 31: ...Operation Instruction 3 3 CC350 355 series A C Operation...
Page 32: ...Operation Instruction 3 3...
Page 33: ...Operation Instruction 3 3...
Page 34: ...Operation Instruction 3 3...
Page 35: ...Operation Instruction 3 3...
Page 44: ...Operation Instruction 3 4 1 9 Retarder operation...
Page 45: ...Operation Instruction 3 4 Section 1 1 2 1 10 Stopping parking...
Page 49: ...Operation Instruction 3 4 1 14 1 Emergency operation...
Page 50: ...Operation Instruction 3 5 WABCO ABS BASIC INTRODUCTION...
Page 51: ...Operation Instruction 3 5...
Page 52: ...Operation Instruction 3 5...
Page 53: ...Operation Instruction 3 5...
Page 54: ...Operation Instruction 3 5...
Page 55: ...Operation Instruction 3 6 ECAS System Introduction for tourist bus use 1 System introduction...
Page 56: ...Operation Instruction 3 6 3 System function...
Page 57: ...Operation Instruction 3 6...
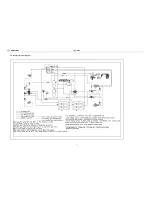
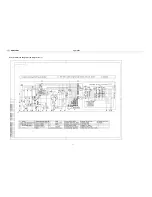
Page 169: ...Appendix 7 6 Air braking schematic diagram...
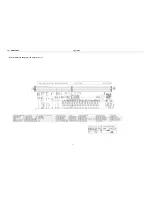
Page 170: ...Appendix 7 7 Electric schematic diagram of the complete car 1...
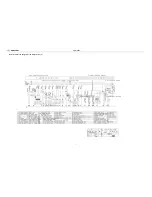
Page 171: ...Appendix 7 7 Electric schematic diagram of the complete car 2...
Page 172: ...Appendix 7 7 Electric schematic diagram of the complete car 3...
Page 173: ...Appendix 7 7 Electric schematic diagram of the complete car 4...

