3.
Rub over your legs with a rough sponge or luffa sponge against the hair direction so
hairs growing into the skin stand up.
4.
Pull the skin tight.
5.
Switch the appliance to the desired speed.
6.
Place the appliance at an angle of approx. 90° onto your leg, whereby the front of the
appliance should face upwards.
7.
Guide the appliance in circular movements over the leg and allow it to slide over the
skin without additional pressure.
Shaving:
We recommend using the two long-hair trimmers first to remove longer hairs. The
straight trimmer serves to shave longer hairs on flat areas of the skin while the rounded
trimmer is used for shaving longer hairs in the armpits or the bikini area. Shave the hair
in the opposite direction from the hair growth for more efficient hair removal. After
shaving with the trimmer, the shortened hairs can be shaved evenly further with the foil
shaver.
After Use
Particularly after first using the appliance, a slight irritation and/or reddening of the skin
may occur. This skin irritation should vanish after a short time. If the skin irritation lasts
for longer than 48 hours, then consult a doctor. This skin irritation can be prevented by
supporting the recovery phase of the skin with a moisturizing cream, which can be
applied directly after depilating.
Care and Cleaning
DANGER
Risk of fatal electric shock!
■
Always unplug the AC adapter from the wall socket
or electricoutlet before cleaning the device
■
Never touch the AC adapter with wet hands when
plugging itinto or removing it from the wall socket or
electric outlet.
■
Always keep all electrical parts such as AC adapter
and connector cable dry.
WARNING:
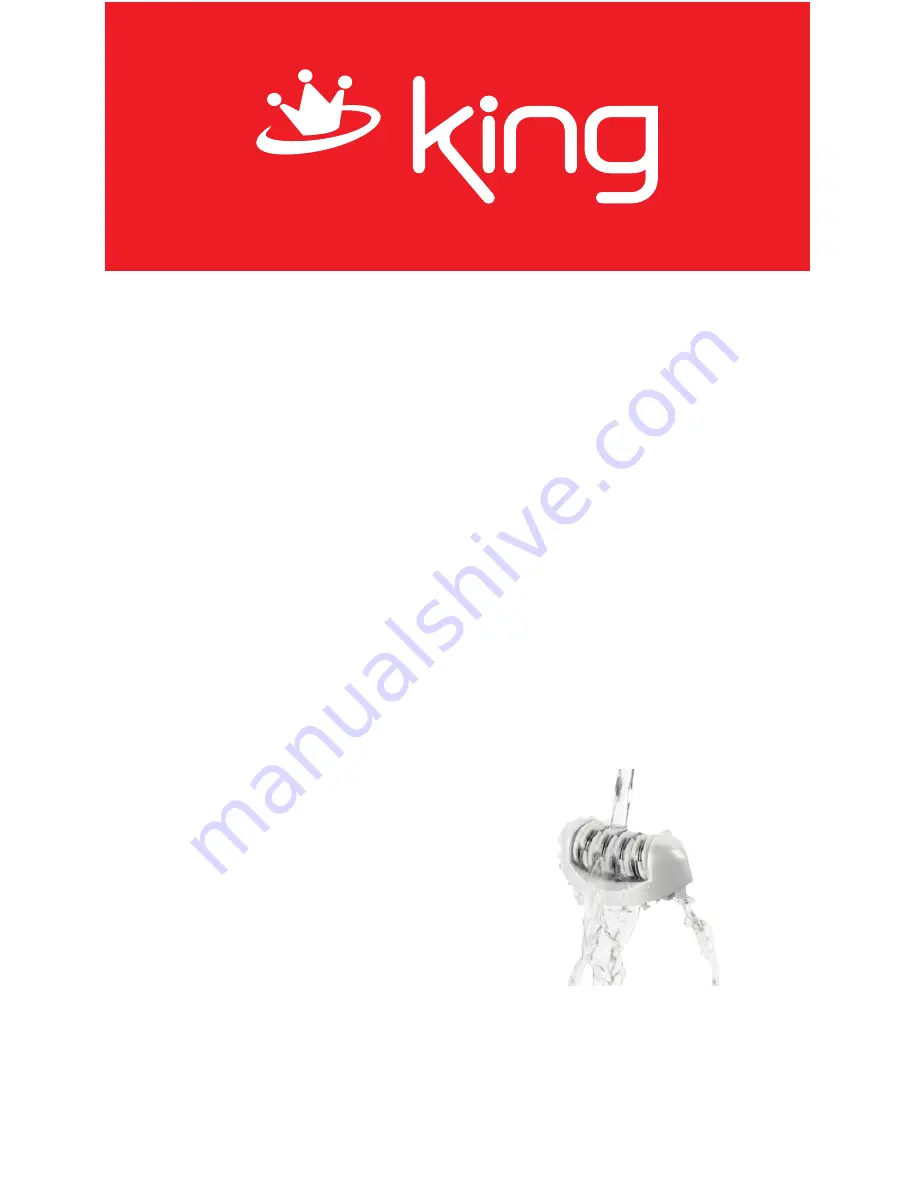
Equipment damage caused by incorrect cleaning Remove shaving and epilation head
from the device beforecleaning!
■
Regular maintenance and care ensure optimal results andincrease the service life of
the device.
■
Never immerse the entire device into water during cleaning.
■
Do not use any aggressive or abrasive chemicals or cleaners.
Summary of Contents for AMBROSIA P 2386
Page 15: ...1 2 3 4 5 ON OFF 2 6 7 LED 8 ...
Page 16: ... 22 0 5 ...
Page 17: ... 30 ...
Page 18: ... 10 C 40 C 30 AG P G PA G PA ...


