KINOVA
®
Gen3 Ultra lightweight robot
User Guide
20
5.
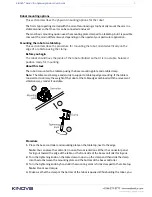
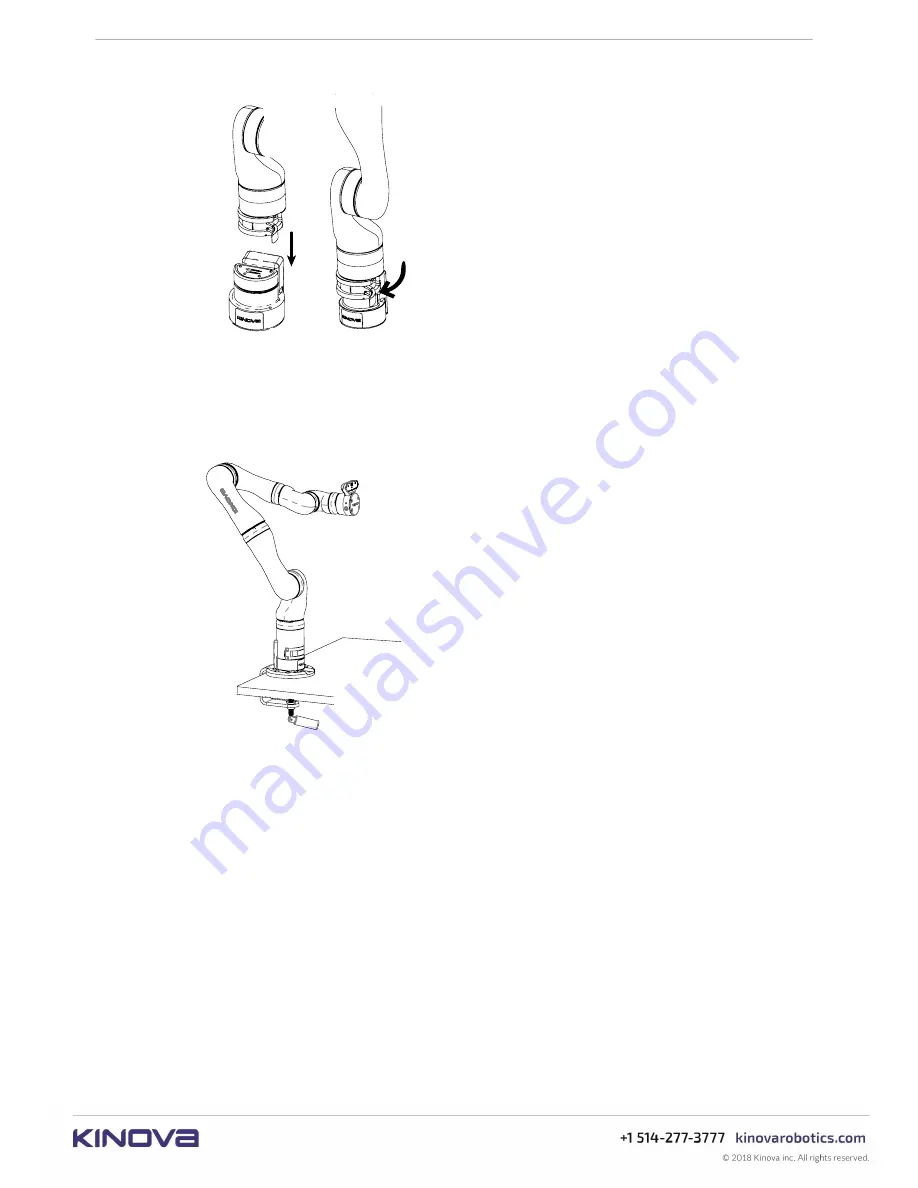
Once the robot is fully lowered onto the base controller, close the clamp to secure the robot
in place on the base controller..
Results
The robot is now mounted on the tabletop.
What to do next
You can now proceed to connect the robot to the power supply and E-stop.
Mounting the robot on a horizontal surface without the table clamp
This section describes how to mount the robot on a horizontal surface without the table
clamp..
About this task
Here, we describe mounting the robot in a vertical orientation on a flat, horizontal surface,
affixing the mounting plate or controller base to the surface using screws and sunk holes
in the surface.
Procedure
1.
Choose whether to mount the robot base controller directly onto the surface, or whether to
use the mounting plate.
2.
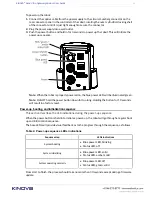
Using either the
mounting plate bolting pattern
or the
controller bolting pattern
or as a
guide, drill holes into the surface. If the controller is to be mounted directly to the surface,
the holes will have to be drilled all the way through the mounting surface.


