KINOVA
®
Gen3 Ultra lightweight robot
User Guide
31
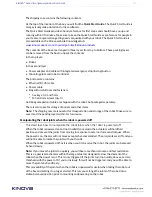
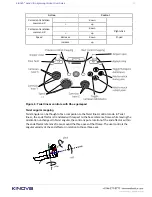
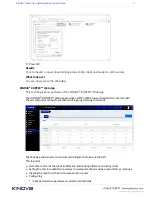
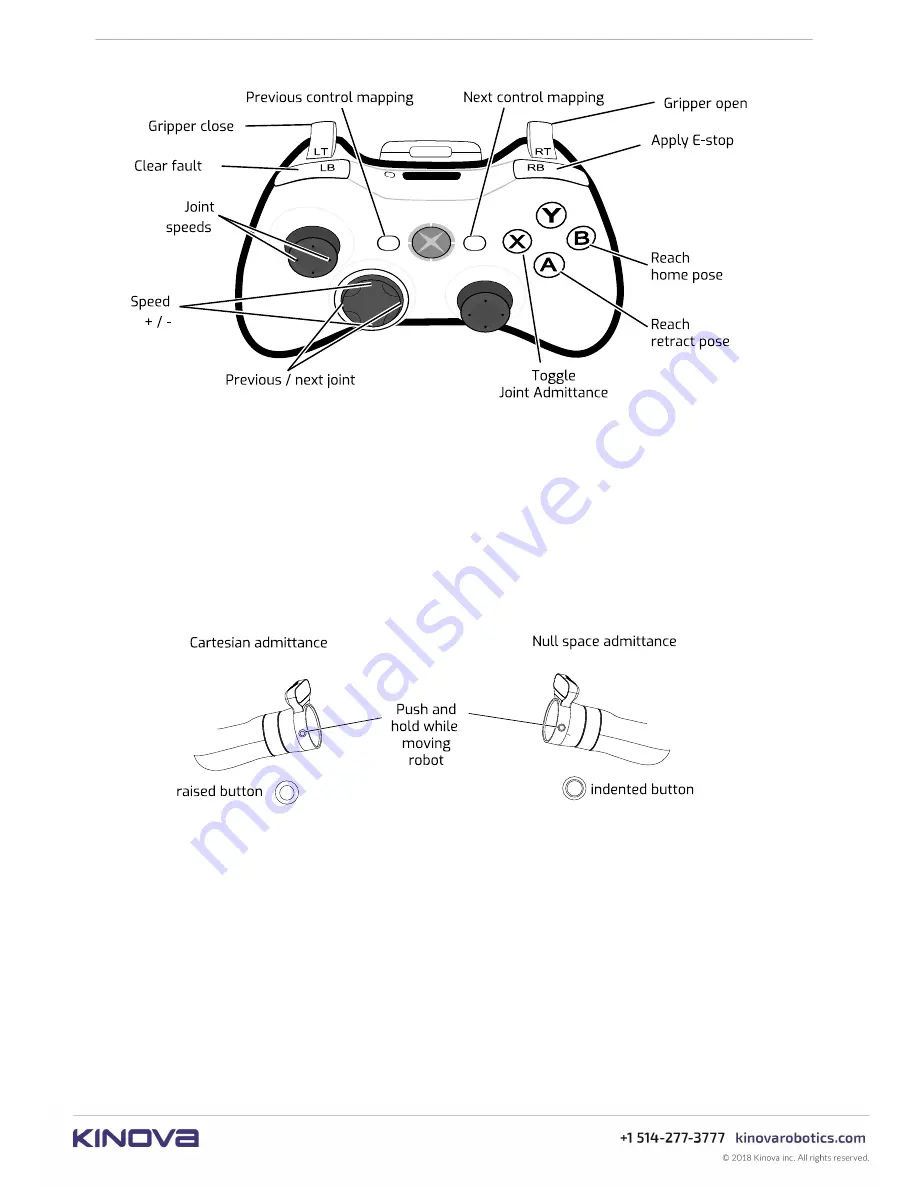
Figure 8: Joint controls with Xbox gamepad
Putting the robot into admittance using the interface buttons
This section describes how to put the robot into admittance modes using the buttons on
the sides of the interface module.
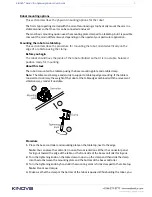
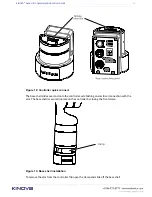
The interface module has two buttons on its side that can be used to temporarily put the robot
into admittance. This can be a convenient way to take ahold of the robot and move it into a
desired position, or to explore the flexibility of the arm at a particular position.
The two interface module buttons each offer access to one admittance mode.
The button with the raised solid circle shape is for
Cartesian admittance
, in which the end
effector of the robot moves in response to force exerted on it.
The button with the indented or ring shape is for
null space admittance
. In this mode the end
effector stays in a fixed position and orientation, while the other joints move within the null
space available at the given end effector (seven degrees of freedom to specify six coordinates of
position and orientation gives a free degree of liberty to move within different solutions of the
inverse kinematics of a given pose).
To engage one of the admittance modes, hold down the button and exert a moderate amount
of force on the robot. The arm will be in admittance mode as long as the button is held down.
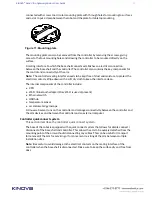
Figure 9: Interface module admittance buttons


