KINOVA
®
Gen3 Ultra lightweight robot
User Guide
44
º 13 N·m (nominal)
º 34 N·m (peak)
• actuator torque (large):
º 32 N·m (nominal)
º 74 N·m (peak)
Interface module
This section describes the interface module.
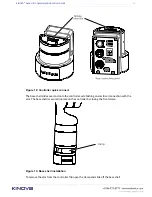
The interface module provides an interface for connecting a gripper or other tools at the end
of the arm. The interface module also provides a mounting point and connection for the Vision
module.
The interface module has a connection interface at the end of the arm, and is surrounded on the
sides by a bracelet shell. The Vision module is mounted on the top of the bracelet.
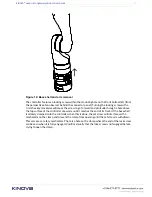
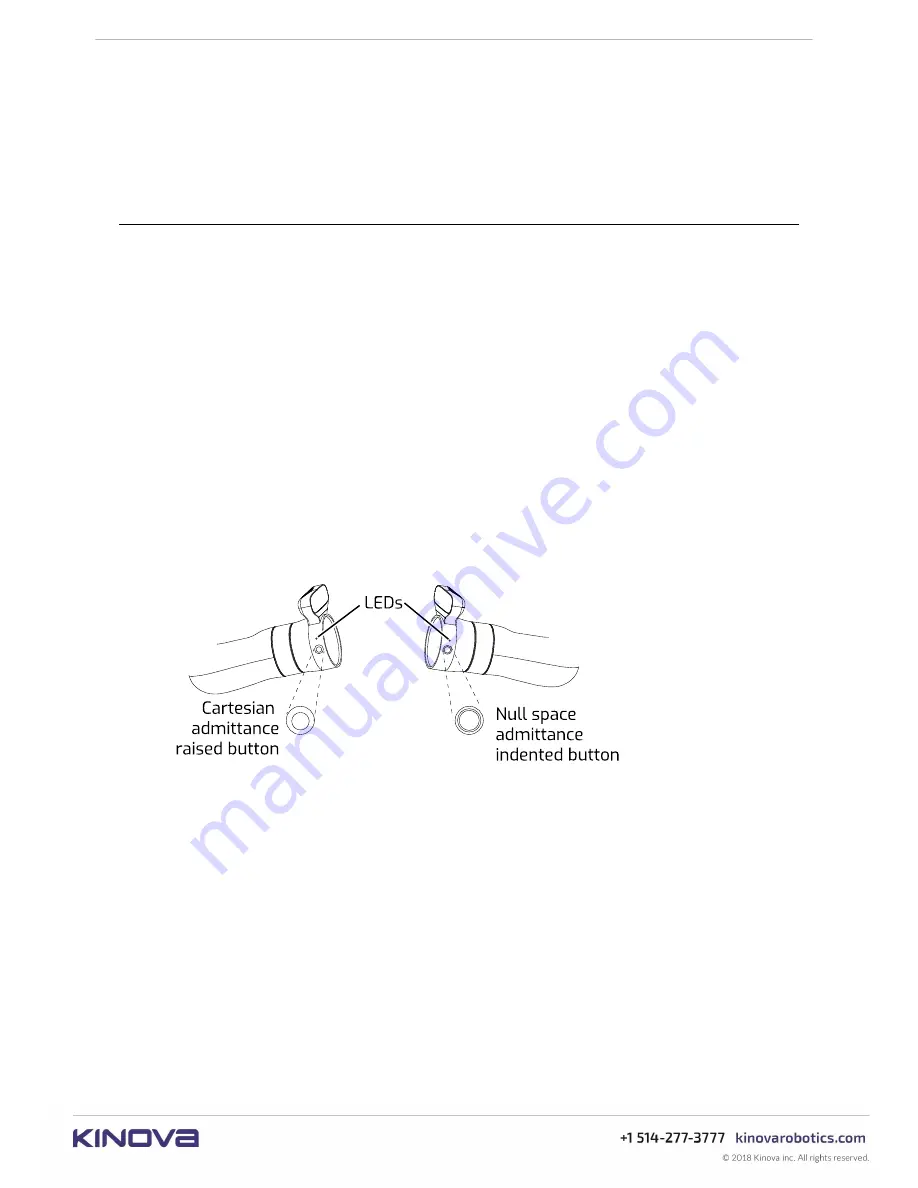
The bracelet includes two buttons used to activate admittance modes to interact with the
robot. By default the button on the right hand side (viewed from behind) puts the arm into
Cartesian admittance while the button on the left puts the arm into null space admittance. The
two buttons can be distinguished easily by touch without looking; the Cartesian admittance
mode button sticks out from the surface in the center, while the null admittance mode button is
slightly indented in in the center and ring-shaped.
Note:
Only one of the buttons can be active at any given time. If you press the two buttons
together or in close succession, the button pressed later will take effect.
The bracelet also includes two amber LEDs.
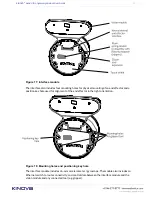
The interface module takes a 41-pin input from the last actuator of the robot.
The interface exposes connectors that allow different end effectors to be integrated with the
robot. It features:
• Kinova internal end-effector interface
• 10-pin spring-loaded connector with RS-485 (compatible with Robotiq Adaptive Grippers)
• 20-pin user expansion interface

