KINOVA
®
Gen3 Ultra lightweight robot
User Guide
62
2.
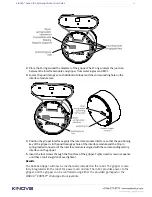
Place the O-ring around the diameter of the gripper. The O-ring protects the junction
between the interface module and gripper from water ingress and EMI.
3.
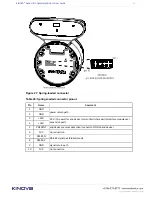
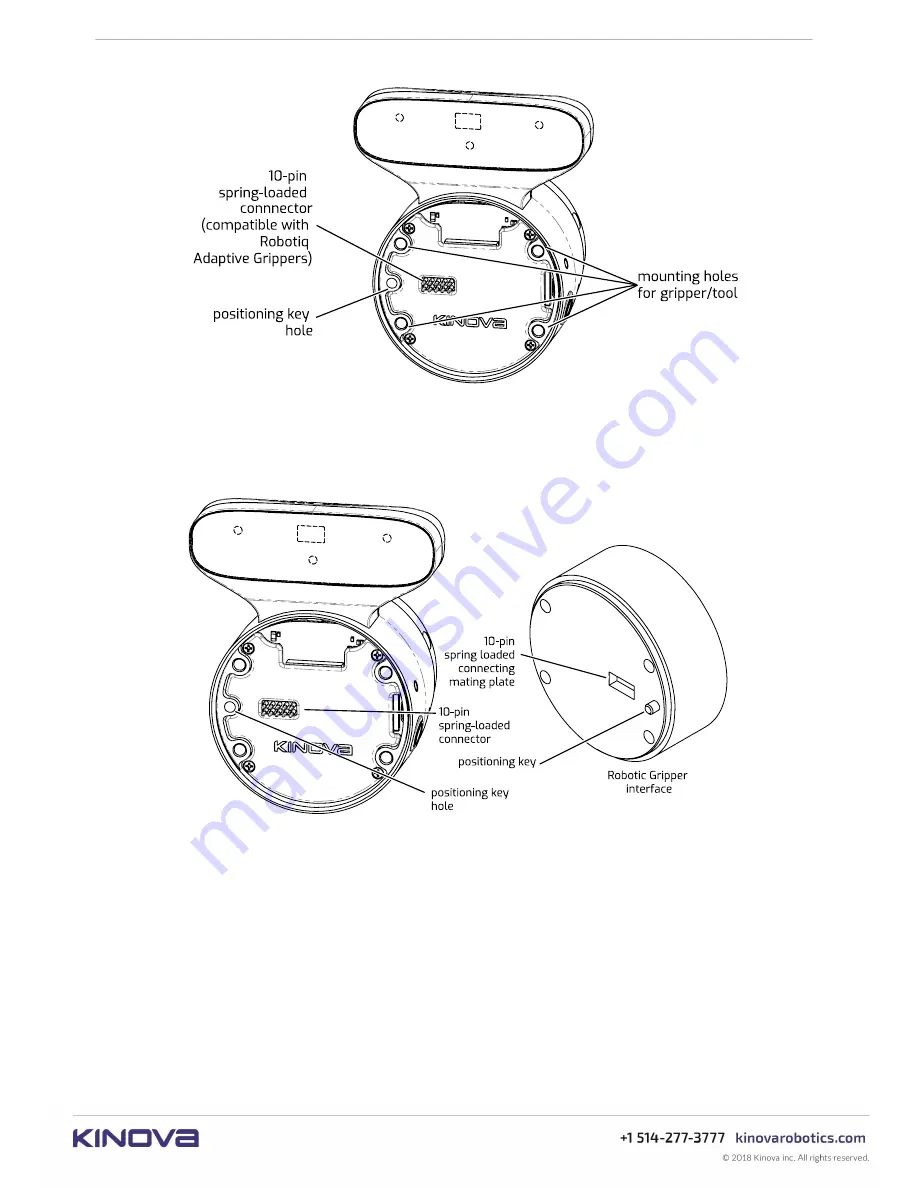
Locate the positioning key on the Robotiq Gripper and the corresponding hole on the
interface module face.
4.
Position the gripper interface against the Interface module interface so that the positioning
key of the gripper is in the positioning key hole of the interface module and the 10-pin
spring-loaded connector of the interface module is aligned with the corresponding mating
interface on the gripper.
5.
Insert the four screws through the front face of the gripper. Tighten each screw in sequence
until they are all snug (do not overtighten).
Results
The Robotic Gripper will now be mechanically installed on the robot. The gripper is also
fully integrated with the robot for power and controls. The robot provides power to the
gripper, and the gripper can be controlled using either the provided gamepad or the
KINOVA
®
KORTEX™
Web App
vir
tual joysticks.

