- Function (FU)
To retrieve or set the actual mode of the SOLYS.
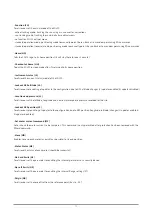
- active tracking mode, tracking the sun using a sun sensor for corrections
- sun tracking mode, tracking the sun & daily time adjustments
- no function, SOLYS will not move
- standard operation mode, positioning mode to manually point the sun tracker to a random point using PO commands
- standard operation (reverse) mode, positioning mode to manually point the sun tracker to a random point using PO commands
- Home (HO)
Tells the SOLYS to go to its home position (iIt will stay there for over 1 minute).
- Checkout at home (HH)
To put the SOLYS in sleep mode after it’s returned to its home position.
- Instrument status (IS)
To retrieve the current status (mode) of the SOLYS.
- Lockout GPS altitude (LA)
To retrieve or set enabling of updates to the configuration due to GPS altitude changes (1=updates enabled, 0=updates disabled).
- Location and pressure (LL)
To retrieve or set the latitude, longitude and nominal atmospheric pressure recorded for the site.
- Lockout GPS position (LP)
To retrieve or set enabling of updates to the configuration due to GPS position (longitude, latitude) changes (1=updates enabled,
0=updates disabled).
- Set motor current command (MC)
Set or check the motor current to be <ampère>. This command is only permitted after protection has been removed with the
PWord command.
- Move (MO)
Enables to send each motor (as quickly as possible) to its end position.
- Motor Status (MS)
To retrieve the status of each motor (should be successful).
- No hard limits (NL)
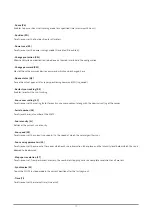
To retrieve or set the parameter for enabling the internal pot meters as a security device.
- No soft limits (NX)
To retrieve or set the parameter for enabling the internal Range settings (XT).
- Origin (OR)
To retrieve or set the zero offset from the reference point (East is - 90 °).
74
Summary of Contents for SOLYS Gear Drive
Page 1: ...SOLYS2 Sun Tracker SOLYS Gear Drive Sun Tracker Instruction Manual...
Page 2: ...2...
Page 4: ...4...
Page 6: ...6...
Page 10: ...10...
Page 39: ...Figure 3 13 Adjustment of the sun sensor 21 0 5 mm 3x 39...
Page 61: ...6 Insert the Ethernet cable Contacts on this side 61...
Page 78: ...78...
Page 80: ...80...
Page 86: ...86...
Page 88: ...88...
Page 112: ......


