Lego Drone Kit Instructions
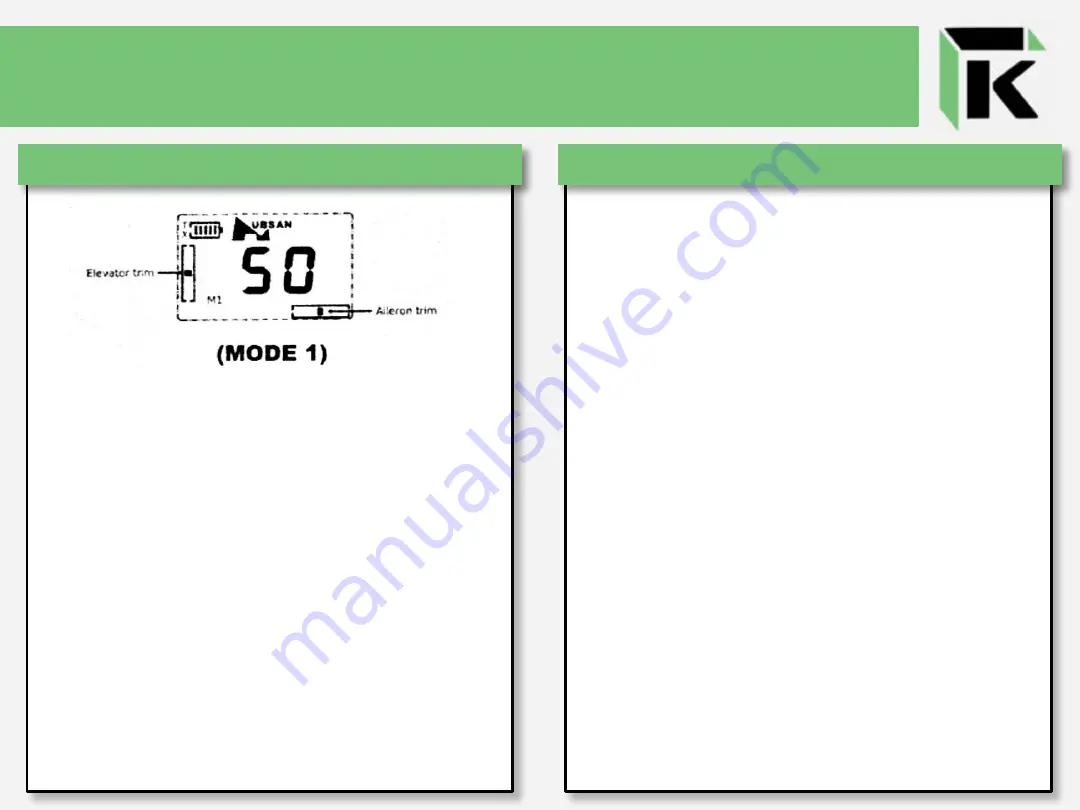
To Change to Mode 1 and Calibrate Sticks
1. Disconnected board from battery
2. Turn off Controller
3. Place the LEFT joystick in upper-most left
position
4. Place the RIGHT joystick in the upper-most
right position.
5. While holding joysticks in position, turn on
controller. The light on the controller should
start flashing
6. Roll each joystick around in the clockwise
fashion for calibration.
7. Press down on the right aileron trim button
(farthest right trim button on the controller)
until the controller light starts blinking red.
8. Turn off the controller.
Calibrating the Accelerometer
Calibration of the accelerometer will help to
keep your drone stable while in flight and
minimize any drift due to sensor misalignment.
The most important step in calibrating the
accelerometer is that you want to set your
drone on to a stable and flat surface. Once
you’ve done that you can get started with the
below instructions.
1.
Turn on Controller
2.
Connect battery to board. The drone and
controller should pair immediately, you will hear a
beep and the light on the controller will turn solid red.
3.
Place the LEFT joystick in lower-most right position
(think 4-o-clock on watch).
4.
While holding the left joystick in position, push
the right joystick side to side over and over again.
5.
Continue pushing the right joystick back and
forth until the blue LEDs flash twice.
6.
If in Mode 1, keep the right joystick aimed down
(toward you) when pushing side to side so your drone
doesn’t start flying!


