background image

Mini Lego Drone Kit Instructions

You’ll find a variety of Lego colors in 

your pack. We’ve designed this drone 

frame to be light and simple! The 

lighter the drone, the longer it will fly! 

We recommend gluing the bricks of 

your frame to prevent breaks during 

rough landings. 

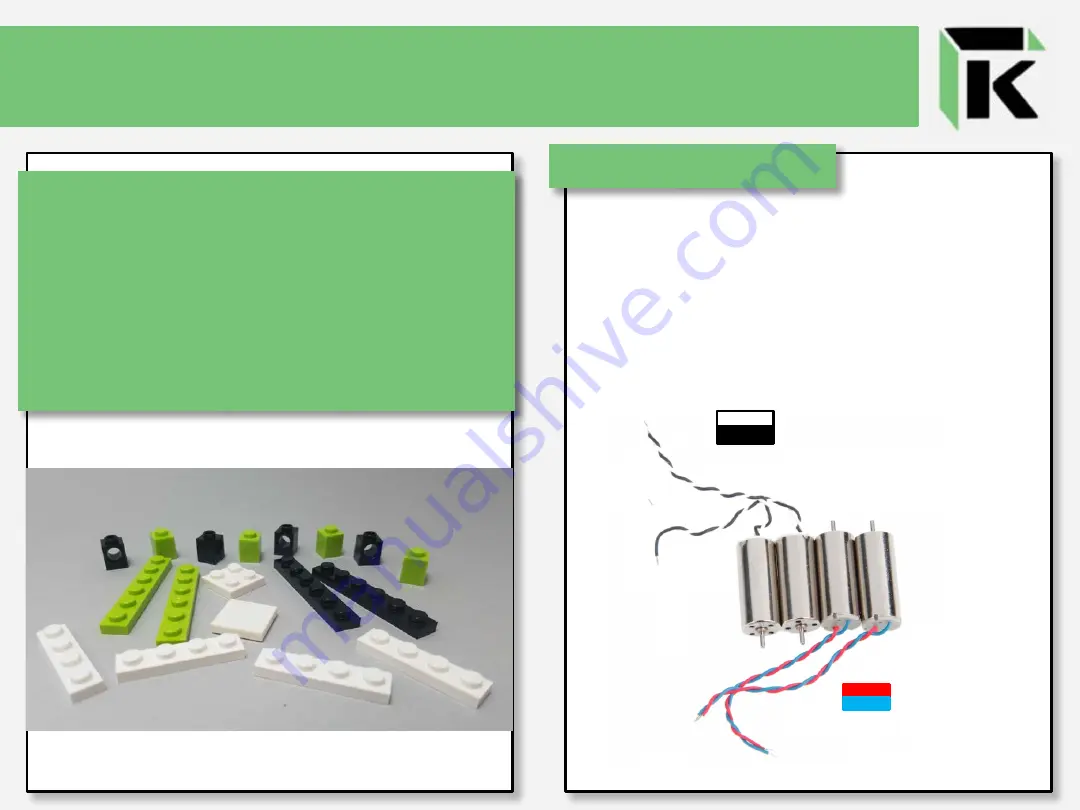
You will need to solder each of the 4 motors (c) 

to the receiver board (b). Motor location on the 

board matters because 1 set of motors spin in the 

clockwise (CW) direction and 1 set of motors 

spin in the counterclockwise (CCW) direction.  

You can tell the difference based on wire colors.

Get Ready to Solder!

Summary of Contents for Mini Lego Drone

Page 1: ...MINI LEGO DRONE kit instructions...

Page 2: ...arging USB i Zipties j Rubberbands Tools Needed Soldering iron and accessories Scissors Getting Started 1 Check your parts list 2 Read through the instructions 3 Gather your tools 4 Start charging you...

Page 3: ...ame We ve given you a few choices for the frame structure Either using 1x4 or 1x6 plates Lighter 1x4 will equal longer flying time larger 1x6 will equal more stable flying Mini Lego Drone Kit Instruct...

Page 4: ...Mini Lego Drone Kit Instructions 1x4 1x6...

Page 5: ...We recommend gluing the bricks of your frame to prevent breaks during rough landings You will need to solder each of the 4 motors c to the receiver board b Motor location on the board matters because...

Page 6: ...the board facing away from you and the solder joints facing up Helping Hand You can tell the solder joints for the motors as they read M and M in each of the corners You may receive a blue or a green...

Page 7: ...LACK wire to the M terminal and the WHITE wire to the M terminal as shown Repeat this step for the bottom left motor arm Solder another motor blue and red wires to the upper left location on the board...

Page 8: ...s The same pattern fits both the blue or green receiver board Wiring Diagram Secure receiver board b to top of Lego frame with 2 rubber bands or some double sided adhesive Angle it so motors point alo...

Page 9: ...for the board Charging Battery Charge battery by plugging JST connector from Lipo battery to JST USB cable of note your USB charger may not have a cable just a USB to JST as pictured with the compute...

Page 10: ...Secure each motor to the Lego frame arm with a zip tie as shown Do this 4 times for each motor on each arm x4 Trim zip tie tail Mini Lego Drone Kit Instructions 1x4 frame 1x6 frame...

Page 11: ...battery into the receiver board 2 LEDs located on the board will light up Mini Lego Drone Kit Instructions Firmly press propeller down on to motor spike It should sit snugly against the motor There a...

Page 12: ...ce to ensure internal accelerometer is level 3 Turn on controller You will hear a beep when the controller and receiver are paired 4 Test joysticks to make each propeller rotate 5 Slowly engage all 4...

Page 13: ...e Kit Instructions Sensitivity Remote Control Operation 2 Modes Low 40 High 100 Press power supply indicators until you hear a di low mode Press power supply until you hear a di di high mode Rolling C...

Page 14: ...You have now completed a Kitables Kit If you have questions check out our FAQ at Kitables co or email us at info kitables co Mini Drone Kit Instructions...

Reviews: