3-4
IMPORTANT:
If the burner does not light im-
mediately, turn the burner knob to “OFF” and
wait 5 minutes before relighting.
If any burners do not light after attempting to
manually light them, contact the KitchenAid
Assistance Center.
LIGHTING THE INFRARED (IR)
ROTISSERIE BURNER
1.
Push in and turn the rotisserie burner knob
to “LlTE.”
2.
At the same time, push in both the red
button, (left hand side), and the burner
igniter button (right hand side). You will
hear a “snapping” sound.
3.
When the infrared burner lights, release
the burner igniter button, but continue
pressing the red button for another 5 to 10
seconds.
IMPORTANT:
If the rotisserie burner does not
light immediately, turn the burner knob to “OFF,”
and wait 5 minutes before relighting.
MANUALLY LIGHTING THE
INFRARED (IR) ROTISSERIE
BURNER
1.
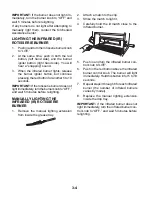
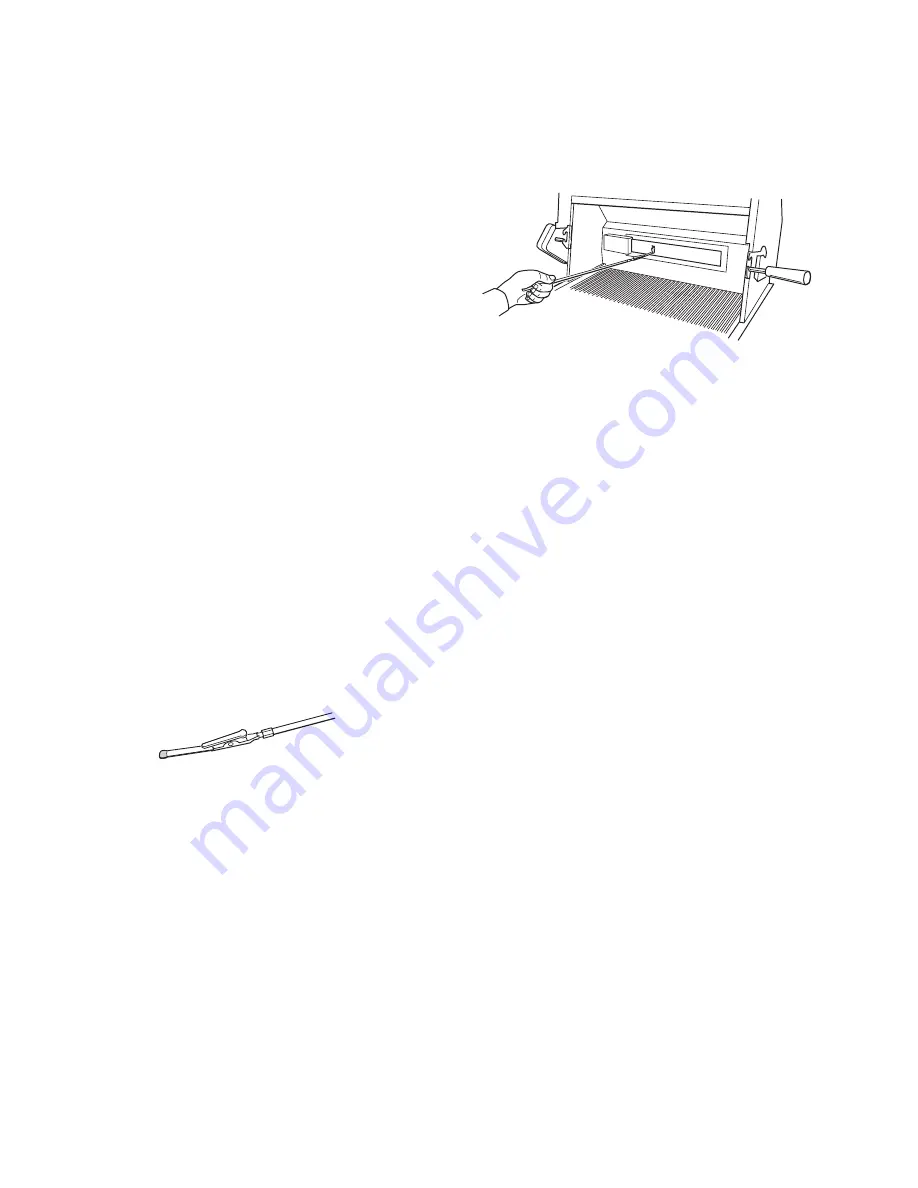
Remove the manual lighting extension
from inside the grease tray.
2.
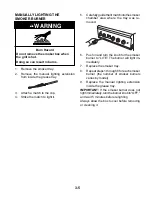
Attach a match to the clip.
3.
Strike the match to light it.
4.
Carefully hold the lit match close to the
infrared burner.
5.
Push in and turn the infrared burner con-
trol knob to”LITE”.
6.
Push in the red button above the infrared
burner control knob. The burner will light
immediately. Hold this button in for 5 to 10
seconds.
7.
Repeat steps 3 through 6 for each infrared
burner (the number of infrared burners
varies by model).
8.
Replace the manual lighting extension
inside the drip tray.
IMPORTANT:
If the infrared burner does not
light immediately, turn the infrared burner con-
trol knob to “OFF,” and wait 5 minutes before
relighting.


