background image

9 Cup Food Processor 

5KFP0921A

Summary of Contents for 5KFP0921A

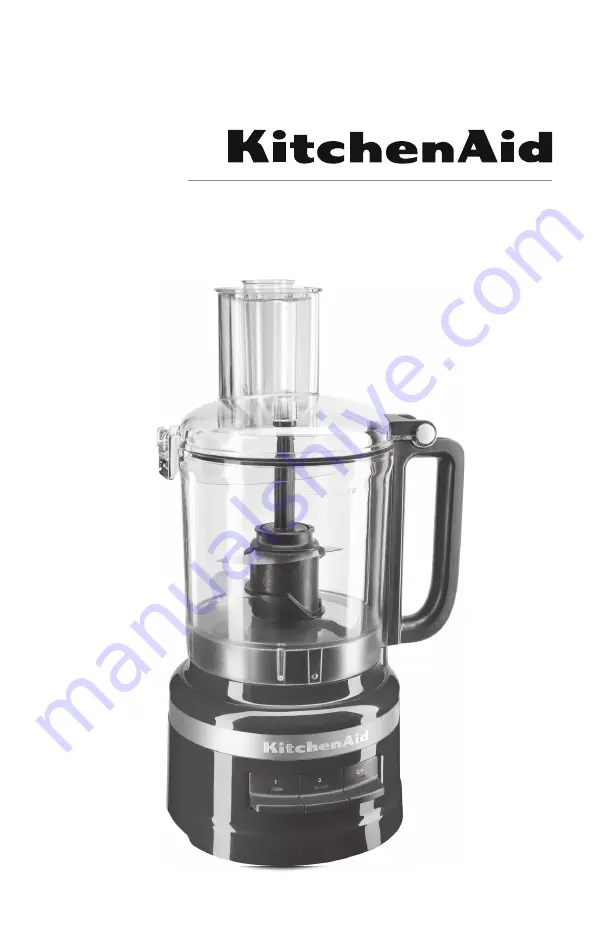
Page 1: ...9 Cup Food Processor 5KFP0921A ...

Page 2: ...p 2 1 L Work Bowl 5 Handle Hinge 6 Lid Hinge 7 Work Bowl Cover with 2 in 1 Feed Tube 8 Lid Latch 9 2 Piece Food Pusher 10 Refrigerator Lid 11 Reversible Slice Shredding Disk 12 Whisking Accessory 13 Dough Blade 14 Multi Purpose Four Blade 15 Drive Adapter 1 2 O P 1 4 7 3 9 10 6 5 8 2 11 12 13 14 15 ...

Page 3: ...liance 4 Turn the appliance OFF then unplug from the outlet when not in use before assembling or disassembling parts and before cleaning To unplug grasp the plug and pull from the outlet Never pull from the Power Cord 5 Avoid contacting moving parts 6 Do not operate any appliance with a damaged cord or plug or after the appliance malfunctions or is dropped or damaged in any manner Return appliance...

Page 4: ... avoid risk of injury due to damage to the Cover or Bowl 18 Refer to the Care and Cleaning section for instructions on cleaning the surfaces in contact with food 19 Be careful if hot liquid is poured into the food processor as it can be ejected out of the appliance due to sudden steaming 20 This appliance is intended to be used in household and similar applications such as staff kitchen areas in s...

Page 5: ... Four Blade Mince or Purée 2 or O P Mix 1 Pasta Sauce Pesto Salsa Sauces Batters Slice 1 Fruit soft Potatoes Tomatoes Vegetables soft Reversible Slicing Shredding Disc slicing side 2 Cheese Chocolate Fruit hard Vegetables hard Shred Medium 1 Potatoes Vegetables soft Reversible Slicing Shredding Disc shredding side 2 Cabbage Cheese Chocolate Fruits hard Vegetables hard Knead O P 2 Yeast Dough Dough...

Page 6: ...e pulls out of the Handle Hinge Remove all parts and accessories from the Work Bowl and lift the Food Pusher out of the Feed Tube Place the Work Bowl on the Base aligning the Handle with the raised button on the right side of the Base The Bowl will click into place and should be flush against the Base when properly aligned Place the Drive Adapter in the Work Bowl lowering it onto the Drive Pin PRO...

Page 7: ...n the Base To attach the Work Bowl Cover hook the Lid Hinge into the Handle Hinge on the Work Bowl and close the Cover Once the Work Bowl Cover is closed push the Lid Hinge down into the locked position 5 6 INSTALLING THE MULTIPURPOSE BLADE OR DOUGH BLADE Place the Blade on the Drive Adapter Rotate the Blade so it falls down to the base of the Adapter Install the Work Bowl Cover and be sure the Li...

Page 8: ...he Bowl for storage NOTE Make sure the Disc is level with the top of the Bowl for best performance 1 Process Storage Hold the Disc by its centre hub and lower it onto the Drive Adapter aligning the mark on the centre hub of the Disc to the matching mark on the Adapter When properly placed the Disc should be level with the top of the Bowl If the Disc falls to the storage position lift it out turn i...

Page 9: ...ver are properly assembled on the Base see the Product Assembly section 1 2 O P 1 2 O P To turn on press 1 or 2 The Food Processor will run continuously and the indicator light will glow To turn off press 1 or 2 again or press O P To use the Pulse function Press O P for short bursts or press and hold for longer bursts The Pulse function runs at high speed only The Food Processor will turn off when...

Page 10: ...usher will drizzle the oil at a constant rate REMOVING PROCESSED FOODS 1 2 O P Turn the Food Processor off Press the O P button and unplug the Food Processor before disassembling Lift the Lid Latch to unlock the Work Bowl Cover then lift the Cover to remove 1 2 2 Piece Food Pusher 1 2 O P 1 2 O P When finished press the O P button The indicator light will go out and the Blade or Disc will slow to ...

Page 11: ...e Bowl Holding the Disc by the centre hub lift it straight up Remove the Drive Adapter and Accessory if using The Blade will stay in place on the Drive Adapter when you remove the Adapter 3 4 Lift the Work Bowl off of the Base to remove food from the Bowl with a spatula 5 ...

Page 12: ...follow these guidelines 1 2 NOTE If washing the Food Processor parts by hand avoid the use of abrasive cleansers or scouring pads They may scratch or cloud the Work Bowl and Cover All parts are top rack dishwasher safe Avoid laying the Bowl on its side Thoroughly dry all parts after washing Use gentle dishwashing cycles such as normal Avoid high temperature cycles You can store up to two blades an...

Page 13: ... until the O P light turns off and retry The Food Processor may take from 5 15 minutes to cool completely The motor may be locked If the speed light stays on while the O P light flashes press the O P button to reset the motor Food Processor not shredding or slicing properly Make sure the raised Blade side of the Disc is positioned face up on the Drive Adapter Make sure ingredients are suitable for...

Page 14: ...nAid Australia Pty Ltd 6 8 Billbrooke Close Cameron Park NSW 2285 Australia Phone 1 800 990 990 Mobile 0249026500 Email enquiries kitchenaid com au In New Zealand Website www kitchenaid co nz Email enquiries kitchenaid co nz Phone 0800 881 200 In other countries For all product related questions and after sales matters please contact your dealer to obtain the name of the nearest Authorised Kitchen...

Page 15: ......

Page 16: ...W11517032A 03 21 2021 All rights reserved ...

Reviews: