background image

9KSBC2F1

Summary of Contents for 9KSBC2F1

Page 1: ...9KSBC2F1 ...
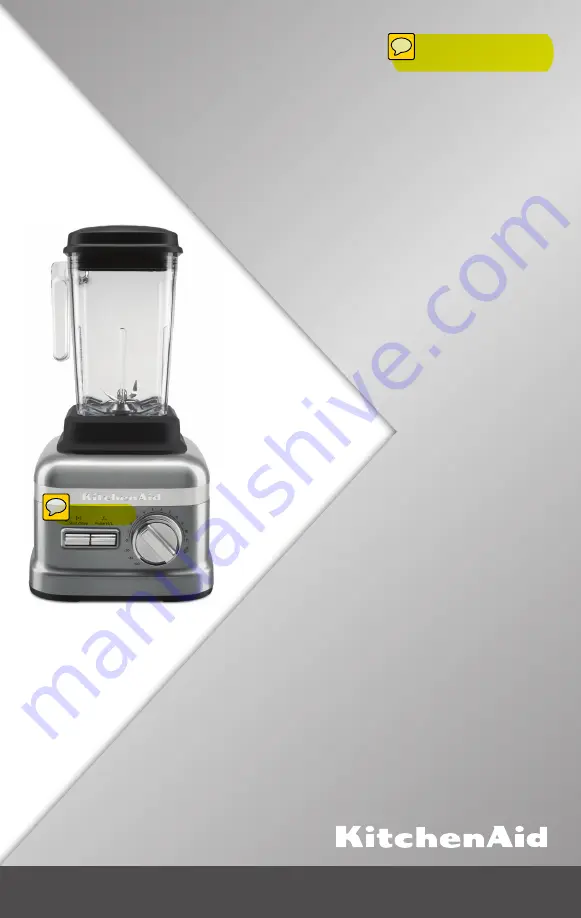
Page 2: ...ord not shown Motor horsepower for the blender motor was measured using a dynamometer a machine that laboratories routinely use to measure the mechanical power of motors Our 3 5 peak horsepower HP motor reference reflects the horsepower output of the motor itself and not the Blender s horsepower output in the blender jar As with any blender the power output in the blender jar is not the same as th...

Page 3: ...ars and above and persons with reduced physical sensory or mental capabilities or lack of experience and knowledge if they have been given supervision or instruction concerning use of the appliance in a safe way and understand hazards involved Cleaning and user maintenance shall not be made by children without supervision 4 This appliance is not intended for use by persons including children with ...

Page 4: ...liance to the nearest Authorised Service Centre for examination repair or adjustment If the supply cord is damaged it must be replaced by a special cord or assembly available from the manufacturer its service agent or similarly qualified persons in order to avoid a hazard 11 Do not let cord hang over edge of table or counter 12 The blades are sharp Care should be taken when handling the sharp cutt...

Page 5: ...ug in any way Do not use an adapter Do not use an extension cord If the power supply cord is too short have a qualified electrician or service technician install an outlet near the appliance 18 When blending hot liquids or ingredients ingredient measuring cap should remain in place over the lid opening Always start on lowest speed and slowly ramp to desired speed when blending hot liquids or ingre...

Page 6: ...m the fluid For best results cut or crumble gel into 1 2 cubes before blending Limit gel to 500 1000 grams Do not exceed 1000 grams in the jar You may need to use the tamper for thicker fluid gels 3 minutes VARIABLE SPEEDS When the Start Stop switch is pressed the Blender will run continuously until the Start Stop switch is pressed again or after 6 minutes have elapse N A 30 When the 30 time is se...

Page 7: ...on and the cord is also fully plugged into the back of the Blender Then plug the Blender into an earthed 2 The main power switch is on the back of the blender base Flip the POWER switch to the On I position The status indicator light above the Start toggle button will begin to flash indicating that the Blender is in Standby mode The Blender is now ready to operate Electrical Shock Hazard Plug into...

Page 8: ...NG THE COMMERCIAL BLENDER NOTE To avoid spills do not fill blender jar past the top most measurement mark especially when blending liquids 1 Put the items to blend into the blender jar Add liquids first then soft foods then leafy greens and ice or frozen items last 2 Make sure that the lid is fully secured on the blender jar next place the blender jar on the base making sure that it is fully align...

Page 9: ...s Press and hold the Pulse toggle switch up for a faster pulse or down for a slower pulse 7 After blending flip the Start Stop toggle switch up or down Allow the Blender to come to a complete stop before removing the lid and pouring your blended ingredients 8 If the Blender remains in standby mode for 28 minutes with no activity the Blender will enter sleep mode To get out of sleep mode press the ...

Page 10: ...ING CLEANING THE BLENDER AND ACCESSORIES Clean the Blender thoroughly after every use NOTE To avoid damaging the Blender do not immerse the blender base or cord in water To avoid scratching the Blender do not use abrasive cleansers or scouring pads 3 Rotate the control dial to 30 seconds Flip the Start Stop toggle switch up or down When the timer finishes pour out the soapy water and rinse the ble...

Page 11: ...top toggle switch up or down to start the Blender 4 Turn off the Blender and let the sanitizing mix sit in the blender jar for an additional 2 minutes 5 Pour out the sanitizing solution mix Do not rinse the blender jar 6 Place the lid on the blender jar Make sure the empty blender jar is fully in place on the blender base Run the empty Blender for an additional 10 seconds Do not rinse the jar afte...

Page 12: ...er back on to continue regular use 3 If the Blender stops while blending After 6 minutes of run time the Blender will automatically shut off and go into Sleep mode and the LED light will turn off You can wake the Blender back up using the toggle switches Start Stop or Pulse High Pulse Low If the Blender stops in less than 6 minutes it is possible there is an internal error with the Blender Contact...

Reviews: