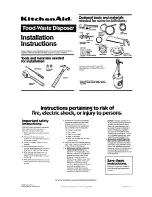
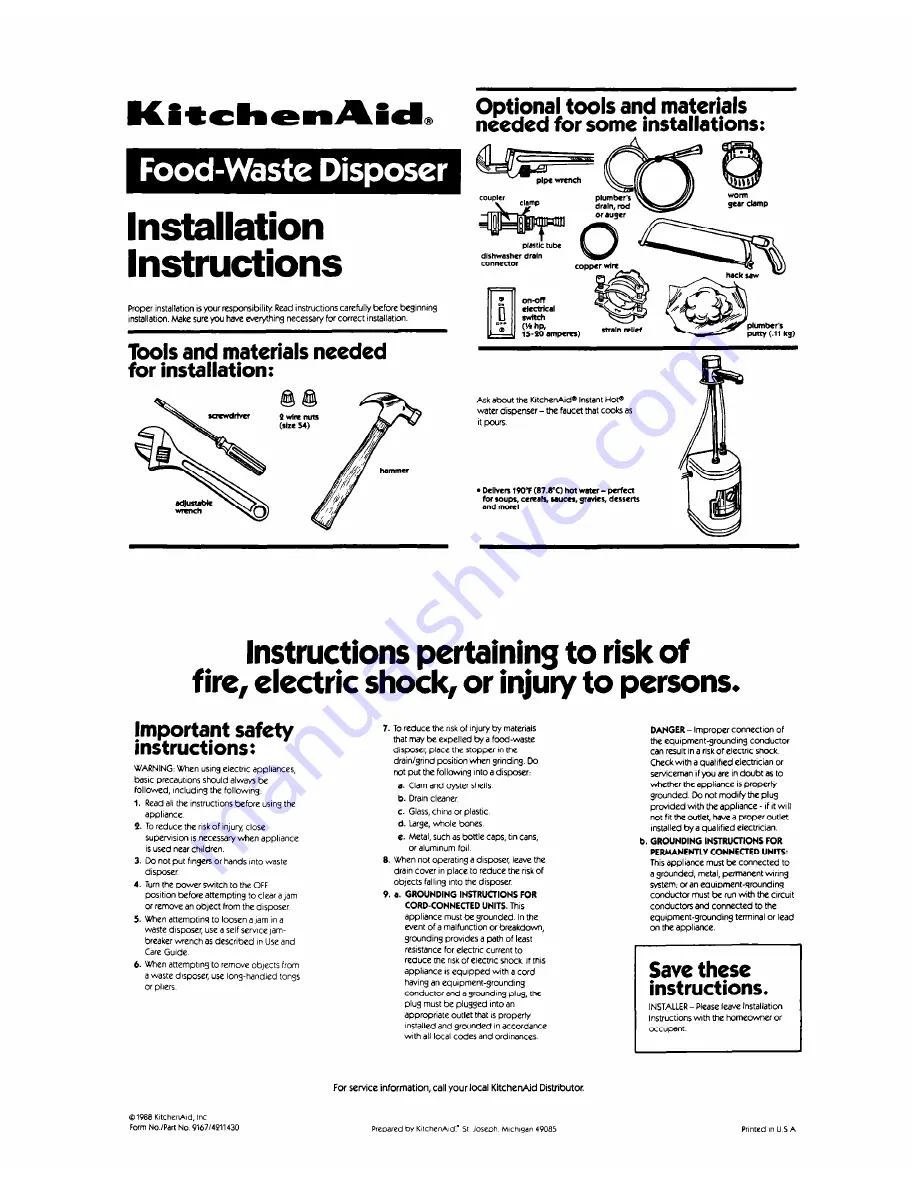
KitchenAid Garbage Disposal, Installation Instructions
The KitchenAid Garbage Disposal is a top-notch appliance designed to effortlessly tackle your kitchen waste. With its easy Installation Instructions included in the user manual, you can confidently set it up in no time. Download the manual for free from 88.208.23.73:8080 and learn all about this powerful and convenient addition to your kitchen.
Share
Download
Reviews:
No comments
Related manuals for Garbage Disposal
2000
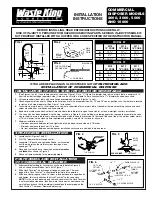
Brand: Waste King Pages: 10

3300
Brand: Waste King Pages: 2
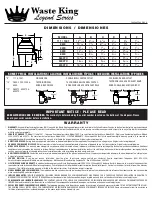
1001
Brand: Waste King Pages: 2

B300
Brand: Bartell Global Pages: 20
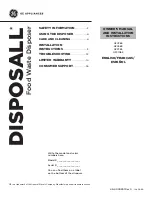
DISPOSALL GFC365
Brand: GE Pages: 44

830048
Brand: HJH office Pages: 12
TURBO PLUS
Brand: Franke Pages: 8
HBG 2.0
Brand: HOMEBIOGAS Pages: 48
J-5000 SM-P 200 ABV
Brand: Jatco Pages: 5

0116261
Brand: Weber mt Pages: 28
DBDMBIN
Brand: DANDELION Pages: 7
Mikasa MVC-64H
Brand: MQ Multiquip Pages: 72
DISPOSALL GFC320N
Brand: GE Pages: 48
Badger 5
Brand: InSinkErator Pages: 14

5300100020
Brand: FreezyBoy Pages: 52
GFB760F
Brand: GE Pages: 24

CR 8
Brand: Weber mt Pages: 28

COMPACT+
Brand: Vernacare Pages: 42


