5-2
Component Testing (continued)
Component Testing Chart
To Enter Manual Configuration Mode:
NOTE:
This menu is accessible only during the
first minutes after the cooktop is plugged in.
1. Remove the key-lock functionality by
pressing the Control Lock button.
2. Press the following keys sequentially
(a beep will sound after each key
press): Timer “-”, Timer “+”, Timer“-”,
Timer“+”, Control Lock. After the key
stroke combination is pressed, a “CO”
will appear on the display.
3. Press the Control Lock button. A
“OO” will appear on the display.
4. Configure the cooktop by choosing
one of the following numbers, see
chart.
5. Press the Control Lock button to
confirm the configuration. The
configuration will then be downloaded
into the cooktop. This process will last
a few seconds. The configuration
number chosen will blink on the display.
6. The cooktop is ready to use.
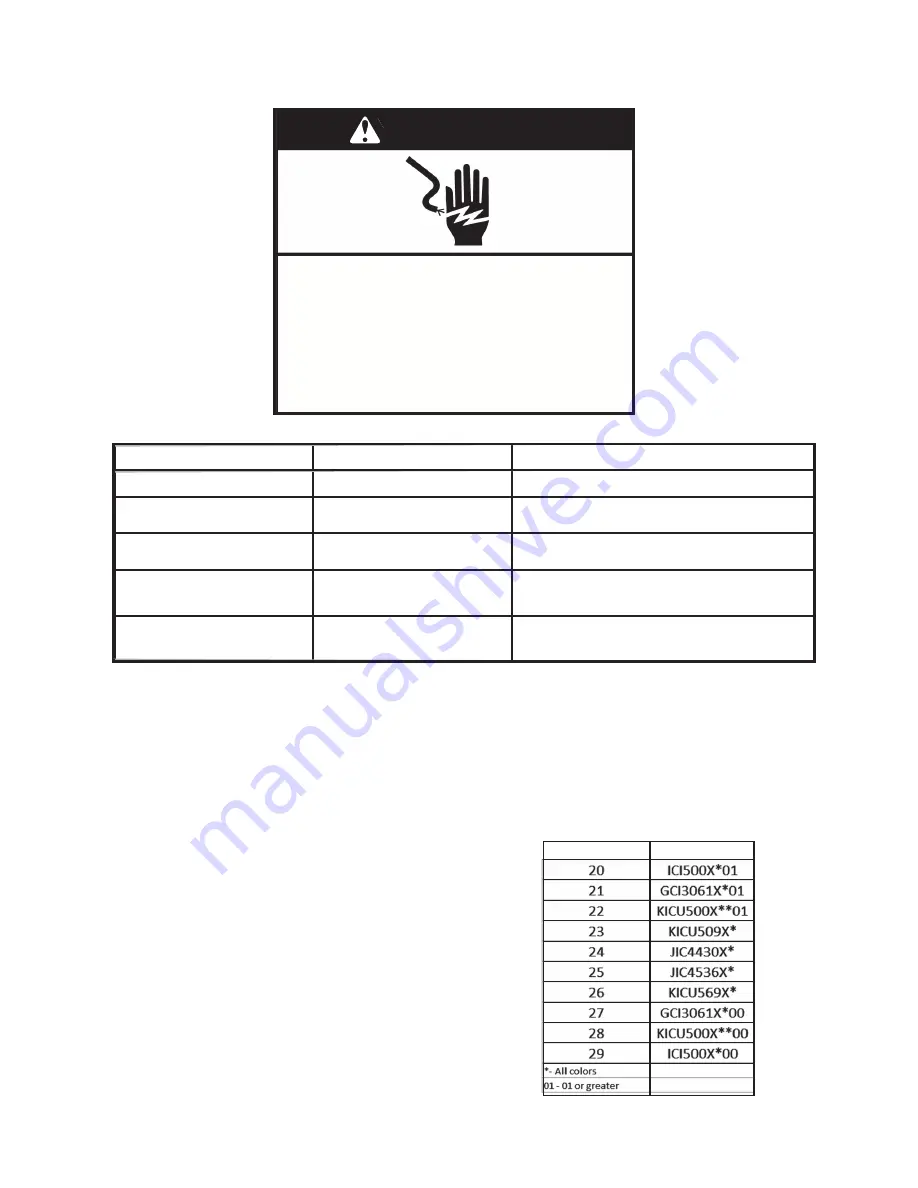
WARNING
Electrical Shock Hazard
Disconnect power before servicing.
Replace all parts and panels before
operating.
Failure to do so can result in death or
electrical shock.
5
e
g
a
tl
o
V
s
tl
u
s
e
R
s
t
n
i
o
p
k
c
e
h
C
p
o
t
k
o
o
c
e
h
t
n
o
n
o
it
a
c
o
L
z
H
0
6
-
C
A
V
0
4
2
o
t
C
A
V
8
0
2
m
o
r
F
)
N
(
)
L
(
-
1
J
d
r
a
o
b
r
e
tl
if
I
M
E
Power control board (PC) from Filter
(EMI) Board Left and right
z
H
0
6
-
C
A
V
0
4
2
o
t
C
A
V
8
0
2
m
o
r
F
)
N
(
)
L
(
-
1
J
Power control board (PC) to blower fan
Left and right
J205 - (00) - (22)
J205 - (00) - (60)
From 0VDC to 12VDC
Power control board (PC) to coil sensor
Left and right
J604 - (1) - (2)
J605 - (1) - (2)
+5VDC
0V
+10.5V
Power control board (PC) to the User
Interface
J806 - 00
J806 - 88
J806 - 99
J806 - 22
J806 - 44
J806 - 99
[0VDC, Neutral pin])
0VDC
From 0VDC to 12VDC
Use the Timer buttons to scroll between the
numbers on the display, moving sequentially
and beginning at “00.” The Timer“+” button
will increase the number by 1, and the
Timer“-” will decrease the number by one.
Reconfiguration Chart
Configuration Number
Cooktop Model
Summary of Contents for GIC3051X
Page 4: ... iv NOTES ...
Page 20: ...3 6 NOTES ...
Page 28: ...4 8 NOTES ...
Page 40: ...6 8 NOTES ...
Page 42: ...7 2 NOTES ...
Page 44: ......


