background image

7

48 oz. Clear Polycarbonate or Stainless Steel Jar

The 6-cup (48 oz.) jars are dishwasher safe. Each features a comfortable
handle. The polycarbonate jar includes a durable handle with soft
covering for additional comfort. The jar collar, blade assembly, and seals
are built into the jar for strength, durability, and water-tight performance. 

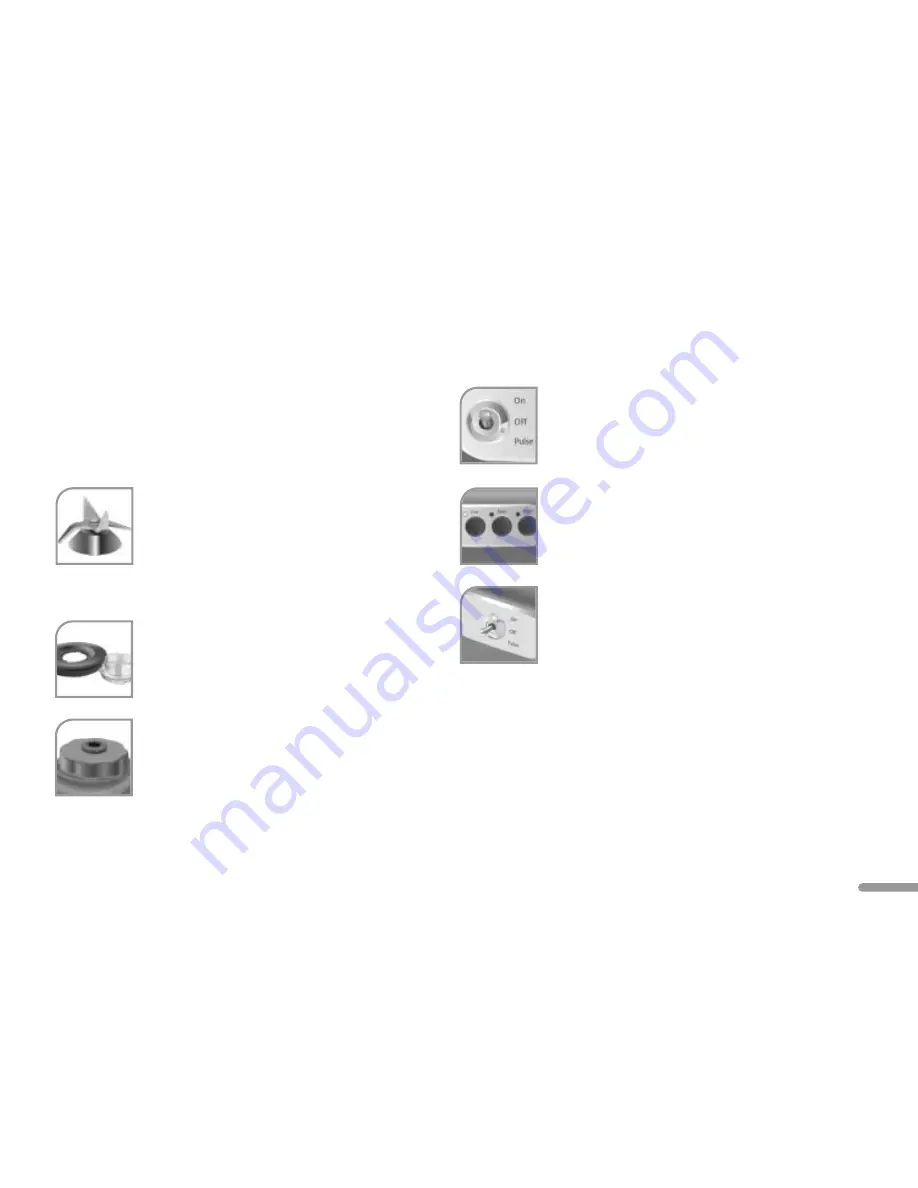
Patented One-Piece Blade

Extra-thick, corrosion-resistant stainless steel blade has
sharpened edges and high blade angles for extreme
performance and long life. The blade is specially balanced
to reduce vibration and minimize bearing wear. The all

stainless steel blade assembly includes ball bearings for maximum
efficiency and durability.

Jar Lid with Removable 2 oz. Ingredient Cap

Jar lid provides a strong seal, yet is easy to remove. The
lid’s convenient ingredient cap makes adding ingredients
to the blender easy. With 1 and 2 ounce volume lines,
the cap doubles as a handy measuring cup.

Scalloped Inner Jar Collar and Base

The jar can be conveniently placed in any of 8 different
positions on the base. The scalloped design provides an
incredibly stable and secure coupling.

On/Off/Pulse Switch

Heavy-duty toggle switch turns the blender on and off.
Blender can be pulsed by pressing the switch down
momentarily. When pulsed, the blender operates at low
speed for maximum control.

Speed Selection Buttons (Chef’s Blender only)

Low, Medium, and High speeds provide versatility for
every culinary task, from puréeing sauces and soups 
to blending frozen drinks. Indicator lights show the
speed selected.

Single Speed Operation (Bar Blender only)

The Bar Blender’s single speed is optimized for quickly
blending frozen drinks and crushing ice. To produce
similar results with the Chef’s Blender, use the High
speed setting.

One-Step Operation

Move the On/Off/Pulse Switch to “On” or “Pulse”, and the blender starts
immediately. The Chef’s Blender automatically starts at the Low speed
setting; the Bar Blender will operate at high speed in the “On” position
or low speed in the “Pulse” position. To start the Chef’s Blender at the
Medium or High speed settings, turn on the blender while pressing the
desired speed selection button.

Continued…

Summary of Contents for KCB148

Page 1: ...Model KCB148 Bar Blender Model KCB348 Chef s Blender COMMERCIAL BLENDER USE AND CARE MANUAL ...

Page 2: ......

Page 3: ... Operating Tips 12 Care Cleaning General Procedures 13 Washing Rinsing the Blender Jar 13 Cleaning the Base 13 Sanitizing the Blender 14 Troubleshooting 15 Accessories Replacement Parts List 17 WARRANTY AND SERVICE Warranty for the 50 United States District of Columbia 18 Warranty for Puerto Rico 18 Arranging for Hassle Free Replacement 19 Ordering Accessories Replacement Parts 19 Arranging for Se...

Page 4: ...n kill or hurt you and others All safety messages will follow the safety alert symbol and either the word DANGER or WARNING These words mean You can be killed or seriously injured if you don t immediately follow instructions You can be killed or seriously injured if you don t follow instructions All safety messages will tell you what the potential hazard is tell you how to reduce the chance of inj...

Page 5: ...urn appliance to the nearest authorized service facility for examination repair or electrical or mechanical adjustment 7 Do not use outdoors 8 Do not let the cord hang over the edge of a table or counter 9 Keep hands and utensils out of the container while blending to reduce the risk of severe injury to persons or damage to the Blender A scraper may be used but must be used only when the Blender i...

Page 6: ...event of a product safety notification and assist us in complying with the provisions of the Consumer Product Safety Act This card does not verify your warranty Please complete the following for your personal records Model Number Chef s Blender KCB348 Bar Blender KCB148 Serial Number __________________________________________________ Date Purchased_________________________________________________ ...

Page 7: ...an Do not modify the plug in any way Do not use an extension cord If the power supply cord is too short have a qualified electrician or serviceman install an outlet near the appliance ELECTRICAL REQUIREMENTS WARNING Electrical Shock Hazard Plug into a grounded 3 prong outlet Do not remove ground prong Do not use an adapter Do not use an extension cord Failure to follow these instructions can resul...

Page 8: ...stable the metal base stands up to the most intensive use while providing quiet operation Rubber feet protect the countertop and eliminate walk during blending Powerful Motor Motor generates more than 1 peak horsepower and is capable of speeds up to 21 000 rpm High efficiency fan and airflow design ensures cool operation Model KCB348 Chef s Blender Model KCB148 Bar Blender 6 COMMERCIAL BLENDER FEA...

Page 9: ...e conveniently placed in any of 8 different positions on the base The scalloped design provides an incredibly stable and secure coupling On Off Pulse Switch Heavy duty toggle switch turns the blender on and off Blender can be pulsed by pressing the switch down momentarily When pulsed the blender operates at low speed for maximum control Speed Selection Buttons Chef s Blender only Low Medium and Hi...

Page 10: ...lender is jammed overloaded or overheated special electronic controls will shut off the unit to prevent damage The power on safeguard will prevent the blender from starting if it is plugged in with the On Off Pulse Switch in the On position Under Base Cord Wrap Wrap keeps excess cord out of sight and out of the way Easy to Clean Design The smooth base and round power cord are easy to wipe clean Th...

Page 11: ...the bottom of the blender base 2 Make certain the On Off Pulse Switch is in the Off position 3 Plug the power cord into a grounded 3 prong outlet Continued USING THE BLENDER WARNING Electrical Shock Hazard Plug into a grounded 3 prong outlet Do not remove ground prong Do not use an adapter Do not use an extension cord Failure to follow these instructions can result in death fire or electrical shoc...

Page 12: ...The Bar Blender will run at high speed 6 Select other speeds on the Chef s Blender by pushing the appropriate Speed Selection Button The indicator lights will show the current speed selected 7 To stop blending move the On Off Pulse Switch to the Off position USING THE BLENDER To start the Chef s Blender at the Medium Med or High speed settings move the On Off Pulse Switch to the On position while ...

Page 13: ...ft Featuring 1 and 2 oz 30 and 60 ml volume lines the cap can be used as a convenient measuring cup NOTE When operating the blender at higher speeds with a full jar or with hot contents stop blender before adding ingredients Overload Jam and Thermal Safeguards The electronic controls of the blender will automatically shut off the unit when The blender becomes overloaded due to a too heavy ingredie...

Page 14: ... cups at a time versus 1 cup portions Thorough blending usually requires only a few seconds of operation Be careful not to over process foods When chopping dry ingredients make sure the blender jar lid and blade are completely dry With foods that tend to stick to the jar use the Pulse feature For many ingredient mixtures start the blending process at the Low speed setting to combine the ingredient...

Page 15: ...e as possible Return the ingredient cap to the lid 2 Fill the jar 3 4 full approx 5 cups with warm water up to 115 F or 46 C and add 1 or 2 drops of manual dishwashing liquid 3 Place the jar on the blender base and attach the lid Run the blender for 30 seconds at the High speed setting The Bar Blender runs at the equivalent of High speed in the On position Remove the blender jar and empty contents...

Page 16: ... jar on the blender base and attach the lid 3 Run the blender for 2 minutes at the High speed setting The Bar Blender runs at the equivalent of High speed in the On position Remove the blender jar and empty contents Do not rinse with water 4 Remove the ingredient cap from the lid Immerse the lid and cap in sanitizing solution for 2 minutes 5 Let jar ingredient cap and lid air dry Do not rinse with...

Page 17: ...nder is jammed or overheated The blender may be overheated If the motor exceeds a certain temperature the thermal safeguard will engage to prevent damage This may happen when blending multiple jars of heavy ingredients for a prolonged period Move the On Off Pulse Switch to the Off position The thermal safeguard will prevent the blender from running until it is cool enough to operate safely Let the...

Page 18: ...ff Pulse Switch to the Off position The blender will now operate normally On the Chef s Blender all three speed indicator lights will flash when the power on safeguard is engaged If the problem cannot be fixed with the steps in this section see the KitchenAid Warranty and Service on page 18 Do not return the Blender to the retailer Retailers do not provide service TROUBLESHOOTING ...

Page 19: ...tainless Steel Jar with Blade Assembly and Lid Cap assembled Replacement Item 48 oz Polycarbonate Jar Lid with Ingredient Cap 48 oz Stainless Steel Jar Lid with Ingredient Cap Blade Assembly and Retainer Nut for Polycarbonate Jar Blade Assembly and Retainer Nut for Stainless Steel Jar Lower Coupler Service Tool for replacing blade assembly and lower coupler Commercial Blender Use and Care Manual M...

Page 20: ... to the nearest Authorized Service Center Call toll free 1 800 541 6390 Monday through Friday 8 a m to 8 p m Eastern Time or Saturday 10 a m to 5 p m to learn the location of a Service Center near you Your repaired Blender will be returned to you prepaid and insured 12 Month Full Warranty for Commercial Use from date of purchase Hassle Free Replacement of your Blender See Arranging for Hassle Free...

Page 21: ... of purchase register receipt credit card charge slip etc Ordering Accessories and Replacement Parts Please refer to page 17 for available replacement parts To order accessories or replacement parts for your Blender call toll free 1 800 541 6390 Monday through Friday 8 a m to 8 p m Eastern Time or Saturday 10 a m to 5 p m or write to Customer Satisfaction Center KitchenAid Portable Appliances P O ...

Page 22: ......

Page 23: ......

Page 24: ... Registered Trademark Trademark of KitchenAid U S A 2004 All rights reserved Specifications subject to change without notice dZw39181204 FOR THE WAY IT S MADE 8211464 ...

Reviews: