background image

3

Electrical Requirements

It is important to make sure you have the proper electrical 
connection:

A 115 Volt, 60 Hz., AC only 15- or 20-amp electrical supply, 
properly grounded in accordance with the National Electrical 
Code and local codes and ordinances, is required.

It is recommended that a separate circuit, serving only your 
warming drawer, be provided.

Recommended Grounding Method

For your personal safety, this appliance must be grounded. This 
appliance is equipped with a power supply cord having a 3 prong 
grounding plug. To minimize possible shock hazard, the cord 
must be plugged into a mating, 3 prong, grounding-type wall 
receptacle, grounded in accordance with the National Electrical 
Code and local codes and ordinances. If mating wall receptacle 
is not available, it is the personal responsibility of the customer to 
have a properly grounded, 3 prong wall receptacle installed by a 
qualified electrician.

SAVE THESE INSTRUCTIONS

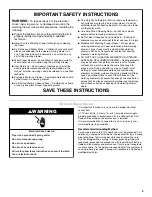
IMPORTANT SAFETY INSTRUCTIONS

WARNING: 

To reduce the risk of fire, electrical 

shock, injury to persons, or damage when using the 
warming drawer, follow basic precautions, including the 
following:

■  

Proper Installation – Be sure the warming drawer is 

properly installed and grounded by a qualified 
technician.

■  

Never Use the Warming Drawer for Warming or Heating 

the Room.

■  

Do Not Leave Children Alone – Children should not be left 

alone or unattended in area where warming drawer is in 
use. They should never be allowed to sit or stand on any 
part of the warming drawer.

■  

Wear Proper Apparel – Loose-fitting or hanging garments 

should never be worn while using the warming drawer.

■  

User Servicing – Do not repair or replace any part of the 

warming drawer unless specifically recommended in the 
manual. All other servicing should be referred to a qualified 
technician.

■  

Storage in Warming Drawer – Flammable materials should 

not be stored in a warming drawer.

■  

Do Not Use Water on Grease Fires – Smother fire or flame 

or use dry chemical or foam-type extinguisher.

■  

Use Only Dry Potholders – Moist or damp potholders on 

hot surfaces may result in burns from steam. Do not let 
potholder touch hot heating elements. Do not use a towel 
or other bulky cloth. 

■  

Use Care When Opening Door – Let hot air or steam 

escape before removing or replacing food.

■  

Do Not Heat Unopened Food Containers – Build-up of 

pressure may cause container to burst and result in injury.

■  

Placement of Warming Drawer Racks – Always place 

warming drawer racks in desired location while warming 
drawer is cool. If rack must be moved while warming 
drawer is hot, do not let potholder contact hot heating 
element in warming drawer.

■  

DO NOT TOUCH HEATING ELEMENTS OR INTERIOR 

SURFACES OF WARMING DRAWER – Heating elements 
may be hot even though they are dark in color. Interior 
surfaces of a warming drawer become hot enough to 
cause burns. During and after use, do not touch, or let 
clothing or other flammable materials contact heating 
elements or interior surfaces of warming drawer until they 
have had sufficient time to cool. Other surfaces of the 
warming drawer may become hot enough to cause burns – 
among these surfaces are warming drawer vent openings 
and surfaces near these openings and warming drawer 
doors. 

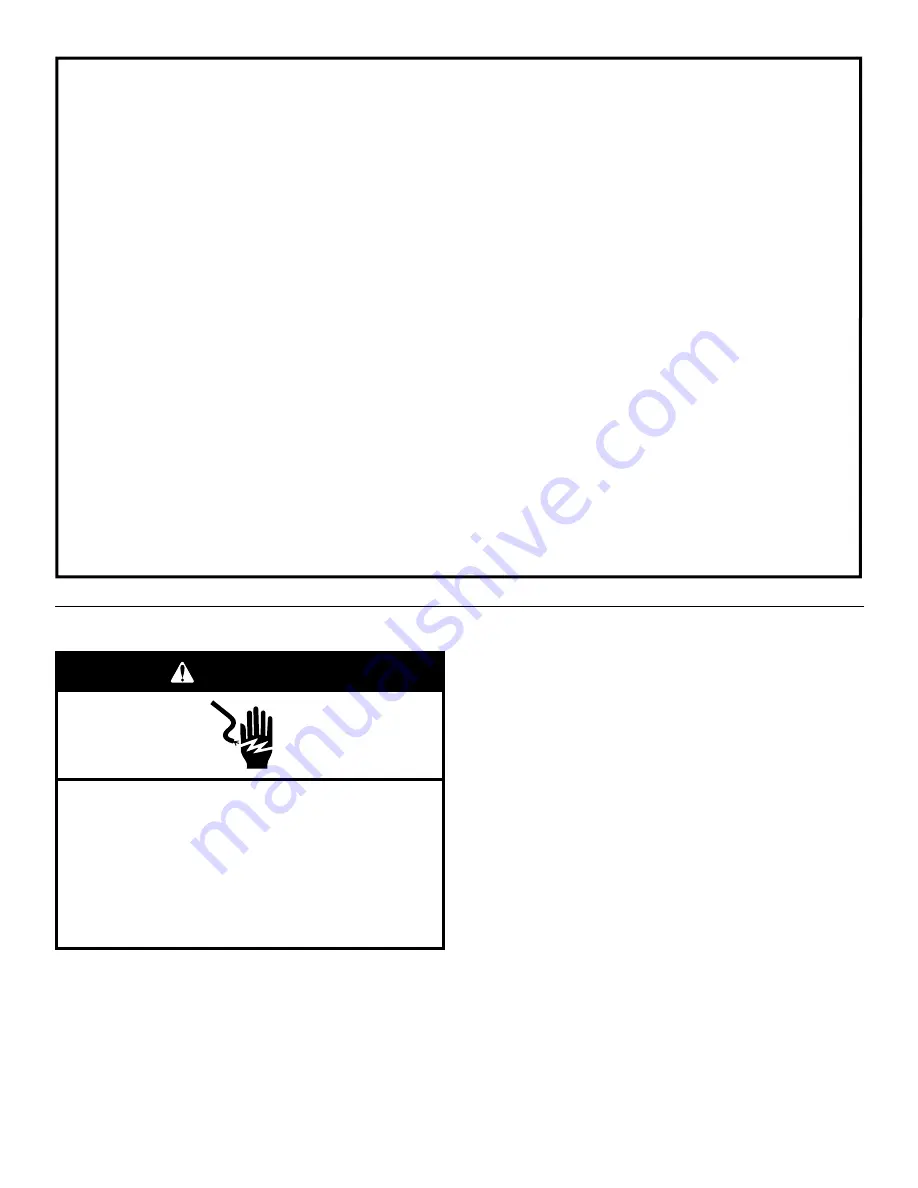
Electrical Shock Hazard

Plug into a grounded 3 prong outlet.

Do not remove ground prong.

Do not use an adapter.

Do not use an extension cord.

Failure to follow these instructions can result in death, 
fire, or electrical shock.

WARNING

Summary of Contents for KEWD105

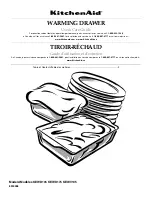
Page 1: ...tion and service call 1 800 807 6777 or visit our website at www kitchenaid com or www KitchenAid ca TIROIR RÉCHAUD Guided utilisationetd entretien Au Canada pour assistance composez le 1 800 461 5681 pour installation ou service composez le 1 800 807 6777 ou visitez notre site web à www KitchenAid ca Table of Contents Table des matières 2 Models Modèles KEWD105 KEWD175 KEWV105 8304068 ...

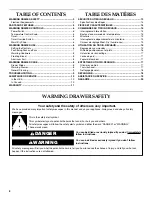
Page 2: ...lage des commandes 15 Grille de positionnement et plats 16 Ustensiles de réchauffage 17 Levée du pain 17 Papier d aluminium 17 ENTRETIEN DU TIROIR RÉCHAUD 17 Glissières du tiroir 17 Tiroir réchaud 17 Nettoyage général 18 DÉPANNAGE 18 ASSISTANCE OU SERVICE 19 GARANTIE 20 WARMING DRAWER SAFETY You can be killed or seriously injured if you don t immediately You can be killed or seriously injured if y...
Page 3: ...er Servicing Do not repair or replace any part of the warming drawer unless specifically recommended in the manual All other servicing should be referred to a qualified technician Storage in Warming Drawer Flammable materials should not be stored in a warming drawer Do Not Use Water on Grease Fires Smother fire or flame or use dry chemical or foam type extinguisher Use Only Dry Potholders Moist or...

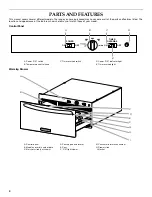
Page 4: ... your model Control Panel Warming Drawer A Power ON switch B Temperature control knob C Timer override switch D Power ON indicator light E Timer override light POWER ON OFF TIMER OVERRIDE ON OFF HIGH MED B D A C E MED LO MED HI A Control panel B Model and serial number plate C Moist dry slide not shown D Pan support and locator E Pans F ON light viewer G Consumer information number H Drawer slide ...

Page 5: ...steam and moisture to escape from the drawer NOTE Condensation may form on inner surfaces This is normal To keep foods moist put slide on MOIST closing the vents Closing the vents will seal the drawer and keeps hot food soft and moist To keep foods crisp put slide on DRY opening the vents Opening the vents releases moisture from the drawer and keeps hot foods crisp and dry WARMING DRAWERUSE Settin...

Page 6: ...s properly installed in the locator notch before inserting pans When not using the pans place the support in the storage notch WARMING DRAWER TEMPERATURE CHART Different foods require different settings in order to maintain the ideal serving temperature Use the following chart as a guide All foods should be covered except those marked with an asterisk A Pan support in locator notch B Storage notch...

Page 7: ...over meat or poultry to prevent dryness and further browning while in the drawer The use of aluminum foil to cover foods may cause moisture to collect and drip into the drawer WARMING DRAWER CARE DrawerSlides The drawer slides allow you to fully extend the drawer for easier cleaning If necessary the drawer can be removed NOTE Load capacity for the drawer and slides is 100 lbs 45 kg WarmingDrawer R...

Page 8: ...r Wash rinse and dry thoroughly PANS Mild soap and water Wash rinse and dry with soft cloth Do not clean in dishwasher Discoloration will occur TROUBLESHOOTING Try the solutions suggested here first in order to avoid the cost of an unnecessary service call Warming drawer will not operate Is the power supply cord unplugged Plug into a grounded 3 prong outlet Has a household fuse blown or has a circ...

Page 9: ...he KitchenAid designated service company in your area you can also look in your telephone directory Yellow Pages For further assistance If you need further assistance you can write to KitchenAid with any questions or concerns at KitchenAid Brand Home Appliances Customer eXperience Center 553 Benson Road Benton Harbor MI 49022 2692 Please include a daytime phone number in your correspondence Access...

Page 10: ...DY UNDER THIS LIMITED WARRANTY SHALL BE PRODUCT REPAIR AS PROVIDED HEREIN IMPLIED WARRANTIES INCLUDING WARRANTIES OF MERCHANTABILITY OR FITNESS FOR A PARTICULAR PURPOSE ARE LIMITED TO ONE YEAR OR THE SHORTEST PERIOD ALLOWED BY LAW KITCHENAID SHALL NOT BE LIABLE FOR INCIDENTAL OR CONSEQUENTIAL DAMAGES SOME STATES AND PROVINCES DO NOT ALLOW THE EXCLUSION OR LIMITATION OF INCIDENTAL OR CONSEQUENTIAL ...

Page 11: ...nuel Toute autre opération d entretien ou de réparation doit être confiée à un technicien qualifié Remisage dans le tiroir de réchauffage Les matériaux inflammables ne doivent pas être remisés dans le tiroir de réchauffage Ouvrir la porte du tiroir avec soin Laisser l air chaud ou la vapeur s échapper avant d enlever ou de replacer les aliments Ne pas utiliser d eau pour éteindre un feu de graisse...

Page 12: ...mise à la terre Pour minimiser les risques de choc électrique le cordon d alimentation électrique doit être branché sur une prise de courant murale mise à la terre correspondante à trois alvéoles où la mise à la terre a été faite conformément au Code national de l électricité et aux codes et règlements locaux Si une prise murale correspondante n est pas disponible il incombe au client de faire ins...

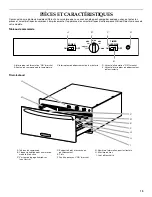
Page 13: ...on ON marche B Bouton de commande de la température C Interrupteur de dépassement de la minuterie D Voyant d alimentation ON marche E Voyant d interrupteur de dépassement de la minuterie POWER ON OFF TIMER OVERRIDE ON OFF HIGH MED B D A C E MED LO MED HI A Tableau de commande B Plaque signalétique des numéros de modèle et de série C Curseur de réglage humide sec non illustré D Support de plat et e...

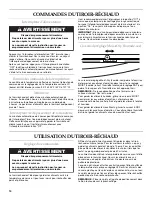
Page 14: ...ST humide retient l humidité tandis que le réglage DRY sec permet à la vapeur et à l humidité de s échapper du tiroir REMARQUE De la condensation peut se former sur les surfaces internes Ceci est normal Pour garder les aliments humides glisser le curseur à MOIST pour fermer les ouvertures d aération La fermeture des ouvertures d aération scelle le tiroir et garde les aliments tendres et humides Po...

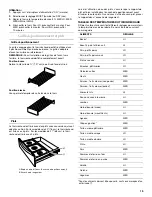
Page 15: ...le tiroir réchaud est livré avec 2 plats Lors de l utilisation du ou des plats s assurer que le support de plat est bien installé dans l encoche de positionnement avant d insérer le ou les plats Quand vous n utilisez aucun plat placer le support dans l encoche de rangement TABLEAU DES TEMPÉRATURES DU TIROIR RÉCHAUD Différents aliments nécessitent différents réglages pour maintenir la température d...

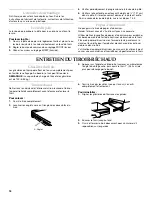
Page 16: ...papier d aluminium en forme de tente par dessus la viande et la volaille pour l empêcher de sécher ou de continuer de brunir dans le tiroir L utilisation de papier d aluminium pour couvrir les aliments peut causer une accumulation d humidité qui s égouttera dans le tiroir ENTRETIEN DUTIROIR RÉCHAUD Glissièresdutiroir Les glissières du tiroir permettent de l ouvrir complètement pour en faciliter le...

Page 17: ...ne d acier et eau tiède savonneuse Laver rincer et sécher complètement PLATS Savon doux et eau Laver rincer et sécher avec un chiffon doux Ne pas nettoyer dans un lave vaisselle Une décoloration se produirait DÉPANNAGE Essayer les solutions suggérées ici d abord afin d éviter le coût d une visite de service non nécessaire Le tiroir réchaud ne fonctionne pas Est ce que le cordon d alimentation est ...

Page 18: ...contactez nous ou appelez le centre de service désigné de KitchenAid le plus proche Pour des questions relatives aux produits veuillez appeler sans frais le Centre d interaction avec la clientèle de KitchenAid Canada au 1 800 461 5681 Lundi à vendredi 8 h 18 h HNE Samedi 8 h 30 16 h 30 HNE Nos consultants vous renseigneront sur les sujets suivants Caractéristiques et spécifications sur toute notre...

Page 19: ...DU CLIENT DANS LE CADRE DE LA PRÉSENTE GARANTIE LIMITÉE CONSISTE EN LA RÉPARATION PRÉVUE CI DESSUS LES GARANTIES IMPLICITES Y COMPRIS LES GARANTIES APPLICABLES DE QUALITÉ MARCHANDE ET D APTITUDE À UN USAGE PARTICULIER SONT LIMITÉES À UN AN OU À LA PLUS COURTE PÉRIODE AUTORISÉE PAR LA LOI KITCHENAID N ASSUME AUCUNE RESPONSABILITÉ POUR LES DOMMAGES FORTUITS OU INDIRECTS CERTAINES JURIDICTIONS NE PER...

Page 20: ...s réservés Registered Trademark TM Trademark of KitchenAid U S A KitchenAid Canada licensee in Canada Marque déposée TM Marque de commerce de KitchenAid U S A Emploi licencié par KitchenAid Canada au Canada 9 05 Printed in U S A Imprimé aux É U ...

Reviews: