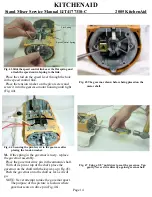
KITCHENAID
Stand Mixer Service Manual LIT4177310-C 2005 KitchenAid
C.
Note: remove the bowl and any attachments
before disassembly of unit.
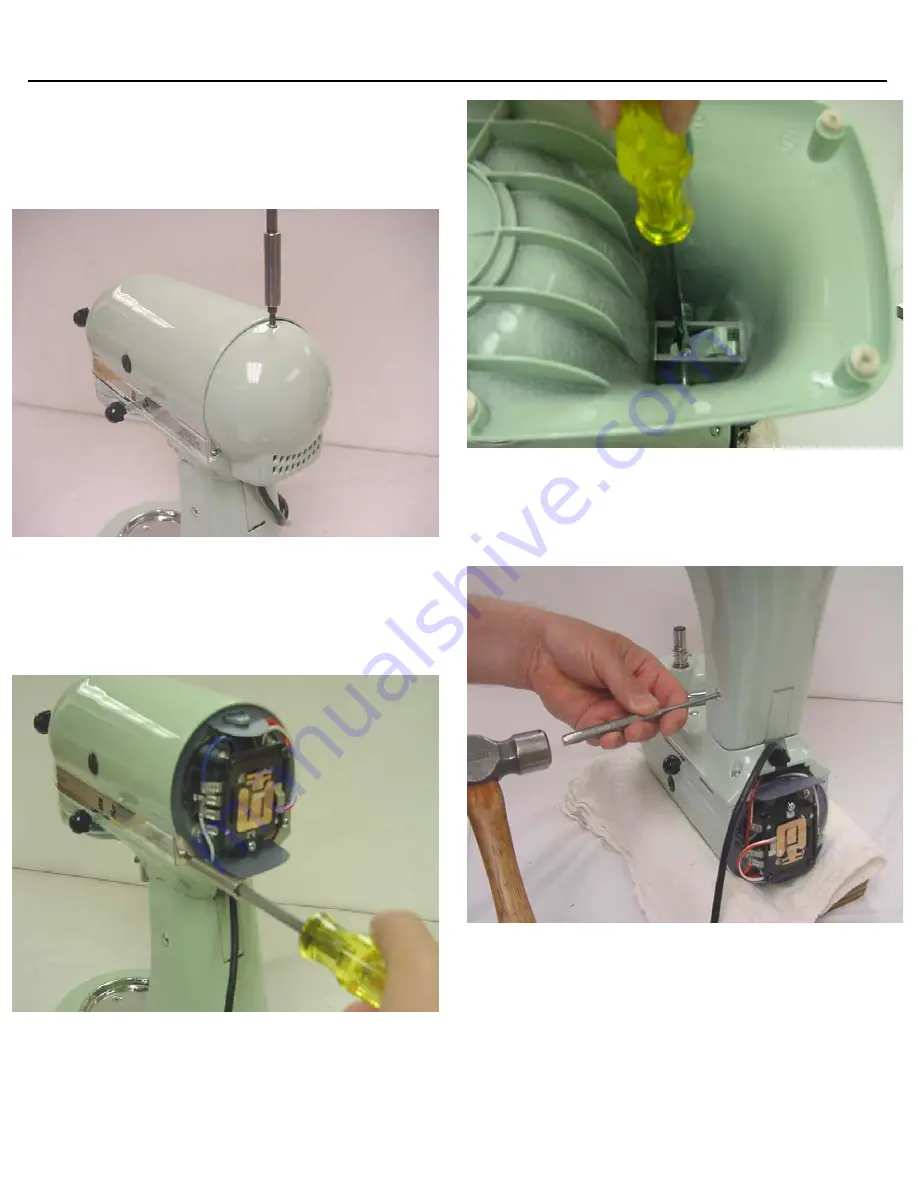
Remove the #6-32x3/8” (tapered head) screw
from the end cover (Fig. 1).
Remove the two #6-32x3/16” screws that hold the
trimband to the gearcase-motor housing (Fig. 2).
With the screws removed, take the trimband off and
set aside.
D.
To save the paint, lay the unit in a padded cradle
or on a cloth pad.
To remove the pedestal from the gearcase-bottom
cover, turn the unit upside down in a padded cradle.
Loosen the set screw with a screwdriver (Fig. 3)
Using a drift punch and hammer, drive out the
hinge pin (Fig. 4) and lift the pedestal off the
gearcase-bottom cover.
E.
To remove the planetary, first remove the drip
ring . Use a screwdriver on the upper edge of the
drip ring and gently tap the screwdriver to remove
the drip ring (Fig. 5).
PAGE 3
FIG # 1
Fig. 1 The end cover is removed by removing the
tapered head endcover screw.
Fig. 2 The trimband can be removed after removing the
trimband screws.
Fig. 3 Loosen the hinge pin setscrew to remove the
pedestal from the bottomcover
.
Fig. 4 A drift punch and hammer is used to drive out the
hinge pin.


