


KSM1FPA
KSM2FPA
INSTRUCTIONS
INSTRUCTIONS
INSTRUCCIONES
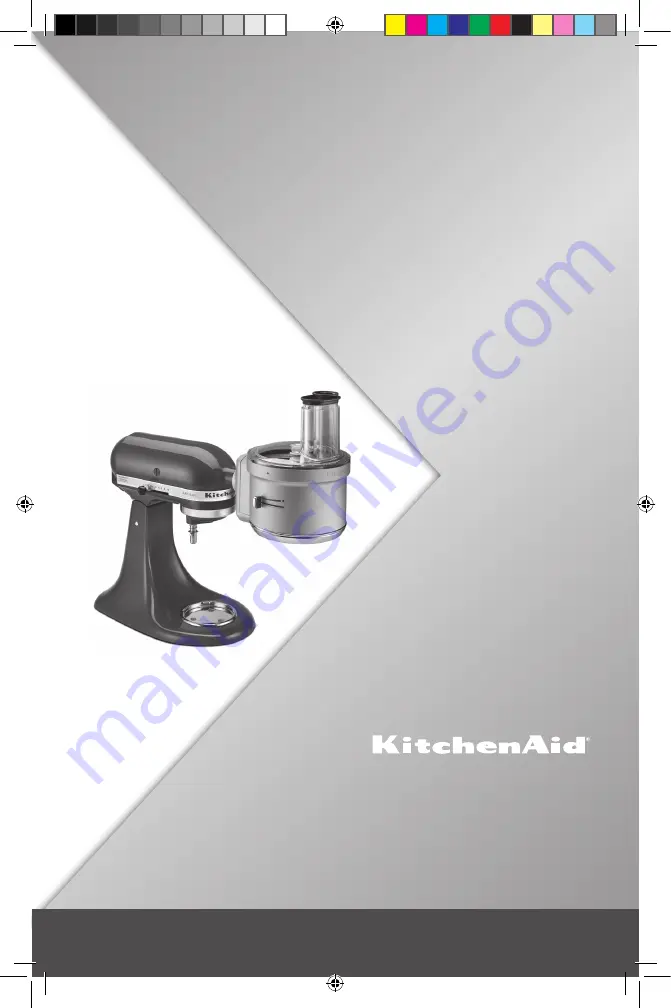
The KitchenAid
®
Food Processor Attachment is designed exclusively for use with all
KitchenAid
®
household Stand Mixers. For complete information on the use of these Stand Mixers,
please read the instructions that came with your Stand Mixer.
L' accessoire du robot culinaire KitchenAid
®
est conçu pour être utilisé exclusivement avec des batteurs
sur socle à usage domestique KitchenAid
®
. Pour des renseignements complets sur l’utilisation de
ces batteurs sur socle, lire le guide d’instructions fourni avec le batteur sur socle.
El accesorio procesador de alimentos KitchenAid
®
está diseñada exclusivamente para usarse con todas las
batidoras domésticas con base KitchenAid
®
. Para obtener la información completa sobre el uso de estas
batidoras con base, lea las instrucciones que vienen con su batidora con base.
W10641290A_ENv13.indd 1
5/28/14 11:50 AM


