background image

10

To help remove odors, you can wash interior walls with a 
mixture of warm water and baking soda (2 tbs to 1 qt 
[26 g to 0.95 L] of water).

4. Wash exterior with a clean sponge or soft cloth and a mild 

detergent in warm water. Do not use abrasive or harsh 
cleaners. Dry thoroughly with a soft cloth. 

To keep your stainless steel wine cellar looking like new 
and to remove minor scuffs or marks, it is suggested that 
you use the manufacturer’s approved Stainless Steel 
Cleaner & Polish. To order the cleaner, see the 
“Accessories” section.

IMPORTANT: This cleaner is for stainless steel parts only!

Do not allow the Stainless Steel Cleaner & Polish to come 
into contact with any plastic parts such as the trim pieces 
or door gaskets. If accidental contact does occur, clean 
plastic part with a sponge and mild detergent in warm 
water. Dry thoroughly with a soft cloth. 

5. Replace the racks. 

6. Clean the condenser coils regularly. They are located behind 

the base grille. Coils may need to be cleaned as often as 
every other month. This may help save energy.

Remove the base grille. See “Base Grille.”

Use a vacuum cleaner with an extended attachment to 
clean the condenser coils when they are dusty or dirty. 

Replace the base grille.

7. Plug in wine cellar or reconnect power.

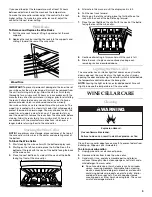
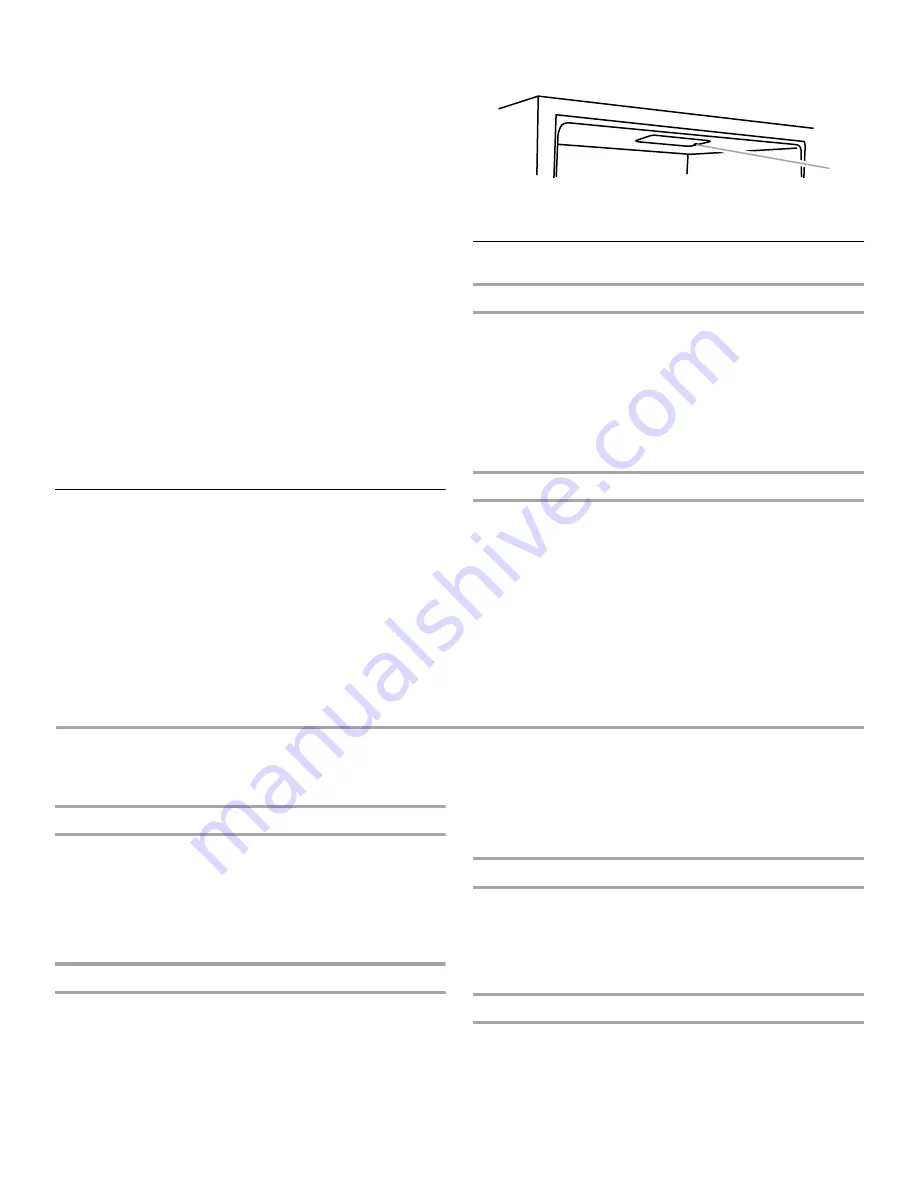
Changing the Light Bulb

NOTE: Not all appliance bulbs will fit your wine cellar. Be sure to 
replace the bulb with one of the same size, shape, and wattage.

To change the light bulb:

1. Unplug wine cellar or disconnect power.

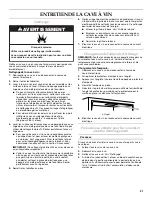
2. Slide the light shield toward the tab.

3. Press the tab down and lift the opposite end of the light 

shield up.

4. Replace the bulb.

5. Reinstall the light shield by inserting the tab end first. Then 

lower the light shield until it clicks into place. 

6. Plug in wine cellar or reconnect power.

Vacation and Moving Care

Vacations

If you choose to turn the wine cellar off before you leave, follow 
these steps.

1. Remove all wine bottles from the wine cellar.

2. Unplug the wine cellar. 

3. Clean the wine cellar. See “Cleaning.”

4. Tape a rubber or wood block to the top of the door to prop it 

open far enough for air to get in. This stops odor and mold 
from building up.

Moving

When you are moving your wine cellar to a new home, follow 
these steps to prepare it for the move.

1. Remove all wine bottles from the wine cellar.

2. Unplug the wine cellar.

3. Clean, wipe, and dry it thoroughly.

4. Take out all removable parts, wrap them well, and tape them 

together so they don’t shift and rattle during the move.

5. Tape the doors shut and tape the power cord to the wine 

cellar.

When you get to your new home, put everything back and refer to 
the “Installation Instructions” section for preparation instructions.

TROUBLESHOOTING

Try the solutions suggested here first in order to avoid the cost of an unnecessary service call.

Your wine cellar will not operate

Is the power supply cord unplugged? Plug into a grounded 
3 prong outlet.

Has a household fuse blown, or has a circuit breaker 
tripped? 
Replace the fuse or reset the circuit.

Is the Wine Cellar Control turned to the OFF position? See 
“Using the Control.”

The lights do not work

Is the power supply cord unplugged? Plug into a grounded 
3 prong outlet.

Is a light bulb loose in the socket? Unplug wine cellar or 
disconnect power. Gently remove the bulb and reinsert. Plug 
in wine cellar or reconnect power.

Has a light bulb burned out? Replace with an appliance 
bulb of the same wattage, size, and shape. See “Changing 
the Light Bulb.”

There is water in the defrost drain pan

Is the wine cellar defrosting? The water will evaporate. It is 
normal for water to drip into the defrost pan. 

Is it more humid than normal? Expect that the water in the 
defrost pan will take longer to evaporate. This is normal when 
it is hot or humid.

The motor seems to run too much

Is the temperature outside hotter than normal? Expect the 
motor to run longer under warm conditions. At normal 
temperatures, expect your motor to run about 40% to 80% of 
the time. Under warmer conditions, expect it to run even 
more of the time.

A. Tab

A

Summary of Contents for KUWO244PBL00

Page 1: ... 1 800 461 5681 for installation and service call 1 800 807 6777 or visit our website at www kitchenaid com or www KitchenAid ca CAVEÀVIN MODÈLEOVERLAY Guided utilisationetd entretien Au Canada pour assistance composez le 1 800 461 5681 pour installation ou service composez le 1 800 807 6777 ou visitez notre site web à www KitchenAid ca Table of Contents Table des matières 2 ...

Page 2: ...SATION DE LA CAVE À VIN 19 Sons normaux 19 Utilisation de la commande 20 Casiers à vin 20 Stockage dans la cave à vin 20 Éclairage de la caisse 20 ENTRETIEN DE LA CAVE À VIN 21 Nettoyage 21 Changement de l ampoule d éclairage 21 Précautions à prendre pour les vacances et avant un déménagement 21 DÉPANNAGE 22 ASSISTANCE OU SERVICE 23 Aux États Unis 23 Au Canada 23 Accessoires 23 GARANTIE 24 WINE CE...

Page 3: ...rames weighing more than recommended may cause damage to your wine cellar Before creating the custom overlay frame determine the direction you want the door to swing Custom overlay frames are hinge specific A frame that is created for a right hinge door swing cannot be used for a left hinge door swing IMPORTANT SAFETY INSTRUCTIONS WARNING To reduce the risk of fire electric shock or injury when us...

Page 4: ...1 75 cm deep hole into the top of the overlay frame for the top hinge pin as shown 2 Drill a diam x deep 7 94 mm x 6 35 mm hole in the bottom of the overlay frame for the bottom hinge as shown NOTE CHAMFER 0 79 mm x 45 A Pivot plate relief A 21 54 6 cm 23 60 3 cm 27 70 5 cm 30 76 2 cm 21 54 6 cm 23 60 3 cm 1 91 cm 2 5 72 cm 1 4 60 cm 1 2 86 cm 3 97 mm 9 53 mm 1 75 cm 11 11 mm Side View Back View A...

Page 5: ... cellar For more information see Wine Cellar Safety Properly dispose of packaging Clean Before Using After you remove all of the packaging materials clean the inside of your wine cellar before using it See the cleaning instructions in Wine Cellar Care InstallCustomOverlayFrame IMPORTANT Create custom overlay frame according to the specifications in the Custom Overlay Frame section KitchenAid is no...

Page 6: ...ur pieces two the width of and two the height of the overlay frame 2 Remove the adhesive protection strip from one piece of the cut foam tape Align the edge of the foam tape with the inside edge of the overlay frame and adhere tape to the overlay Repeat Step 2 for all four sides Attach the Pivot Plate 1 Tap the nylon inserts into the two holes in the overlay frame 2 Use two 6 screws to attach the ...

Page 7: ...er operation the pivot posts must be clean and the closers must be clean and greased with petroleum jelly 1 Remove the door closer top and door closer bottom from the bottom hinge Clean thoroughly and apply petroleum jelly to the mating surfaces of the closers 2 Install the door closer bottom and door closer top on the bottom hinge IMPORTANT Be sure to properly align the door closer bottom bosses ...

Page 8: ... are normal Hard surfaces such as the flooring and surrounding structures can make the sounds seem louder The following describes the kinds of sounds and what may be making them Your wine cellar is designed to run more efficiently to keep your food items at the desired temperatures and to minimize energy usage The high efficiency compressor and fans may cause your wine cellar to run longer than yo...

Page 9: ... on the left hand side place the first bottle on the bottom of the rack with the neck of the bottle facing the back of the wine cellar 3 Place the next bottle on its side with the neck of the bottle facing the front of the wine cellar 4 Alternate in this manner until the display rack is full 5 Pull the next rack forward 6 Starting on the left hand side place the first bottle on the rack with the n...

Page 10: ...les from the wine cellar 2 Unplug the wine cellar 3 Clean the wine cellar See Cleaning 4 Tape a rubber or wood block to the top of the door to prop it open far enough for air to get in This stops odor and mold from building up Moving When you are moving your wine cellar to a new home follow these steps to prepare it for the move 1 Remove all wine bottles from the wine cellar 2 Unplug the wine cell...

Page 11: ...ANCE OR SERVICE Before calling for assistance or service please check Troubleshooting It may save you the cost of a service call If you still need help follow the instructions below When calling please know the purchase date and the complete model and serial number of your appliance This information will help us to better respond to your request If you need replacement parts If you need to order r...

Page 12: ...om accident alteration misuse abuse fire flood improper installation acts of God or use of products not approved by KitchenAid or KitchenAid Canada 5 Any food loss due to product failure 6 Repairs to parts or systems resulting from unauthorized modifications made to the appliance 7 Replacement parts or repair labor costs for units operated outside the United States or Canada 8 In Canada travel or ...

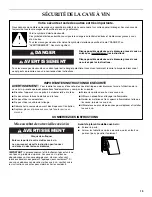
Page 13: ...s les messages de sécurité et de vous y conformer AVERTISSEMENT DANGER Voici le symbole d alerte de sécurité Ce symbole d alerte de sécurité vous signale les dangers potentiels de décès et de blessures graves à vous et à d autres Tous les messages de sécurité suivront le symbole d alerte de sécurité et le mot DANGER ou AVERTISSEMENT Ces mots signifient AVERTISSEMENT cave à vin prendre quelques pré...

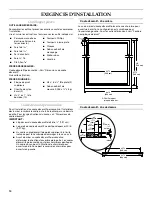
Page 14: ...f personnalisé déterminer la direction d ouverture de la porte Les cadres décoratifs personnalisés ont des charnières spécifiques Un cadre conçu pour l utilisation de charnières pour ouverture à droite ne peut recevoir des charnières pour ouverture à gauche Cadre décoratif Vue arrière La vue arrière du cadre décoratif présente une charnière pour ouverture à droite La configuration est symétrique p...

Page 15: ...près d un mur fixe laisser un espace minimum de 2 6 35 cm de chaque côté pour permettre à la porte de s ouvrir sans obstruction REMARQUE Il est recommandé de ne pas installer la cave à vin près d un four d un radiateur ou de toute autre source de chaleur Ne pas installer le réfrigérateur dans un endroit où la température baissera au dessous de 55 F 13 C Pour le meilleur rendement ne pas installer ...

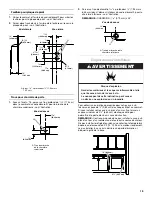
Page 16: ...personnalisé selon les spécifications de la section Cadre décoratif personnalisé KitchenAid n assume aucune responsabilité pour la dépose ou l addition de moulures ou de cadres décoratifs qui empêcheraient ou entraveraient une intervention de réparation sur la cave à vin Déballage de la porte 1 Retirer la porte de la cave à vin de son emballage 2 Enlever le carton conserver celui ci pour réutilisa...

Page 17: ...stallation de la plaque de pivot 1 Insérer les chevilles de nylon dans les deux trous du cadre décoratif 2 Utiliser deux vis n 6 pour fixer la plaque de pivot au sommet du cadre décoratif 3 Si nécessaire fixer la poignée option sur le cadre décoratif REMARQUE Si on installe une poignée option veiller à ce que les têtes de vis soient plus basses que la surface arrière du cadre décoratif Fixation du...

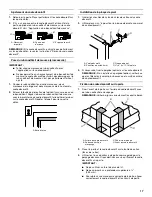
Page 18: ...ces de contact du ferme porte 2 Installer le ferme porte parties supérieure et inférieure sur la charnière inférieure IMPORTANT Veiller à aligner correctement les pitons du ferme porte inférieur avec les trous de la charnière inférieure Veiller à aligner correctement les pitons du ferme porte supérieur avec les trous de la plaque de charnière 3 Positionner la porte sur le ferme porte 4 Positionner...

Page 19: ...possible que la cave à vin neuve émette des sons que l appareil précédent ne produisait pas Comme ces sons sont nouveaux ils peuvent vous inquiéter La plupart de ces nouveaux sons sont normaux Les sons peuvent vous sembler plus forts avec des surfaces dures telles que le plancher et les structures adjacentes Les descriptions suivantes indiquent les genres de sons et leur cause possible Votre cave ...

Page 20: ...parente destinée à protéger convenablement le bois dans les cas d utilisation normale Il est possible de choisir de teinter la garniture en bois ou d appliquer un revêtement de fini transparent Retirer les casiers de la cave à vin avant de procéder aux opérations de teinture ou d application de revêtement Laisser le colorant ou la teinture sécher complètement pendant au moins 24 heures ou davantag...

Page 21: ...ce de plastique avec une éponge et un détergent doux et de l eau tiède Sécher parfaitement avec un linge doux 5 Remettre les tablettes en place 6 Nettoyer régulièrement les serpentins du condenseur Ils sont situés derrière la grille de la base Il se peut que les serpentins aient besoin d être nettoyés tous les deux mois Ce nettoyage peut aider à économiser de l énergie Enlever la grille de la base...

Page 22: ...eures normales prévoir que le moteur fonctionne à peu près 40 à 80 du temps Dans des conditions plus chaudes prévoir un fonctionnement encore plus fréquent La porte est elle ouverte fréquemment Prévoir que le moteur fonctionnera plus longtemps dans ce cas Afin de conserver l énergie essayer de sortir de la cave à vin tout ce dont vous avez besoin en une fois garder les vins organisés de sorte qu i...

Page 23: ...aires compagnies de service de réparation et distributeurs de pièces de rechange locaux Les techniciens de service désignés par KitchenAid sont formés pour remplir la garantie des produits et fournir un service après garantie partout aux États Unis Pour localiser la compagnie de service désignée par Kitchen Aid dans votre région vous pouvez également consulter les Pages jaunes Pour plus d assistan...

Page 24: ...uable à une malfonction du produit 6 Les réparations de pièces ou systèmes attribuables à des modifications non autorisées de l appareil ménager 7 Les pièces de rechange ou les frais de réparation des appareils utilisés à l extérieur du Canada ou des États Unis 8 Au Canada les frais de déplacement ou de transport pour les clients qui habitent dans des régions éloignées KITCHENAID ET KITCHENAID CAN...

Reviews: