45
1)
!
CAUTION
An air supply line must be connected to the hoist in order to perform the following
procedures.
2)
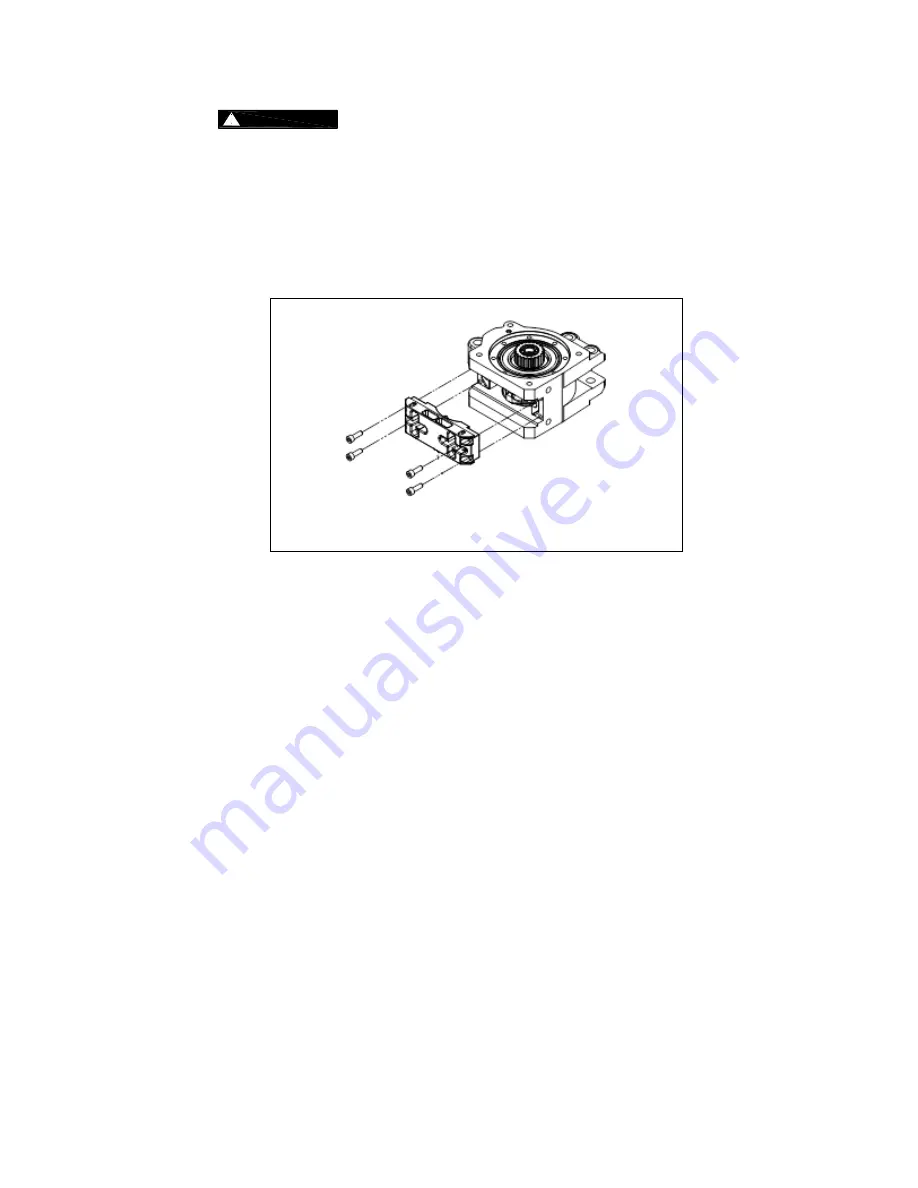
Remove 4 Socket Bolts attaching the Chain Separator to the Wheel Housing and drop the Chain
Separator down.
3)
Inspect the Load Sheave. Refer to “Load Sheave” in Table 5-3, “Hoist Inspection Methods and
Criteria”.
4)
Reverse the procedure to reassemble the hoist.
Figure 7-11
Load Sheave Inspection
7.6
Storage
7.6.1
Whenever the hoist is to be placed into storage, place extra lubricating oil (minimum 3cc) into the air
inlet opening and circulate the air motor before plugging the inlet. Make certain that no debris, dirt or
moisture is allowed to enter the air hoist through air inlet opening during preparations for storage.
7.6.2
The storage location should be clean and dry.
7.6.3
Care should be take to not damage any of the air hoses, fittings and cords.
7.7
Outdoor Installation
7.7.1
For hoist installations that are outdoors, the hoist MUST BE covered and protected from the weather at
all times.
7.7.2
Avoid hoist oxidation by using suitable treatment and lubricating all mechanisms.
7.7.3
Possibility of corrosion on components of the hoist increases for installations where salt air and high
humidity are present. The hoist may require more frequent lubrication.
7.7.4
In order to prevent internal corrosion from occurring, the hoist must be operated using proper quality air
at least once per week by raising and lowering the hoist one full cycle. Make frequent and regular
inspections of the unit's condition and operation.
7.7.5
Note: the possibility of corrosion in the valve section of the hoist increases for areas where salt air and
high humidity are present. For such situations you may need to operate your hoist more often than
once per week.
7.7.6
For hoist installations where temperature variations introduce condensation into the hoist additional
inspection and more frequent lubrication may be required.


