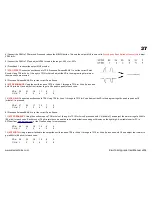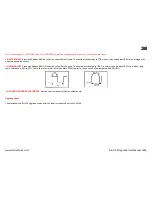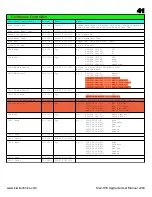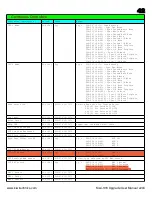
31
UNPLUG THE JUNO-106!
UNPLUG THE JUNO-106!
There are dangerous voltages inside the unit and it must not be opened until the power plug is removed from
the power supply.
The KiwiTechnics Kiwi-106 Upgrade must be installed by a competent technician with the correct
tools or damage to your Juno-106 can occur.
KiwiTechnics will not be responsible for damage
done to your precious Juno-106 if this upgrade is not fitted correctly.
The voice board cpu needs to be removed and replaced with a 64 pin socket and daughter board which is supplied with the KiwiTechnics Juno-106 Upgrade. These
instructions are supplied as a guide for your technician only and it is your responsibility to have this done professionally. This can take about 30mins depending on
your skill level.
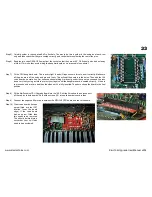
Step 1) Opening the Juno-106 - After removing the four screws located in the end panels the top can be opened.
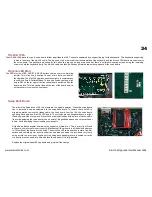
Step 2) Removing the cpu & voice board. If the 106 is a 106S or HS-60 then the keyboard will also need to be removed to gain access to the cpu & voice boards.
This is done by removing the 5 large screws on the underside. Unplug all the cables from the cpu and voice boards. Remove the 10 screws holding both
boards into the 106. it is a good idea to mark the cpu board cables with a felt pen so that you get them back into the correct sockets. Several of the plugs
are similar and it is easy to get them swapped.
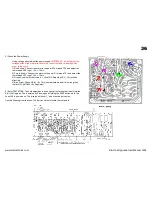
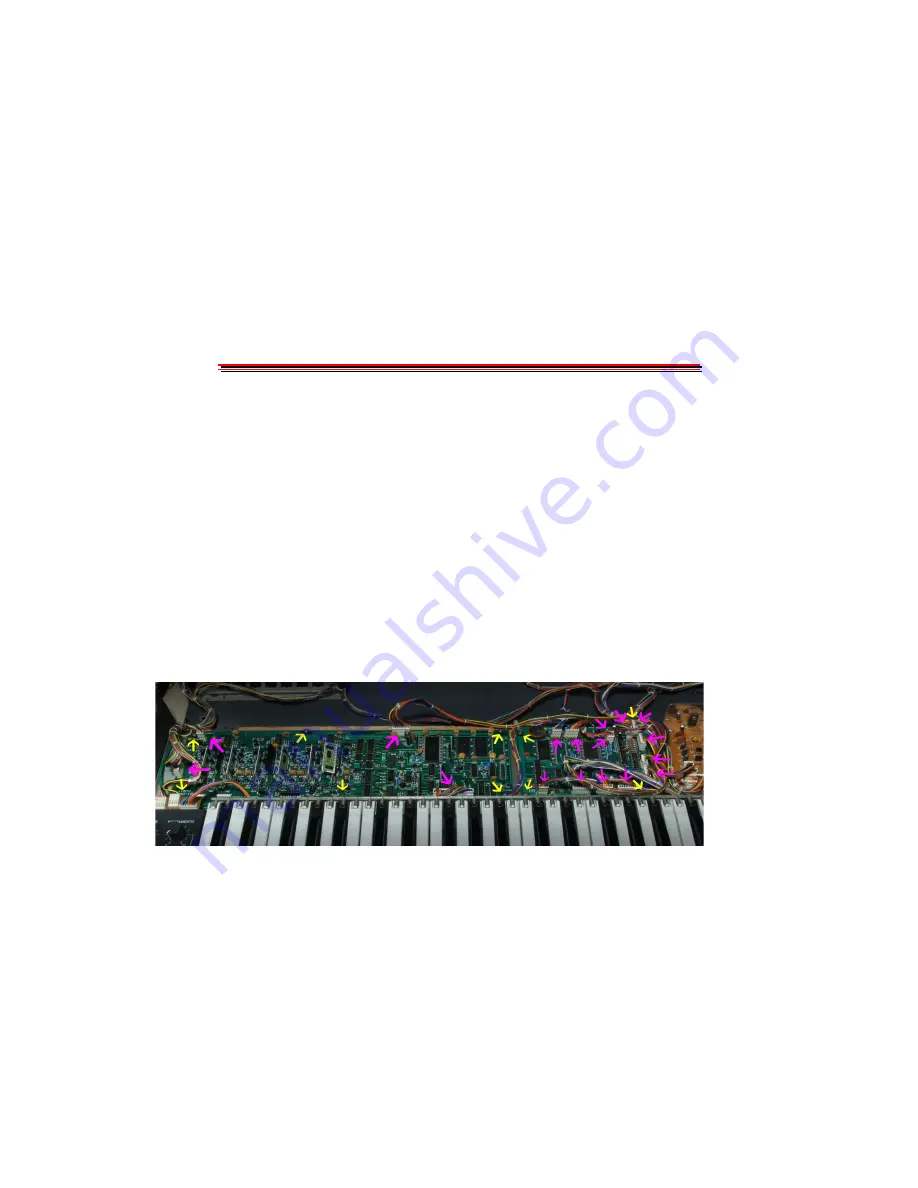
Step 3) Unplug the cables marked with the purple arrows and the screws marked with the yellow arrows (10). Remove both the voice and the cpu boards.
www.kiwitechnics.com
Kiwi-106 Upgrade User Manual v204

