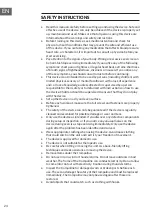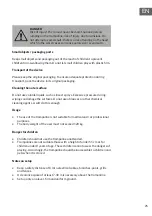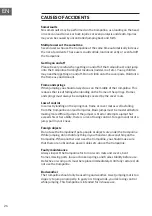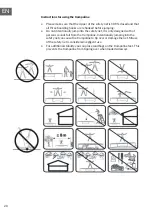
38
EN
3
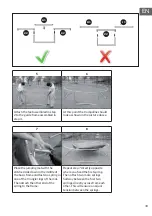
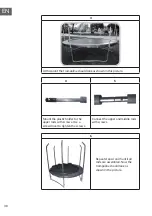
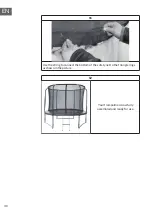
At this point the trampoline should look as shown in this picture.
4
5
Mount the plastic holder to the
upper rods with screws. Use a
screwdriver to tighten the screws.
Connect the upper and middle rods
with screws.
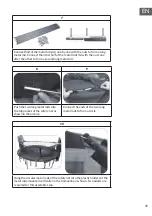
6
Repeat steps 4 and 5 until all
rods are assembled. Now the
trampoline should look as
shown in the picture.
Summary of Contents for 10034798
Page 1: ...10034798 10034799 Jumpstarter Trampolin Trampoline Trampolín Trampoline Trampolino ...
Page 2: ......
Page 10: ...10 DE ...
Page 15: ...15 DE EINZELTEILE DES SICHERHEITSNETZES ...
Page 22: ......
Page 30: ...30 EN ...
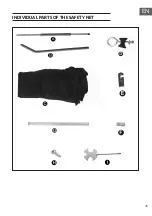
Page 35: ...35 EN INDIVIDUAL PARTS OF THE SAFETY NET ...
Page 42: ......
Page 50: ...50 FR ...
Page 55: ...55 FR PIÈCES DÉTACHÉES DU FILET DE SÉCURITÉ ...
Page 62: ......
Page 69: ...69 ES PARTES INDIVIDUALES Trampolín 3 pies Trampolín 4 pies Trampolín 5 pies Trampolín 6 pies ...
Page 70: ...70 ES ...
Page 75: ...75 ES PARTES INDIVIDUALES DE LA RED DE SEGURIDAD ...
Page 82: ......
Page 90: ...90 IT ...
Page 95: ...95 IT SINGOLI PEZZI DELLA RETE DI PROTEZIONE ...
Page 102: ......
Page 103: ......
Page 104: ......

