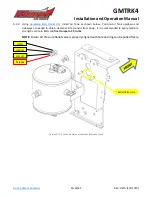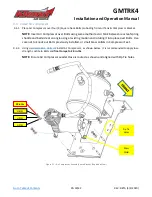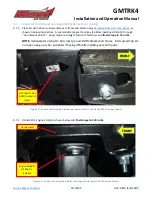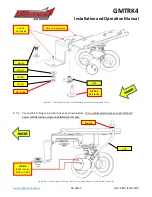
GMTRK4
Installation and Operation Manual
PG 21/42
REV: BETA (4/4/2020)
8.2.
Assemble Air Filter to Air Compressor
8.2.1.
Remove Compressor from packaging, included hardware, and air filter.
8.2.2.
Review included directions in Compressor package on remote Air Filter; select location on Vehicle where
to mount Air Filter, or if desired, Filter housing may be secured to included Bracketry using Zip Ties.
8.2.3.
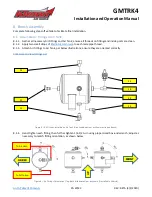
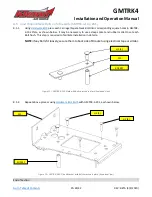
Pry-open plastic Air Filter housing and install foam Filter inside. Attach fittings for Filter to end of Air
Compressor and Filter housing. Follow instructions included in Compressor package.
NOTE
: Air Filter Tubing is rigid and may be difficult to install over Barb Fittings; if necessary, use Hair
Dryer, Candle, or Heat Gun at a safe distance to soften end of Air Tubing and place over Fitting. Do not
bend Tubing excessively and cause it to kink; use even heat if necessary, to bend Tubing sharply.
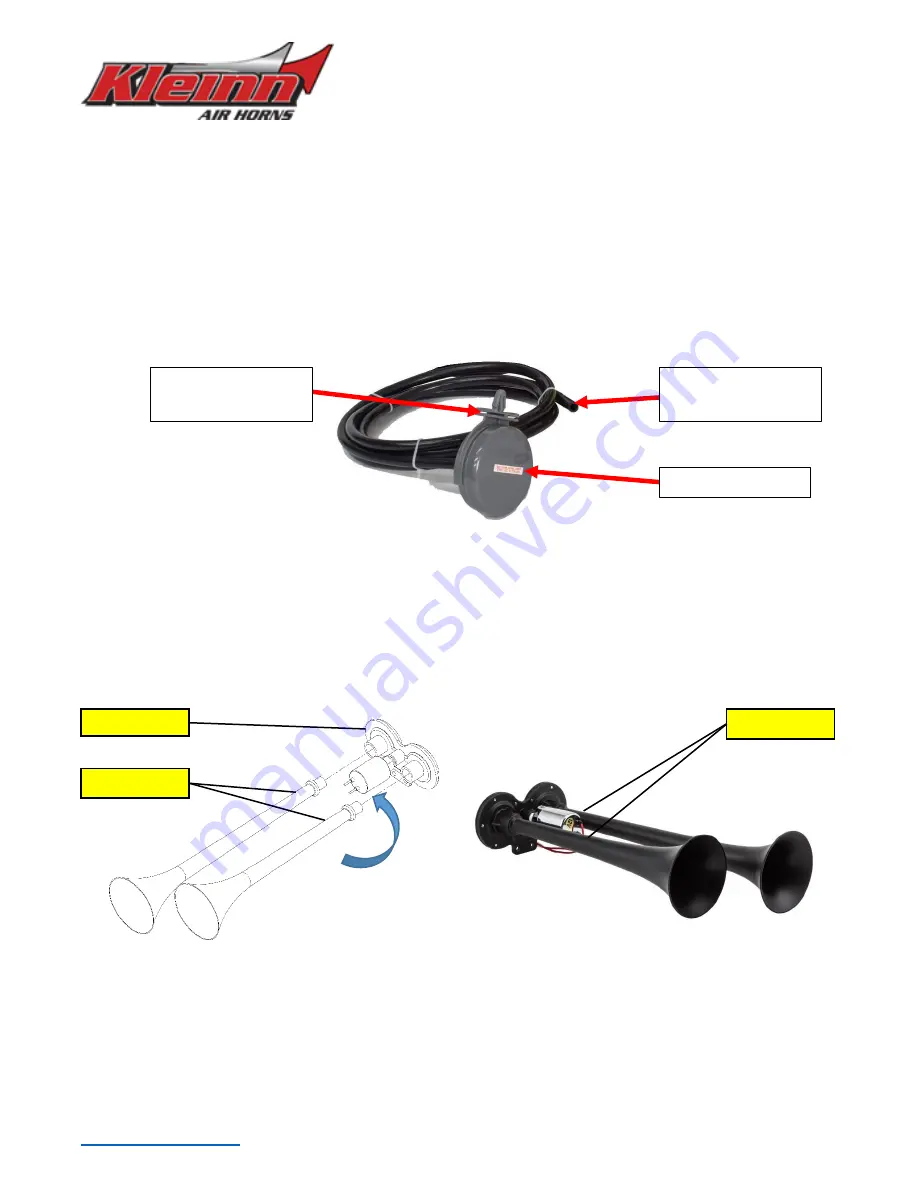
Figure 7
–
Air Compressor remote Air Filter and Tubing (shown without Air Compressor)
8.3.
Disassemble Trumpets from Air Horn Drivers
8.3.1.
Remove Air Horns and included Hardware from packaging; Air Tubing is not used.
8.3.2.
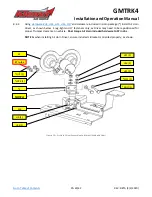
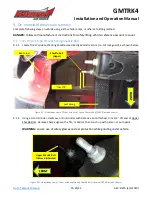
Disassemble Trumpets from Air Horn Drivers by firmly grasping Trumpet near bottom Metal Collar and
twisting counter-clockwise, as shown below. If necessary, use pliers with rag or soft material over jaw.
Figure 8
–
Removing Trumpets from Air Horn Driver, Exploded View
Air Filter Housing
Air Tubing w/Fitting
for Remote Mount
Air Filter Remote
Mounting Flange
GRASP HERE
K3
–
DRIVERS
GRASP HERE

