GMTRK4
Installation and Operation Manual
PG 11/42
REV: BETA (4/4/2020)
5.2.
Install Process Outline
For person(s) with prior experience installing GMTRK4, a reminder of install steps are listed below:
UNPACKAGE KIT (
1.
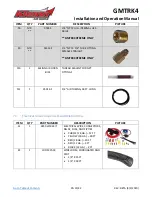
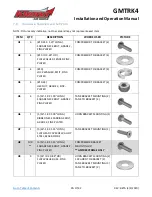
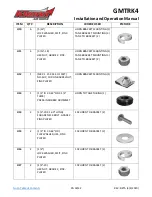
Layout and organize all parts on bench
BENCH ASSEMBLY (
2.
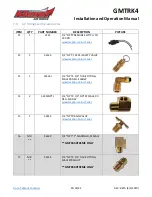
Assemble Air Fittings to Air Tank
3.
Remove Air Horn Trumpets and assemble Air Horn Driver to Bracket (GMTRK-4-301)
4.
Insert Square Neck Bolts onto Brackets (GMTRK-4-102, 201)
ON-VEHICLE, MECHANICAL (
5.
Trim (Cut/Grind)
Driver’s Rear Leaf Spring Shackle Bolt
6.
Install Air Tank & Air Compressor Bracket (GMTRK-4-102, 103/104, 201)
7.
Install Air Tank
8.
Install Air Compressor
9.
Remove/pull down Engine Shield to gain access to Driver’s Frame Mount
10.
Install Air Horn sub-assembly (GMTRK-4-301 w/Horn Drivers)
11.
Connect Air Compressor to Air Tank
12.
Connect Air Horn Tubing to Air Tank
ON-VEHICLE, ELECTRICAL (
13.
Install Relay & Fuse, route Wiring, and install Horn Button
14.
Connect all Electrical items (Air Horn, Pressure Switch, Air Compressor)
FINAL STEPS (
15.
Install Trumpets onto Air Horn Drivers & Final Tighten Air Horns
16.
Test system and adjust, as needed
5.3.
Approximate Installation Time
GMTRK4 is a multi-faceted product consisting of mechanical, electrical, and pneumatic components.
For a typical home mechanic, auto enthusiast, or technician installing this kit for first time, a professional
installation job with setup and testing of final product, is estimated to take:
•
4-8 Hours
End of Section

