Propulsion system of Klever Mobility
28
6.4.1 Charging the Battery
You can charge the battery on or off bike (e.g. important in winter) Charging
at any time, even after a partial discharge (eg, after a short distance of a few
kilometers) is possible. There is no need to wait until it is completely
discharged, as it has no memory effect.
To remove the battery pack, refer to Chapter 6.5.3. Disassembly and
assembly of the battery.
Caution! Charge the battery only with the supplied and
provided battery charger.
For the technical data of the charger please read chapter 51.
Technical data.
To charge the battery, do the following: You can monitor the charging
process on the basis of the indicator LEDs on the charger and battery.
■
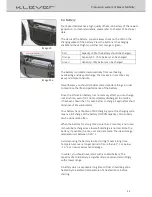
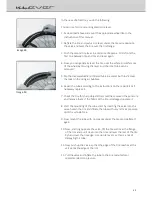
Connect the power cable from the charger to the charger
■
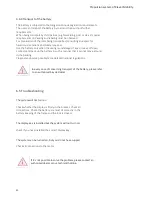
Insert the power plug of the charger into the wall socket, the LED lights
solid red the charger is ready to charge (Image 26)
■
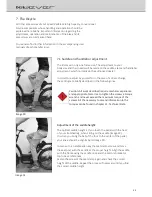
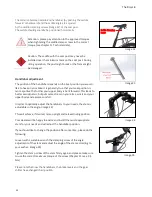
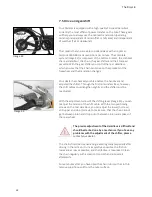
Connect the charger socket of the charger into the socket of the battery,
and turn on the switch, the charging process will start automatically
(Image 27a+b)
■
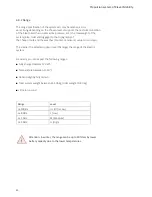
The LED on the charger switches to flashing yellow light, charging begins
■
The LED indicator turns to yellow continuous light, the battery is charged
to about 35%, The charging is in progress
■
The LED changes to flashing green, the battery is to about 75 - 90%
charged
■
The LED comes on solid green, the battery is now fully charged, the
charging is complete.
■
Turn off the switch and disconnect the power plug from the Wall socket.
■
Unplug the charger socket of the charger from the battery.
Image 26
Image 27a
Image 27b


