Page 10 of 20
•
Wipe or brush off dust and metal pieces. Be sure to check the lower portion of the piston which will
easily accumulate dust.
•
This machine is operated through oil pressure. Check the oil level daily. If it is not kept at the proper
level, the cutter's pressure will lower and it may be unable to cut rebar.
•
Oil should be warm but not too hot (not over 158°F). If the machine is cold, make sure to warm it up
before use.
Operating Instructions
⚠
WARNING
•
Always wear the proper protective equipment, including ANSI Z87.1 compliant eye protection.
•
Amputation Hazard. Keep hands clear of cutting area.
•
Electrocution Hazard. Ensure that the cutter is properly grounded.
•
Do not plug or unplug the cord while standing in or around damp or wet ground.
•
Do not operate machine in wet or damp areas or expose it to rain.
•
Turn power OFF and unplug before servicing.
•
Do not use an extension cord with this product.
•
Not for use by or around children.
1. Insert the rebars between the stopper and cutter blocks. Check to see if they are set up properly in
the U-shaped support.
2. Turn the switch on. Keep it on while the piston is advancing and the rebar is cut. When the cut is
completed, release the switch and the piston will retract automatically. Do not block the airway of the
machine; it might overheat the motor and burn it out. Cool the oil temperature down adequately. If
the oil temperature is over 158° F, the machine’s power will decrease noticeably. The pump case is
made of aluminum and may overheat more easily in warmer weather.
3. Check the carbon brush first if the motor power decreases and the motor is overheated.
4. If the piston does not return to its original position, push the cutter block backwards to manually
retract the piston with a flat, metal bar.
5. Once the piston returns to its original position, pull the trigger-switch and hold it long enough to
partially advance the piston. Unplug and clean up around the piston and the housing to avoid
jamming the piston.
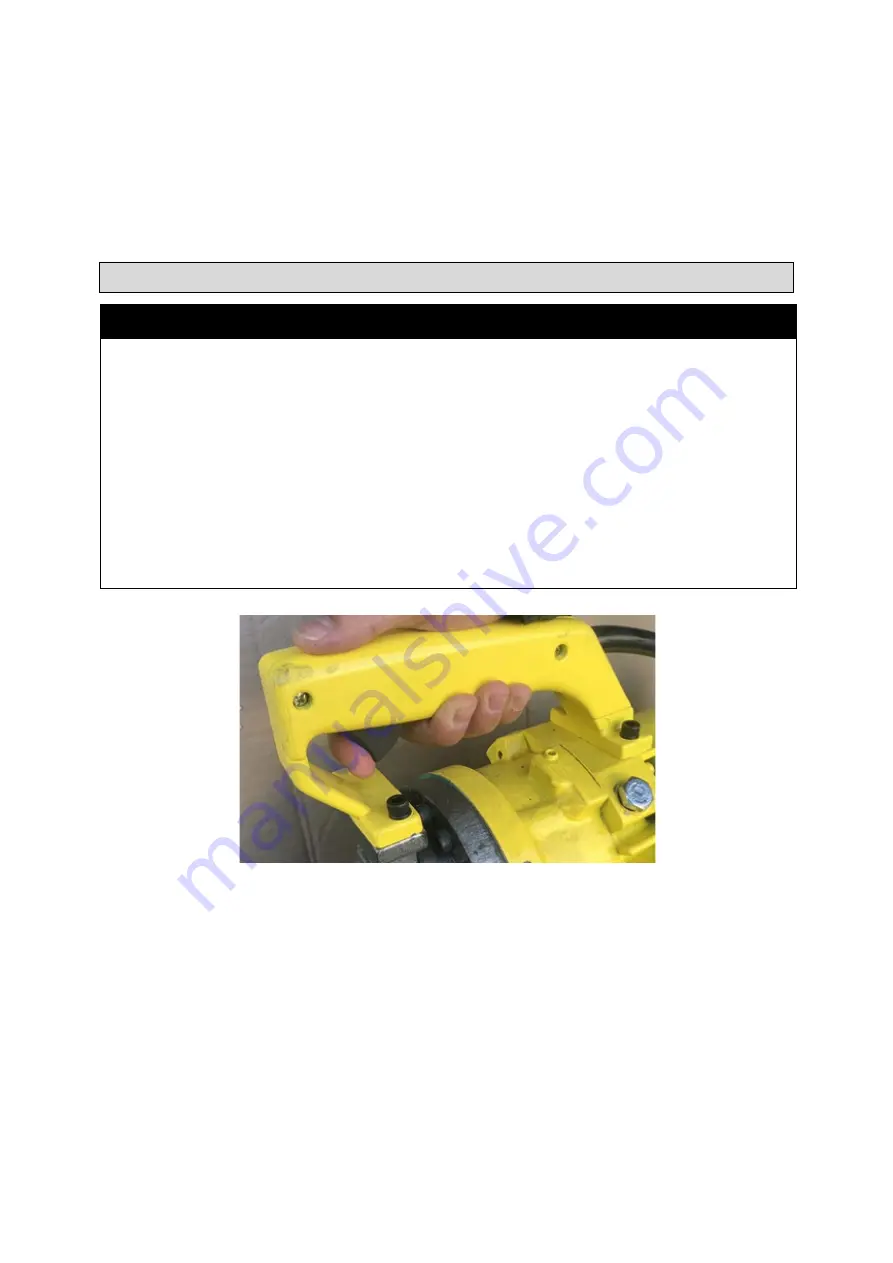
Operating switch
Summary of Contents for 73167
Page 13: ...Page 13 of 20 Parts Diagram...
Page 18: ...Page 18 of 20 MEMO...
Page 19: ...Page 19 of 20 MEMO...


