44
7. Operation
7.7 Changing the finned brushes of the deburring unit
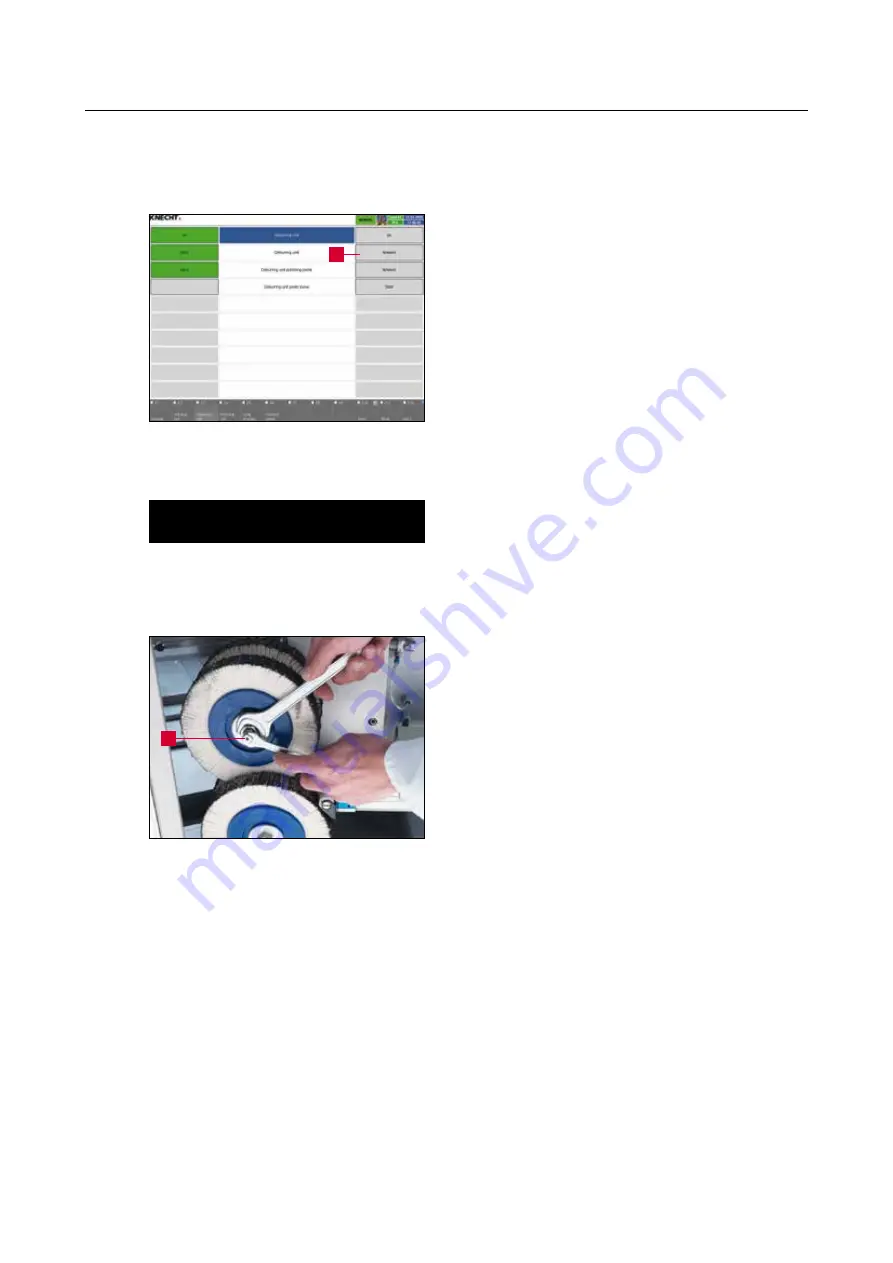
Use the main menu option “F8 Settings” (3-7/35),
followed by “F8 Manual Functions” (8-1/18), and
“F3 Deburring Unit” (8-6/8) to access the manual
functions of the deburring unit. Swivel the deburr-
ing unit forward using the “Forward” touchscreen
option (7-16/1).
ATTENTION
Set the “Setting Mode” key switch (3-6/9)
to Position “1” (1 h.) so that the deburr-
ing unit remains in front when the safety
doors open.
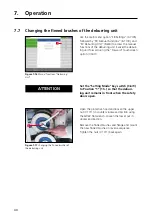
Open the protective hood and loosen the upper
nut (7-17/1) in counter-clockwise direction using
the SW22 flat wrench. Loosen the lower nut in
clockwise direction.
Remove the finned brushes and flange and mount
the new finned brushes in reverse sequence.
Tighten the nuts (7-17/1) back again.
Figure 7-16
Manual functions “Deburring
Unit”
1
Figure 7-17
Changing the finned brushes of
the deburring unit
1


