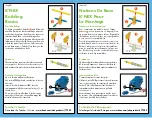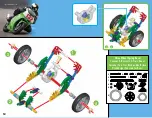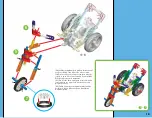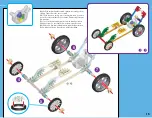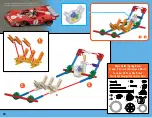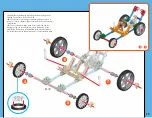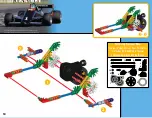
Start Building
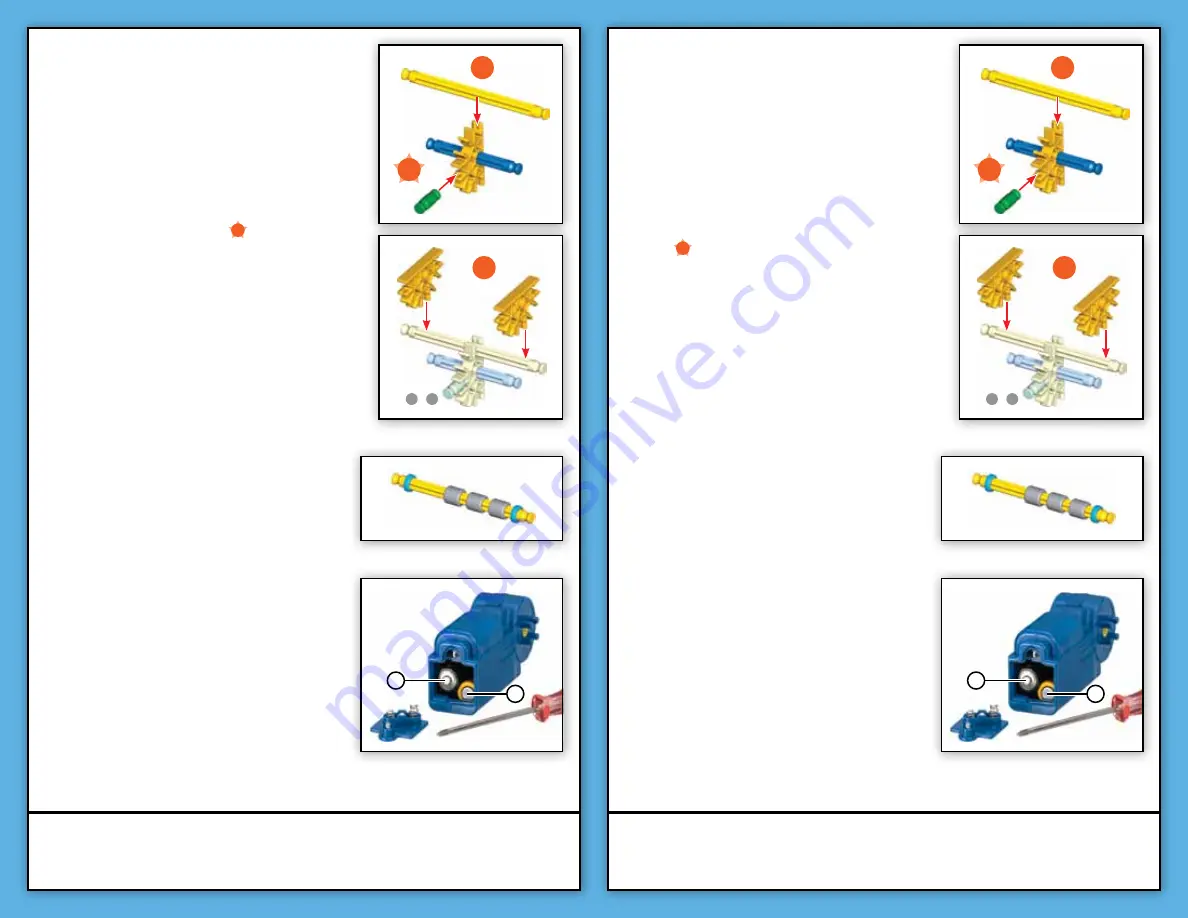
To begin your model, find the
1
and follow the
numbers. Each piece has its own shape and color.
Just look at the pictures, find the pieces in your set
that match and then connect them together.
Try to face your model in the same direction as the
instructions while you build. The arrows show you
where the parts connect, but not all connection
points have arrows. Faded colors show you the
section has already been built.
K’NEX
Building
Basics
Battery Information
How to Insert and Remove Batteries:
Use a small Phillips head screwdriver to loosen
the screw.
Insert 2 fresh AA batteries (LR6) into the
compartment with the correct polarity (+/-) as
shown here.
Do not put rods smaller than 2 inches in any
openings of the motor; they will damage the
motor and cannot be removed.
Spacers
There are places in your model where you need
to use spacers. Be sure to use the correct color
and number of spacers shown in the instructions.
(English)
Teacher’s Guide
Download the Teacher’s Guide -
www.knex.com/eduproducts/77052
Le Guide de l’Enseignant
Télécharger le Guide de l’Enseignant -
www.knex.com/eduproducts/77052
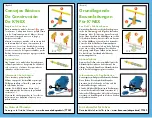
Démarre ta construction
Pour commencer ton modèle, trouve l’étape
numéro
1
et suis les numéros. Chaque pièce a
sa propre forme et sa propre coleur. Regarde les
illustrations, trouve les pièces qui correspondent
à ce que tu vois et assemble-les.
Pour t’aider pendant que tu construis, oriente ton
modèle dans le même sens que les instructions. Les
flèches t’indiquent où les pièces s’assemblent,
mais les points de raccordement n’ont pas tous
des flèches. Les pièces de couleur délavée sont
celles que tu as déjà assemblées.
Notions De Base
K’NEX Pour
Le Montage
(Français)
Espaceurs
Il y a des endroits sur ton modèle ou tu auras besoin
de te servir d’espaceurs. Assure-toi d’utiliser la
bonne couleur et le nombre d’espaceurs indiqué sur
les instructions.
+
-
Informations Pile
Comment mettre et retirer des piles:
Utiliser un petit Phillips tournevis pour desserrer
la vis et pour enlever la couverture de batterie.
Insérer 2 AA (LR6) batteries fraîches dans le
compartiment de batterie avec a polarité
correcte (+/-).
Ne mettez pas les petites tiges dans les trous
du moteur, elles endommageraient le moteur et
il n’est pas possible de les enlever.
+
-
1
2
-
3
1
2
-
3
2
1
2
1
Summary of Contents for 77052
Page 1: ......
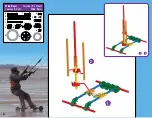
Page 21: ...21 1 6 1 3 6 5 4...
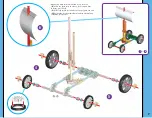
Page 23: ...23 2 1 6 1 4 1 2 1 1 1 10 1 10 1 6 1 6 7 8 10 7 8 10 9 9...


