10
3
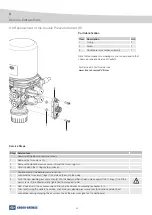
3 1 Removal and Replacement of the Desiccant Cartridge (A)
Step Service task
Removal with the air processing unit still fitted to the vehicle
1
Before starting work on the vehicle please refer to the safety and environment guidelines on page 4.
2
Clean the outside of the air processing unit and its surroundings to prevent entry of dirt.
3
Vent the air processing unit cartridge by charging the compressed air system until the cut-out pressure of the
unloader valve has been reached and the air processing unit has subsequently purged.
4
Switch off the engine.
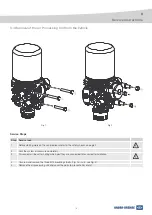
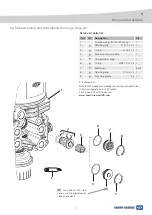
To remove the air processing unit from the vehicle please refer to section “Removal of the Air Processing Unit from the Vehicle”.
Removing the cartridge
1
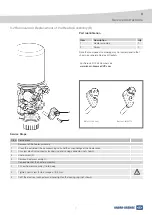
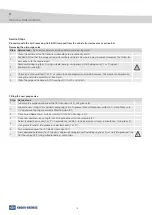
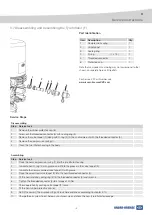
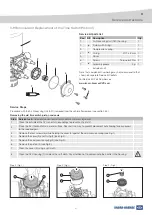
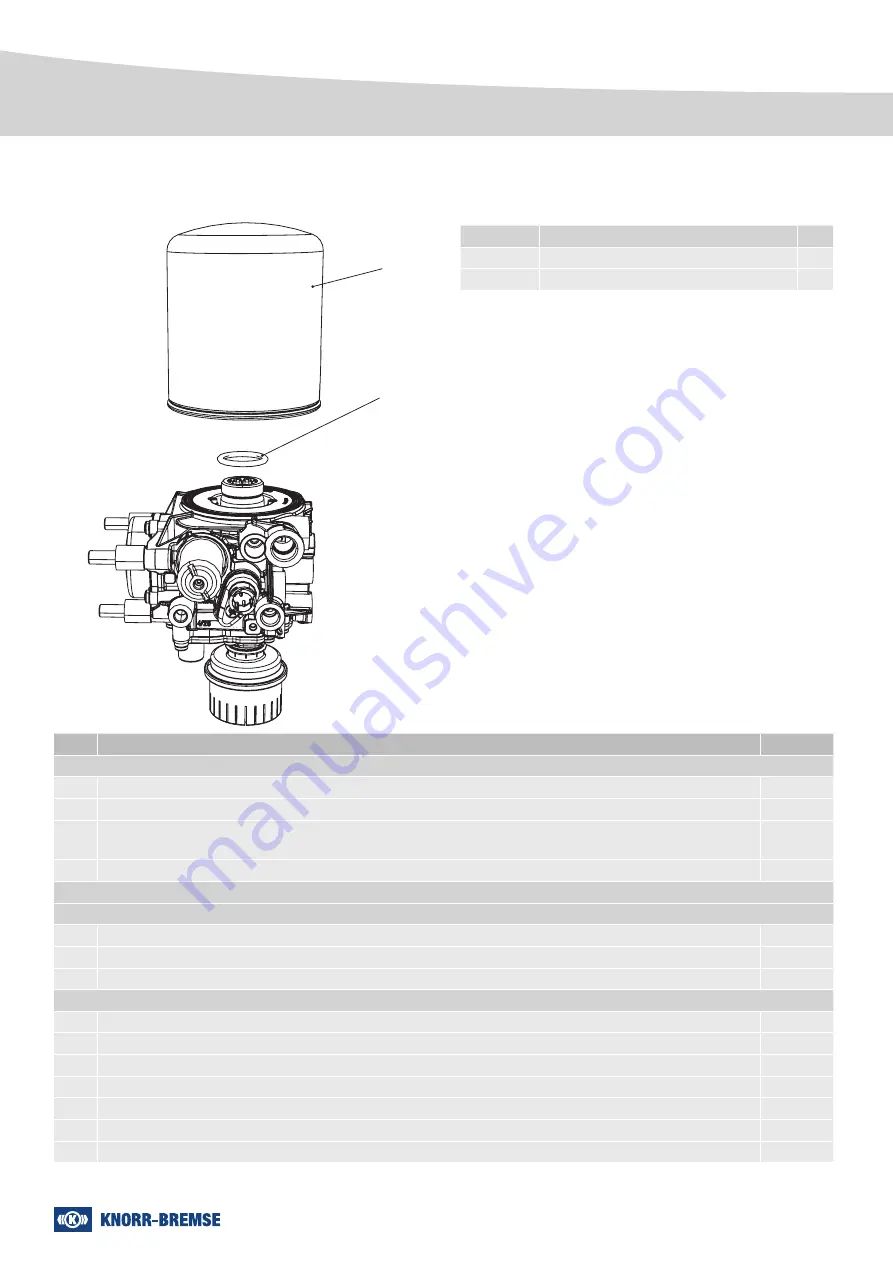
Unscrew desiccant cartridge (1) counter-clockwise, using suitable strap wrench.
2
Remove O-ring (2).
3
Wipe the body with a clean rag. Protect the clean air chamber and cartridge mounting thread from dirt.
Fitting the cartridge
1
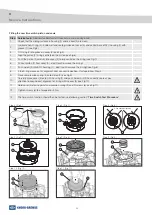
Lightly lubricate the gasket at the base of the new cartridge (1) with grease.
2
Lubricate new O-ring (2) with grease.
3
Fit O-ring (2) over the cartridge retaining thread.
4
Screw desiccant cartridge (1) up to stop.
5
Fully tighten desiccant cartridge (1) by turning a further ½ turn using a suitable strap wrench.
6
Refit (if necessary) the air processing unit to vehicle and check according to chapter 3.10.
7
Charge the air system to just below cut-out pressure and check the new desiccant cartridge for leakage.
Item
Description
Qty
1
Desiccant cartridge
1
2
O-ring
1
Service Steps
Part Identification
Service Instructions
For Service Kit Part Number see
www.knorr-bremseCVS.com
Note that component numbering may not correspond to that
shown on separate Service Kit leaflets.
1
2


