6
7
2
1
3
4
5
6
5
5
4
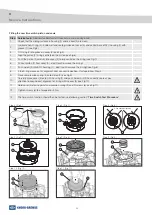
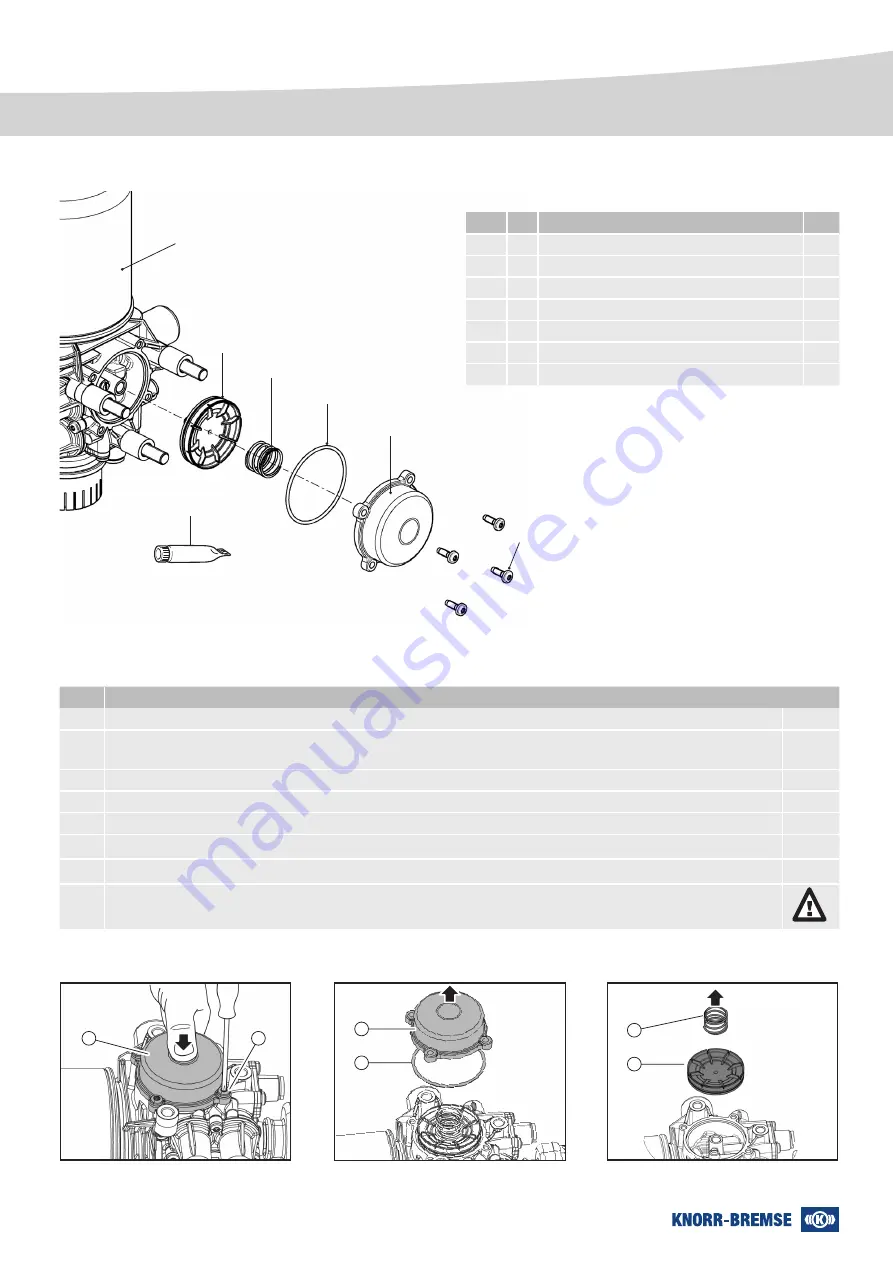
Step 3 (Fig.1)
Step 4 (Fig.2)
Step 5 (Fig.3)
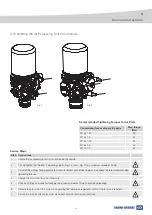
3
2
21
3
Service Instructions
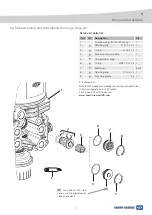
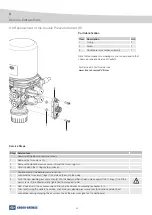
3 9 Removal and Replacement of the Time Switch Piston (I)
For Service Kit Part Number see
www.knorr-bremseCVS.com
• included in kit
Note that component numbering may not correspond to that
shown on separate Service Kit leaflets.
Removing the old time switch piston and seals
Step
Service task -
Read and understand all steps before commencing work!
1
Clean the outside of the APU and its surroundings to prevent entry of dirt.
2
Place the APU horizontally on a level surface. Secure it in a way to prevent movement but allowing for easy access
to the required part.
3
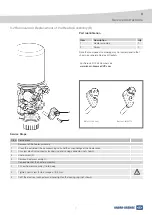
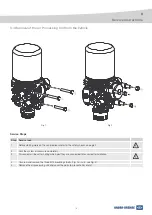
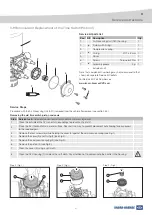
Remove the four screws (6) while holding the cover (5) against the compression spring (see Fig.1).
4
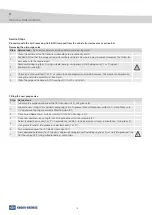
Remove the cover (5) and O-ring (4) (see Fig.2).
5
Remove the compression spring (3) (see Fig.3).
6
Remove the piston (2) (see Fig.3).
7
Clean the cover (5) using a soft cloth.
8
Clean the APU housing (1) inside with a soft cloth. Pay attention not to contaminate the nozzle in the housing.
Service Steps
Procedure with the Air Processing Unit (APU) removed from the vehicle (for removal see section 3.4)
Pos Kit Description
Qty
1
Air Processing Unit (APU) housing
1
2
l
Piston (with K-ring)
1
3
Compression spring
1
4
l
O-ring
Ø 77 x 3 mm 1
5
Cover
1
6
Screws
Torque 6+2 Nm 4
7
l
Assembly grease
5 g 1
Service kit parts list

