Fitting the new time switch piston and seals
Step
Service task -
Read and understand all steps before commencing work!
1
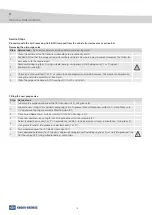
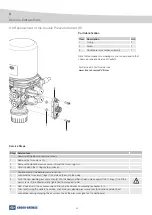
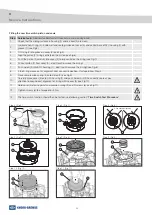
Check that the sliding surfaces in housing (1) and in cover (5) are clean.
2
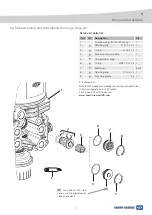
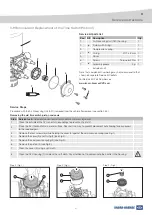
Lubricate new O-ring (4), inside wall and sealing surface of cover (5), and central bore of APU housing (1) with
grease (7) (see Fig.4).
3
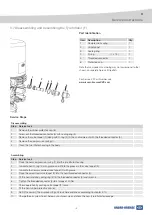
Fit O-ring (4) into groove in cover (5) (see Fig.5).
4
Align the piston (2) K-ring centrally on the piston (see Fig.6).
5
Push the piston (2) carefully into cover (5) to fully centralise the K-ring (see Fig.7).
6
Pull out piston (2) from cover (5) - don‘t touch or move the K-ring!
7
Push piston (2) into APU housing (1) - don‘t touch or move the K-ring! (see Fig.8)
8
If the K-ring moves out of alignment from concentric position, start again from Step 4.
9
Place compression spring (3) onto piston (2) (see Fig.9).
10
Carefully place cover (5) onto APU housing (1) and push it down until it is correctly seated - pay
attention to keep correct alignment of K-ring within cover (5) (see Fig.10).
11
Hold cover (5) down against compression spring (3) and fit screws (6) (see Fig.11).
12
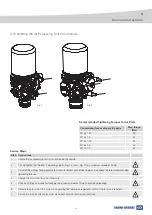
Tighten screws (6) to a torque of 6+2 Nm
13
The time switch function should then be tested - see following section “
Time Switch Test Procedure
”
4
5
2
5
2
2
1
3
2
1
5
5
6
K-ring alignment position
7
4
1
5
22
3
Service Instructions
Step 3 (Fig.5)
Step 4 (Fig.6)
Step 5 (Fig.7)
Step 7 (Fig.8)
Step 9 (Fig.9)
Step 10 (Fig.10)
Step 11 (Fig.11)
Step 2 (Fig.4)

