11
OPERATING INSTRUCTIONS
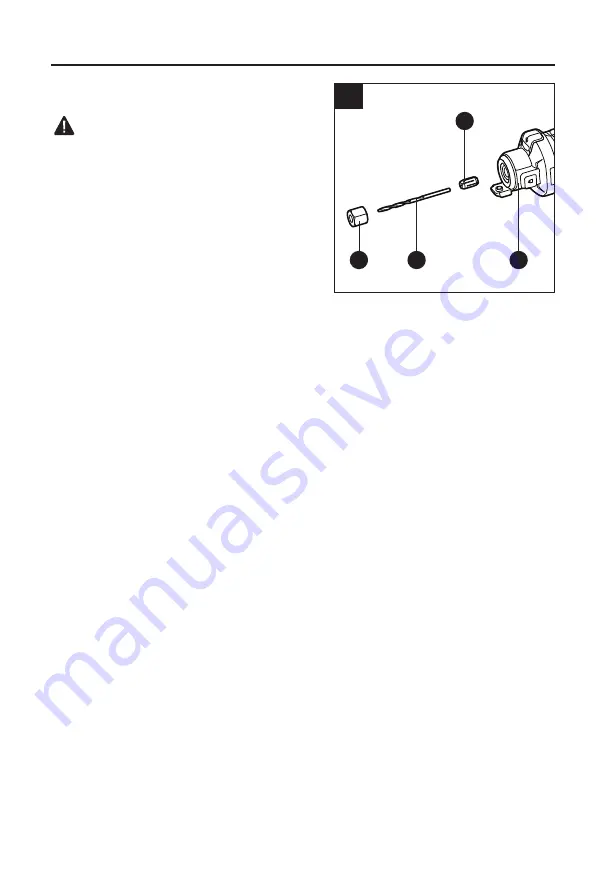
6. Installing or Removing the Bit
WARNING
• Always remove battery pack before changing or
removing accessories or make any adjustments.
• Bits are sharp. Handle with great care.
•
When replacing bits, do not insert cutting flutes
into the collet. This may result in broken bits.
• Never tighten the collet without a bit installed.
Use only cutting bits with a 1/8" or 1/4" shank.
Always use the correct collet for the cutting bit. Use
1/8" collets for 1/8" cutting-bit shanks. Use 1/4"
collets for 1/4" cutting-bit shanks.
To install bits:
a. Remove the battery from the tool.
b. Press the spindle-lock button (F) and remove the collet nut (D) counterclockwise with the
wrench (K).
c. Place the properly sized collet (1/8" or 1/4") into the spindle.
d. Insert the bit shank into the collet. Ensure that the collet only contacts the bit shank and
that the bit cutting flutes are fully exposed. Leave the cutting flutes about 1/8 in to 1/4 in
away from the face of the collet.
e. Screw the collet nut onto the spindle.
f. Press the spindle-lock button and tighten the collet nut clockwise with the wrench.
To remove bits:
a. Remove the battery from the tool.
b. Press the spindle-lock button (F) and remove the collet nut (D) counterclockwise with the
wrench (K).
c. Remove the bit.
6
D
I/J
F
C/H


