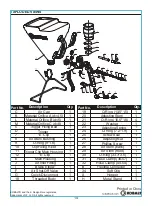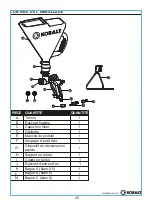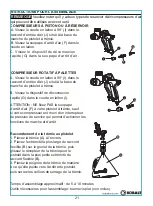
ASSEMBLY INSTRUCTIONS
7
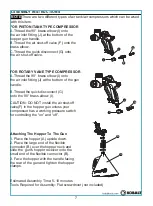
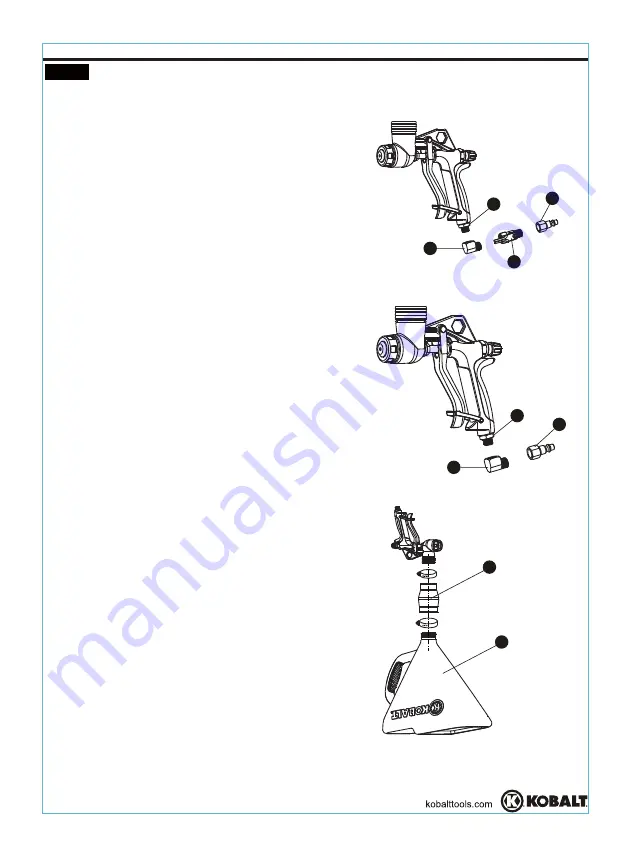
FOR PISTON/TANK TYPE COMPRESSOR
A.Thread the 90° brass elbow (I) onto
the air inlet fitting (J) at the bottom of the
hopper gun handle.
B.Thread the air shut-off valve (F) onto the
brass elbow.
C.Thread the quick disconnect (G) onto
the air shut-off valve.
FOR ROTARY VANE TYPE COMPRESSOR
A.Thread the 90° brass elbow (I) onto
the air inlet fitting (J) at the bottom of the gun
handle.
B.Thread the quick disconnect (G)
onto the 90° brass elbow (I).
CAUTION: DO NOT install the air shut-off
valve(F) in the hopper gun unless your
compressor has a working pressure switch
for controlling the “on” and “off”.
1. Place the hopper (A) upside down.
2. Place the large end of the flexible
connector (B) over the hopper neck and
slide the gun's hopper receiver onto the
small end of the flexible connector (B).
3. Face the hopper with the handle facing
the rear of the gun and tighten the hopper
clamps.
Attaching The Hopper To The Gun
I
J
G
F
I
J
G
A
B
NOTE
There are two different types of air tank/air compressors which can be wsed
with this item.
Estimated Assembly Time: 5-10 minutes
Tools Required for Assembly: Flat screwdriver (not included)


