GB - 5
16 - POL
OBSŁUGA NARZĘDZIA
UWAGA!
l
Zawsze
wymagane jest ostrożne posługiwanie się szlifierką, gdyż szybko obracające
się krążki ścierne mogą łatwo przeciąć ubrania i skórę.
l
Prosimy
używac narzędzia zgodnie z jego przeznaczeniam.
l
Zawsze
zalecana jest inspekcja narzędzia pneumatycznego pod kątem zużycia narzędzia przed
rozpoczęciem pracy lub w jej trakcie.
ZAKŁADANIE I ZDEJMOWANIE ZUŻYWAJĄCYCH SIĘ KRĄŻKÓW
ŚCIERNYCH
1.
Odłącz narzędzie pneumatyczne od źródła powietrza.
2.
Odczepić zużyty krążek i zdjąć w odpowiedni sposób.
3.
Ustawić odpowiednio otwory nowego krążka i zapiąć go.
WYMIANA KRĄŻKA
1.
Odłącz narzędzie pneumatyczne od dopływu powietrza.
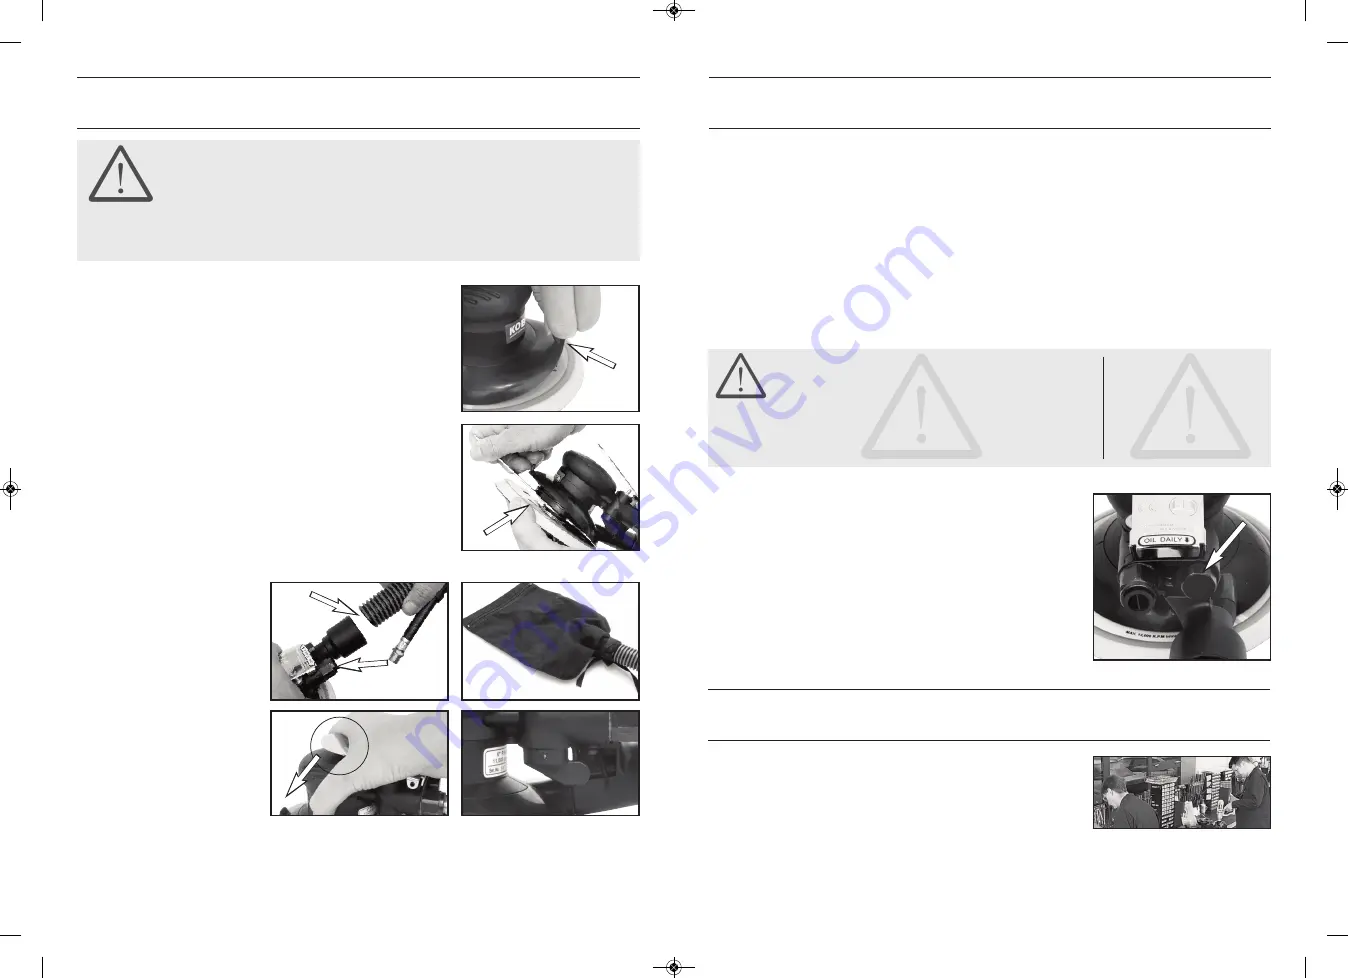
2. (Rys. B)
Odpiąć gumowy odsysacz i za pomocą dostarczonego w
zestawie klucza należy go użyć do odkręcenia śruby
(Rys. C)
.
3.
Trzymać krążek w jednej dłoni i odkręcić śrubkę po czym zdjąć
krążek.
4.
Usunąć dwa rozstawione zmywacze z wrzeciona i włożyc je na
nowe krążki.
UŻYWANIE NARZĘDZIA
1.
Wykonaj codzienny przegląd i smarowanie narzędzia.
2.
Za pomoca kombinerek zdejmij plastikową pokrywę przeciwpyłową.
3.
Podłącz dostarczony wąż do
narzędzia pneumatycznego
używając 14mm klucza i połącz
(Rys. D)
do sprężonego
powietrza
(Rys. E)
.
4.
Wąż może być podłączony do
torby bezpośrednio do nakrętki
(26mm wewnętrzna / 44
zewnętrzna) lub do odkurzacza
przemysłowego
(Rys. F)
.
5.
Przed przystąpieniem do pracy
zalecane jest wykonanie próby
granulacji na szlifowanym ma-
teriale.
6.
Aby rozpocząć pracę należy
nacisnąć spust do dołu
(Rys. G)
.
7.
Aby wybrac szybkie obroty należy włączyć regulator który umiejscowiony jest pod spodem
(Fig. H)
.
8.
Zwolnij spust aby zmniejszyć ciśnienie i wyłączyć narzędzie.
Rys. F
Rys. D
Rys. E
Rys. C
Rys. B
Rys. G
Rys. H
A competent person must disassemble and inspect higher wear parts periodically if the tool is used every
day or if there is a noticeable drop in the tool performance. Any damaged or worn parts must be replaced.
Your 12 month warranty could become void if the tool is unnecessarily dismantled and damage is caused.
If you are unsure about dismantling the tool, please return it to your local Kobe agent.
The use of other than genuine Kobe replacement parts may result in safety hazards, decreased tool
performance, increased maintenance and voiding of warranty.
Mineral spirits are recommended when cleaning the tool and its parts. DO NOT clean with any solvents or
oils containing acids, esters, ketones, chlorinated hydrocarbons or nitro carbons. DO NOT use chemicals
that have a low flash point.
For spare parts or servicing please contact your local Kobe agent.
LUBRICATION
Air tools require lubrication throughout the life of the tool as moisture in the
compressed air will rust the air motor and the correct lubrication is vital for
the maximum performance of the air tool. Failure to lubricate the tool at the
air inlet will void your warranty.
Either use an air line lubricator with air tool oil adjusted to two drops per
minute, or if an air line lubricator cannot be used, add one teaspoon of air
motor oil to the inlet
(Fig. I)
or into the hose at the nearest connection to
the air supply once a day and then run the tool. ISO Grade VG22 oil is
recommended. A rust inhibitive oil is acceptable for air tools.
Do not lubricate the tool with flammable or volatile liquids such as paraffin
(kerosene), diesel or jet fuel.
CAUTION!
Other factors outside the tool may cause loss of power or
erratic action. Reduced compressor output, excessive drain on
the airline, moisture or restrictions in air pipes or the use of hose
connections of improper size or poor conditions may reduce air supply. If
outside conditions are in order and the tool still runs erratically, disconnect
the tool from the air hose and take it to your local Kobe agent.
WARNING!
Repairs must be performed in
a dirt-free environment by a
qualified person who is familiar
with this type of equipment.
Your warranty is invalid if this
advice is ignored.
MAINTENANCE
SERVICE & REPAIR
Servicing should be carried out at
intervals of 1,000 hours use or
every 12 months, whichever is
sooner.
A comprehensive repair and serv-
ice facility is available through your
local Kobe agent.
Fig. I
KBE-270-4170K_Instructions_PP_Layout 1 01/11/2010 09:42 Page 5


