A-61159 May 2002
5-23
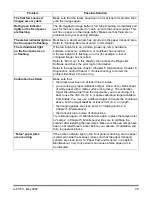
6. Grasp the end of the lamp and slowly pull the lamp straight out.
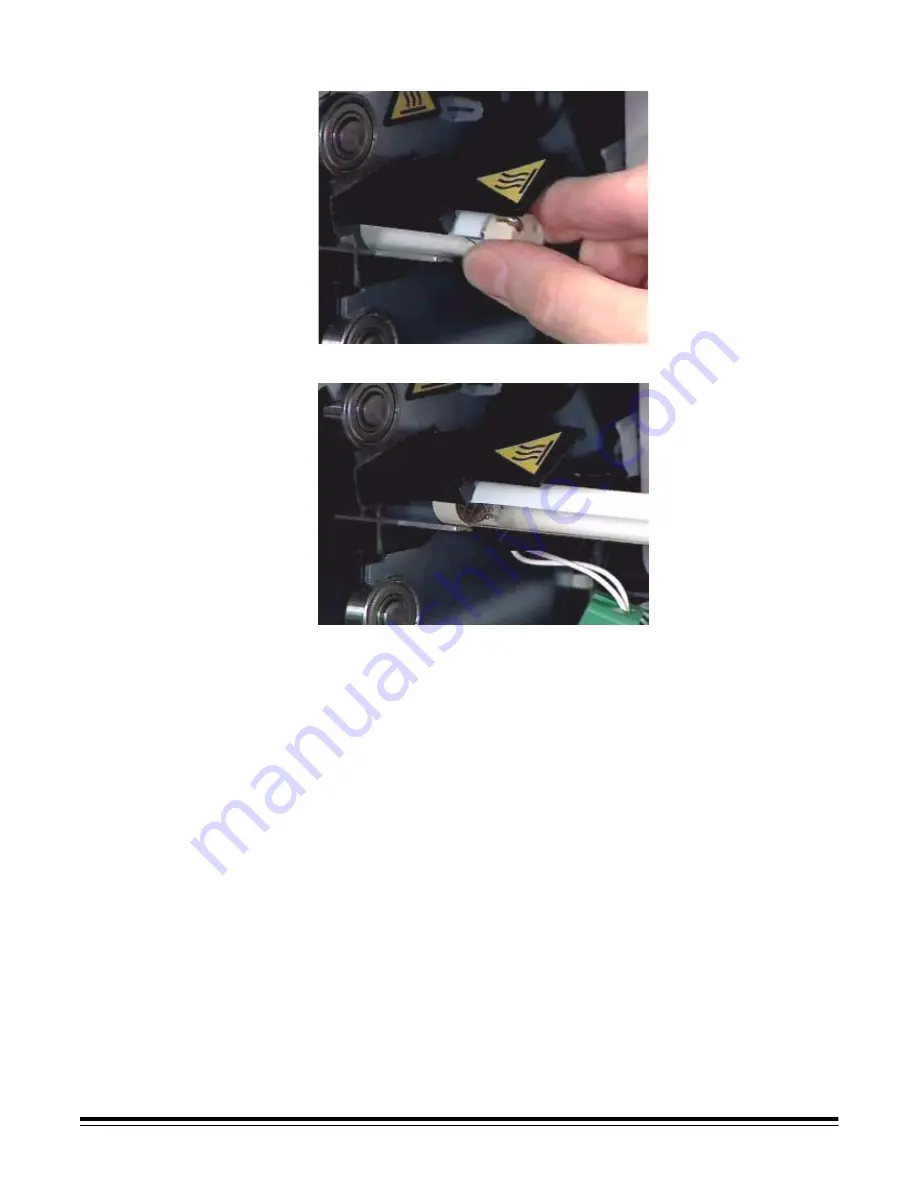
7. Position the new lamp in the lamp holder.
IMPORTANT: Make sure that the clear surface of the lamp is positioned
facing the imaging guide.
Use a slight downward pressure as you push the lamp into the
scanner. This will help the lamp slide in easily.
8. Push firmly on the end of the lamp to seat the lamp into the
connector on the other end.
9. Replace the lamp connector and push in firmly so that the connector
is fully seated.
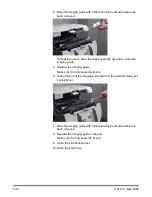
10. Replace the imaging guide.
11. Close the side access door.
12. Close the pod firmly.


