


Operating the Printer
October 2020
4-3
Printer Settings
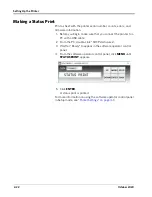
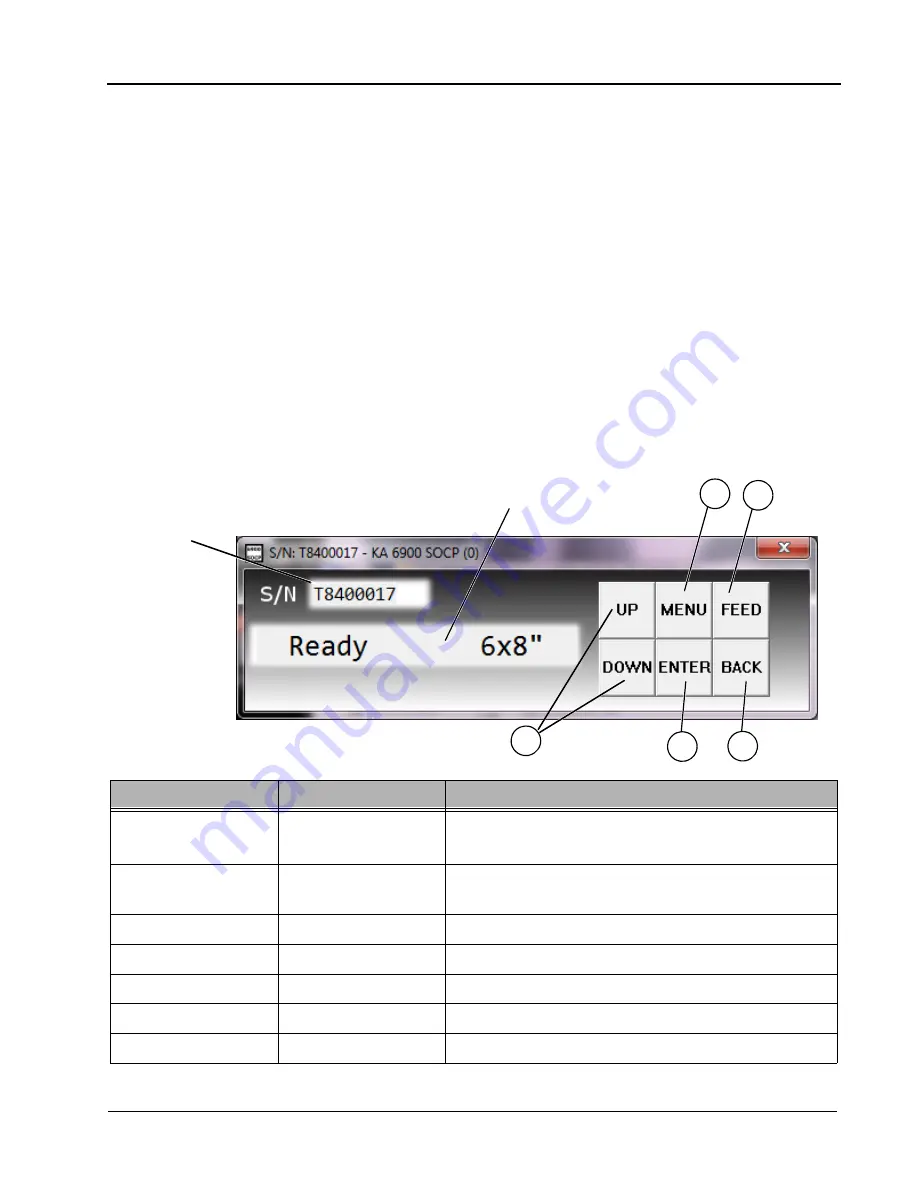
Use the operator panel buttons to review and change printer
settings.
1. Click
MENU
to enter User Mode and to scroll through the
Main Menu options.
2. Click
UP
or
DOWN
to adjust settings up or down (where
applicable). If an adjustment is made, you must click
ENTER
to save that adjustment.
3. Click
ENTER
to initiate an action or accept a change.
4. Click
MENU
to exit User Mode.
5. Click
BACK
to return to the top line of whatever menu you are
in.
6. Click
FEED
to advance the paper and cut a 4.2 x 6 in. sheet.
7. If the printer is in a “Ready” state, and you click
BACK
, the
paper rewinds into the printer.
Printer settings are displayed here
2
3
1, 4
Printer Serial
Number
5
6
Display - Level 1
Display - Level 2
Description
Ready 6x8
Ready 5x7
----
The printer is on and ready to make prints. 6x8 or
5x7 represents the size of ribbon that is loaded.
REMAIN XXX/XXX
----
Total number of prints printed and remaining
number of prints.
PRINTED XXX
----
Total number of prints printed.
MAIN APP
----
Main firmware version number.
TABLE
----
Print parameter table version number.
FPGA
----
FPGA version number.
MAIN BOOT
----
Boot firmware version number.


