CONTENTS
INDEX
SEARCH
HELP
Operator’s Guide
Printing Guide
Color Management
Calibration
Color Management
Options
Using Color
Connector
Menus and Dialog
Boxes
Network
Interface Guide
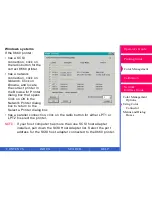
Exporting a Color Connector File to be a Printer Default
After you create your connector file, do the following steps to send it to
the printer as a default:
1.
Make sure that you save the file.
2.
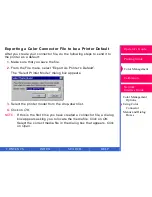
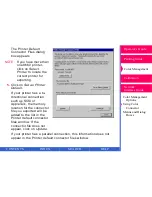
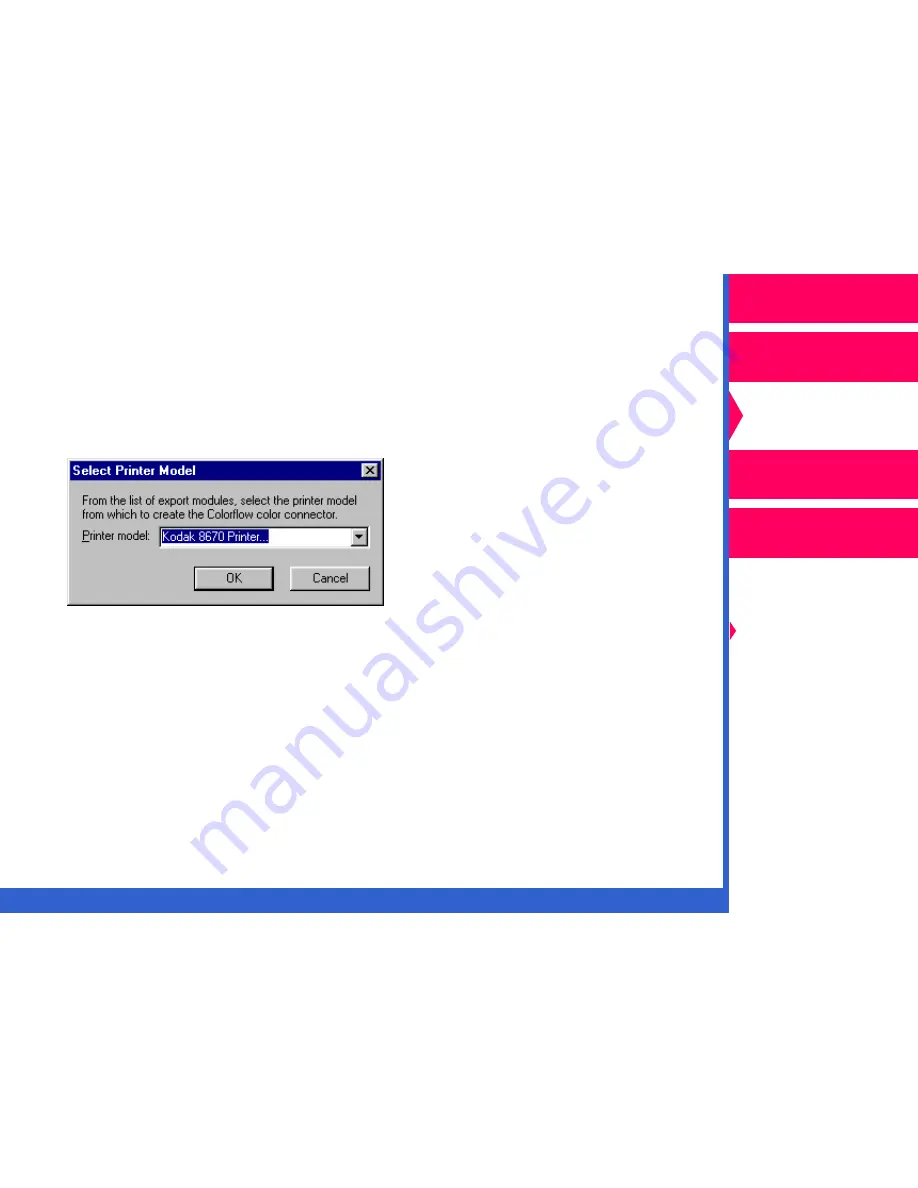
From the File menu, select “Export As Printer’s Default”.
The “Select Printer Model” dialog box appears.
3.
Select the printer model from the drop-down list.
4.
Click on
OK.
NOTE:
If this is the first time you have created a connector file, a dialog
box appears asking you to locate the media file. Click on
OK.
Select the correct media file in the dialog box that appears. Click
on
Open.

