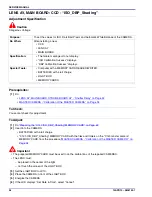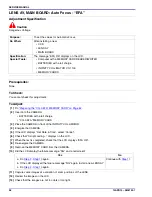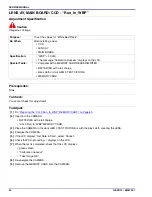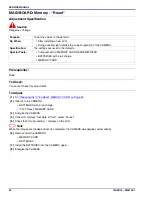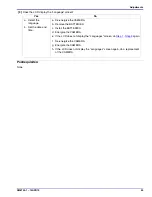
Adjustments
SM8720-1 – 15APR10
33
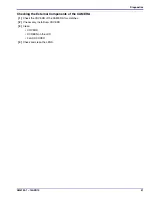
[8]
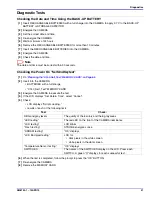
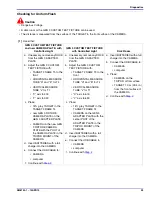
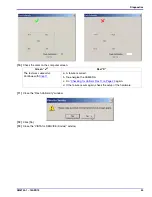
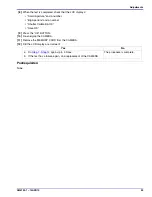
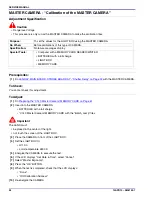
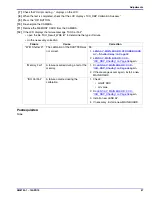
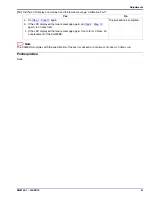
When the test is completed, check that the LCD displays:
• “Small Aperture” and a number
• “Big Aperture” and a number
• “Shutter Calibration OK”
• “Save OK”
[9]
Press the “OK” BUTTON.
[10]
De-energize the CAMERA.
[11]
Remove the MEMORY CARD from the CAMERA.
[12]
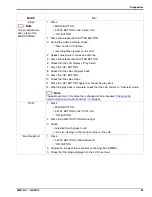
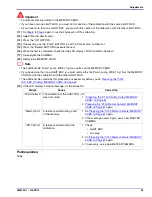
Did the LCD display a red screen?
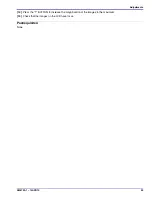
Postrequisites:
None
Yes
No
a. Do
Step 1
-
Step 12
again up to 3 times.
b. If the test has a failure again, do a replacement of the CAMERA.
The procedure is complete.
Summary of Contents for C140 - EASYSHARE Digital Camera
Page 67: ...Diagrams SM8720 1 15APR10 67 Section 7 Diagrams System Connections ...
Page 69: ...Diagrams SM8720 1 15APR10 69 MAIN BOARD 2 of 8 MAIN BOARD 2 of 8 P323_0006FC_ ...
Page 70: ...SERVICE MANUAL 70 15APR10 SM8720 1 MAIN BOARD 3 of 8 P323_0007FC_ MAIN BOARD 3 of 8 ...
Page 71: ...Diagrams SM8720 1 15APR10 71 MAIN BOARD 4 of 8 P323_0008FC_ MAIN BOARD 4 of 8 ...
Page 72: ...SERVICE MANUAL 72 15APR10 SM8720 1 MAIN BOARD 5 of 8 MAIN BOARD 5 of 8 P323_0009FC_ ...
Page 73: ...Diagrams SM8720 1 15APR10 73 MAIN BOARD 6 of 8 P323_0010FC_ MAIN BOARD 6 of 8 ...
Page 74: ...SERVICE MANUAL 74 15APR10 SM8720 1 MAIN BOARD 7 of 8 P323_0011FC_ MAIN BOARD 7 of 8 ...
Page 75: ...Diagrams SM8720 1 15APR10 75 MAIN BOARD 8 of 8 P323_0012FC_ MAIN BOARD 8 of 8 ...
Page 77: ...Diagrams SM8720 1 15APR10 77 STROBE BOARD 3 of 3 P323_0015HC_ STROBE BOARD 3 of 3 ...
Page 79: ...Diagrams SM8720 1 15APR10 79 MAIN BOARD Bottom MAIN BOARD Bottom P323_0001HC_ ...

