SERVICE MANUAL
46
15APR10 – SM8720-1
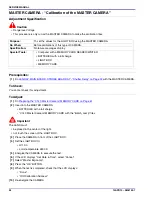
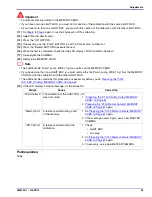
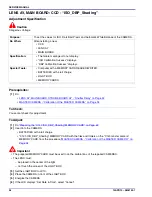
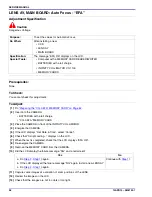
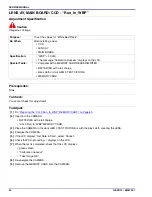
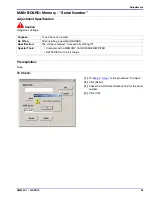
To Adjust:
[1]
Insert BATTERIES with a full charge into the
CAMERA:
[2]
Connect the USB CABLE to the computer.
[3]
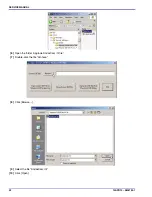
Double-click the “Vista for Service” icon.
[4]
At the same time, press and hold:
• “Tele” BUTTON
• “Review” BUTTON
• “On/Off” BUTTON
[5]
Release the BUTTONS to energize the CAMERA.
[6]
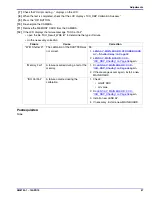
If the LCD displays “Set Date & Time”, select
“Cancel”.
[7]
Connect the USB CABLE to the CAMERA.
[8]
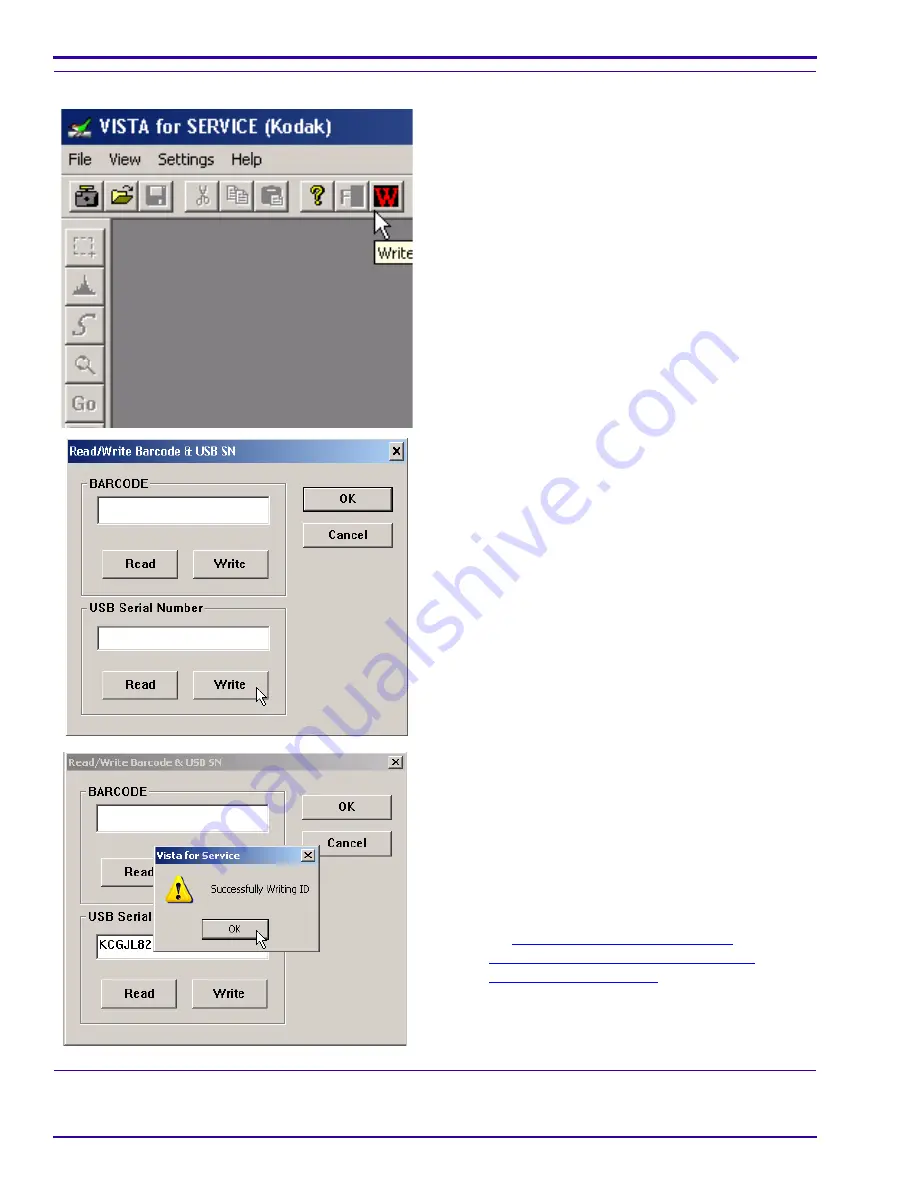
Click the “Write” icon.
[9]
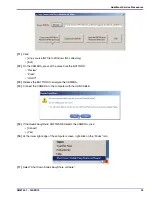
Click [Write] in the “USB Serial Number” section.
[10]
Type the serial number in the “USB Serial
Number” field.
[11]
Click [Write] again.
[12]
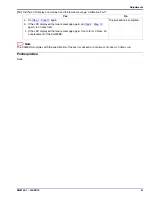
Check that “Successfully Writing ID” displays.
[13]
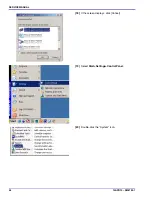
Click:
• [OK]
• [OK] to close the “Read/Write Barcode & USB
SN” window
[14]
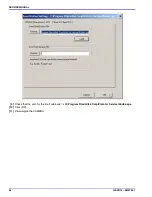
Close the “VISTA for SERVICE (Kodak)” window.
[15]
De-energize the CAMERA.
[16]
Disconnect the USB CABLE from the CAMERA.
[17]
Do
“Checking the Firmware Version,
ACTUATION, FLASH, and POWER-ON
COUNTERS” on Page 30
.
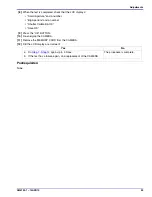
Postrequisites:
None
Summary of Contents for C140 - EASYSHARE Digital Camera
Page 67: ...Diagrams SM8720 1 15APR10 67 Section 7 Diagrams System Connections ...
Page 69: ...Diagrams SM8720 1 15APR10 69 MAIN BOARD 2 of 8 MAIN BOARD 2 of 8 P323_0006FC_ ...
Page 70: ...SERVICE MANUAL 70 15APR10 SM8720 1 MAIN BOARD 3 of 8 P323_0007FC_ MAIN BOARD 3 of 8 ...
Page 71: ...Diagrams SM8720 1 15APR10 71 MAIN BOARD 4 of 8 P323_0008FC_ MAIN BOARD 4 of 8 ...
Page 72: ...SERVICE MANUAL 72 15APR10 SM8720 1 MAIN BOARD 5 of 8 MAIN BOARD 5 of 8 P323_0009FC_ ...
Page 73: ...Diagrams SM8720 1 15APR10 73 MAIN BOARD 6 of 8 P323_0010FC_ MAIN BOARD 6 of 8 ...
Page 74: ...SERVICE MANUAL 74 15APR10 SM8720 1 MAIN BOARD 7 of 8 P323_0011FC_ MAIN BOARD 7 of 8 ...
Page 75: ...Diagrams SM8720 1 15APR10 75 MAIN BOARD 8 of 8 P323_0012FC_ MAIN BOARD 8 of 8 ...
Page 77: ...Diagrams SM8720 1 15APR10 77 STROBE BOARD 3 of 3 P323_0015HC_ STROBE BOARD 3 of 3 ...
Page 79: ...Diagrams SM8720 1 15APR10 79 MAIN BOARD Bottom MAIN BOARD Bottom P323_0001HC_ ...


