Calibrating the 2180 Laser Printer
5B9615
6–9
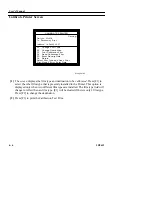
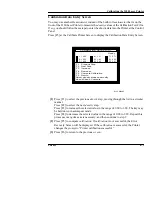
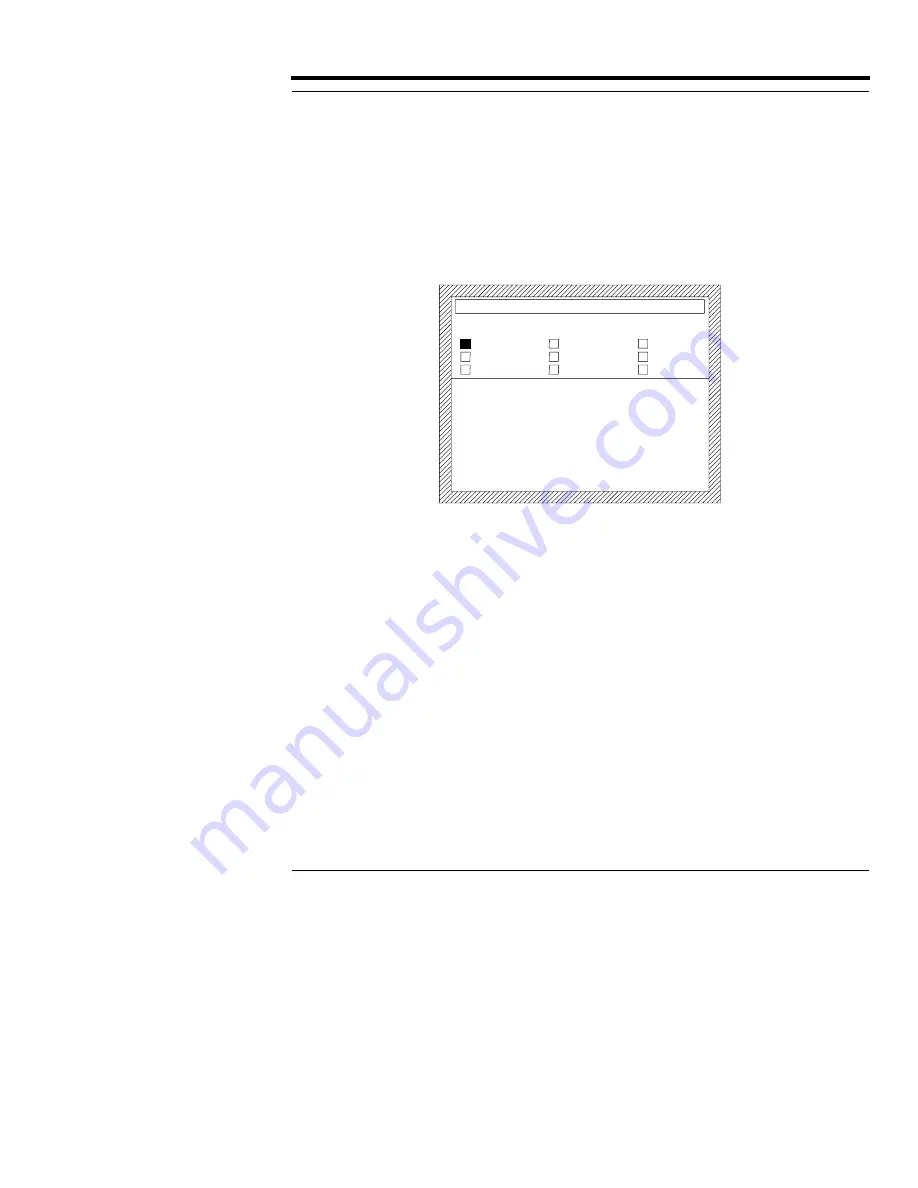
Calibration Data Entry Screen
You may use another Densitometer instead of the built-in Densitometer that is on the
front of the 2180 Laser Printer to measure the density values of the Calibration Test Film.
If so, you should follow these steps to enter the density data into the Printer at the Control
Panel.
Press [F5] at the Calibrate Printer Screen to display the Calibration Data Entry Screen.
[1] Press [F1] to select the previous density step, moving through the list in a circular
manner.
Press [F2] to select the next density step.
Press [F3] to increase the selected value in the range of 0.00 to 3.99. The key may
be held down in autorepeat mode.
Press [F4] to decrease the selected value in the range of 0.00 to 3.99. Repeat this
process as many times as is necessary, and then continue to step 2.
[2] Press [F5] to compute calibration. If calibration is not successful, the Error
Recovery Screen will be displayed. If the calibration is successful, the Printer
changes the prompt to “Printer calibration successful.”
[3] Press [F6] to return to the previous screen.
CALIBRATION DATA ENTRY
Ready
F1
F2
F3
F4
when all done, Compute.
Previous Step
Next Step
Increase
Decrease
Return
Compute Calibration
F6
F5
3)
2)
1)
Select density steps and modify;
0.25
0.32
0.69
2.40
1.95
1.31
4)
5)
6)
3.21
2.96
2.71
7)
8)
9)
H126_9044AC
Summary of Contents for Ektascan 2180
Page 70: ...User s Manual 3 44 5B9615 ...
Page 100: ...User s Manual 4 30 5B9615 ...
Page 116: ...User s Manual 5 16 5B9615 ...
Page 162: ...User s Manual 8 20 5B9615 ...
Page 164: ...User s Manual 9 2 5B9615 ...
Page 178: ...User s Manual 12 2 5B9615 ...
Page 202: ...User s Manual 14 6 5B9615 ...
Page 226: ...User s Manual 16 12 5B9615 ...
Page 258: ...User s Manual 18 20 5B9615 ...


