Chapter 8
Kodak ESP 9 Printer User Guide
65
4
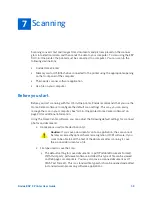
To use the last fax number used, press
Start
now. Otherwise, press
until the desired
recipient is selected, and then press
OK
.
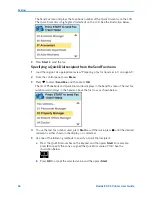
The Fax phone number of the selected entry displays in the menu header, replacing any
previous number. See the illustration below.
5
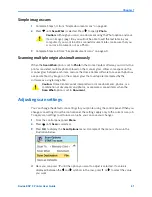
Press
Start
to send the fax.
Using Quick Dial to select a Fax Phonebook entry
By assigning up to ten contacts in your Fax Phonebook with a number between 0 (zero)
and 9, the Quick Dial feature in your ESP 9 All-in-One printer allows you to create
shortcuts for quickly sending Faxes to them.
There are two ways to use the Quick Dial feature for sending faxes.
Specifying a Quick Dial recipient from the keypad
1
Load the original. As appropriate review “Preparing a fax for transmission” on page 69.
2
From the control panel, press
Menu
.
3
Press
to select
Send Fax
and then press
OK
.
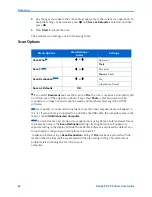
4
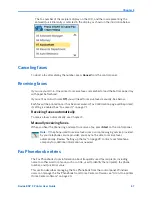
Select the appropriate key on the control panel’s keypad associated with the Quick Dial
entry, and then press
Start
. For example, press
8
to specify the entry assigned the Quick
Dial value of “08.” See the illustration below.
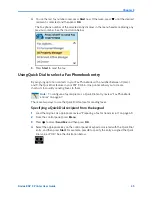
Note:
To configure a fax recipient as a Quick Dial entry, review “Fax Phonebook
entries” on page 67.
Summary of Contents for ESP 9 ALL-IN-ONE PRINTER - SETUP BOOKLET
Page 17: ...All in One Printer print copy scan fax 9 User Guide ...
Page 28: ...Getting Help 4 Kodak ESP 9 Printer User Guide ...
Page 82: ...Copying 58 Kodak ESP 9 Printer User Guide ...
Page 130: ...Troubleshooting 106 Kodak ESP 9 Printer User Guide ...
Page 146: ...Glossary 122 Kodak ESP 9 Printer User Guide ...
Page 148: ...If you need to call Customer Support 124 Kodak ESP 9 Printer User Guide ...
Page 157: ... 1K3289 1K3289 1K3289 B ...

