A-61771 March 2013
2-3
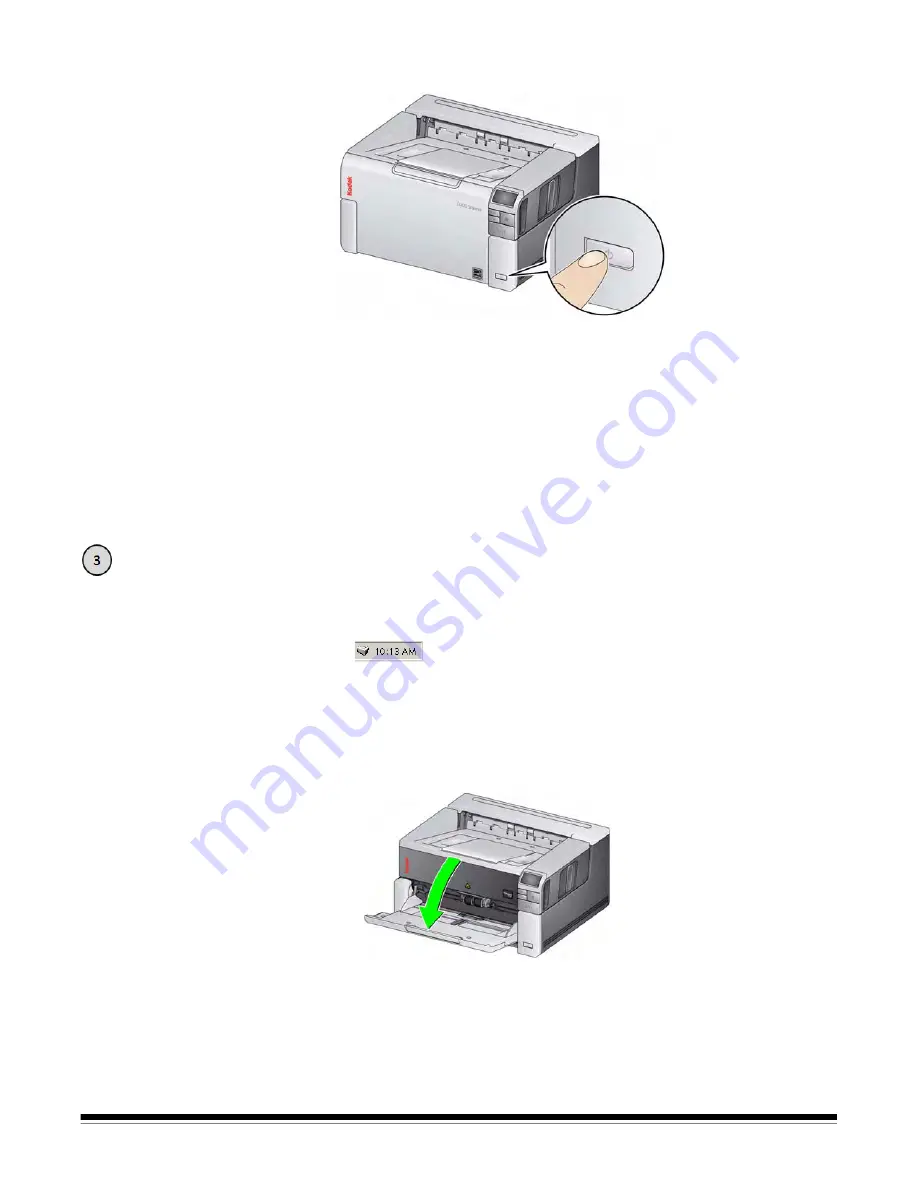
• Press the
Power
button.
When you turn on the scanner, the input tray will open if it is not already
opened and the green indicator on the
Start/Resume/Pause
button will flash
as the scanner goes through a series of self tests.
The scanner takes less than 15 seconds to complete the power-up sequence
and be ready to scan.
When the installation process is complete and ready to scan, the green LED
on the Start/Resume/Pause button will stop flashing and remain constant. If 0,
E or U is displayed in the operator control panel, see the section entitled, “LED
error codes” in Chapter 6 for an explanation of these codes.
Getting your scanner ready
1. Be sure the scanner is on and ready to scan (Start/Resume/Pause button
LED is green and constant) and the Smart Touch scanner icon is ready in
your system tray.
NOTES:
• Smart Touch allows you to quickly and easily perform common
scanning tasks. Nine different tasks can be assigned and performed.
• When the scanner is not is use, the input tray can be folded up against
the scanner. Be sure that the input tray is lowered when scanning.
2. Adjust the side guides on the input tray to meet your scanning needs. See
the section entitled, “Adjusting the input/output tray” in Chapter 3.
3. Select your scanning application. The scanner comes with Smart Touch
functionality and
Kodak
Capture Desktop Software. For more information,
see Chapter 3.
Scanning
Scanner ready


