A-61096 June 1999
5-5
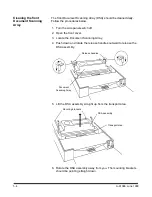
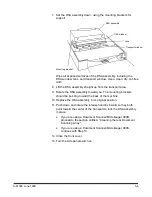
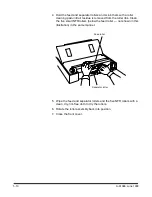
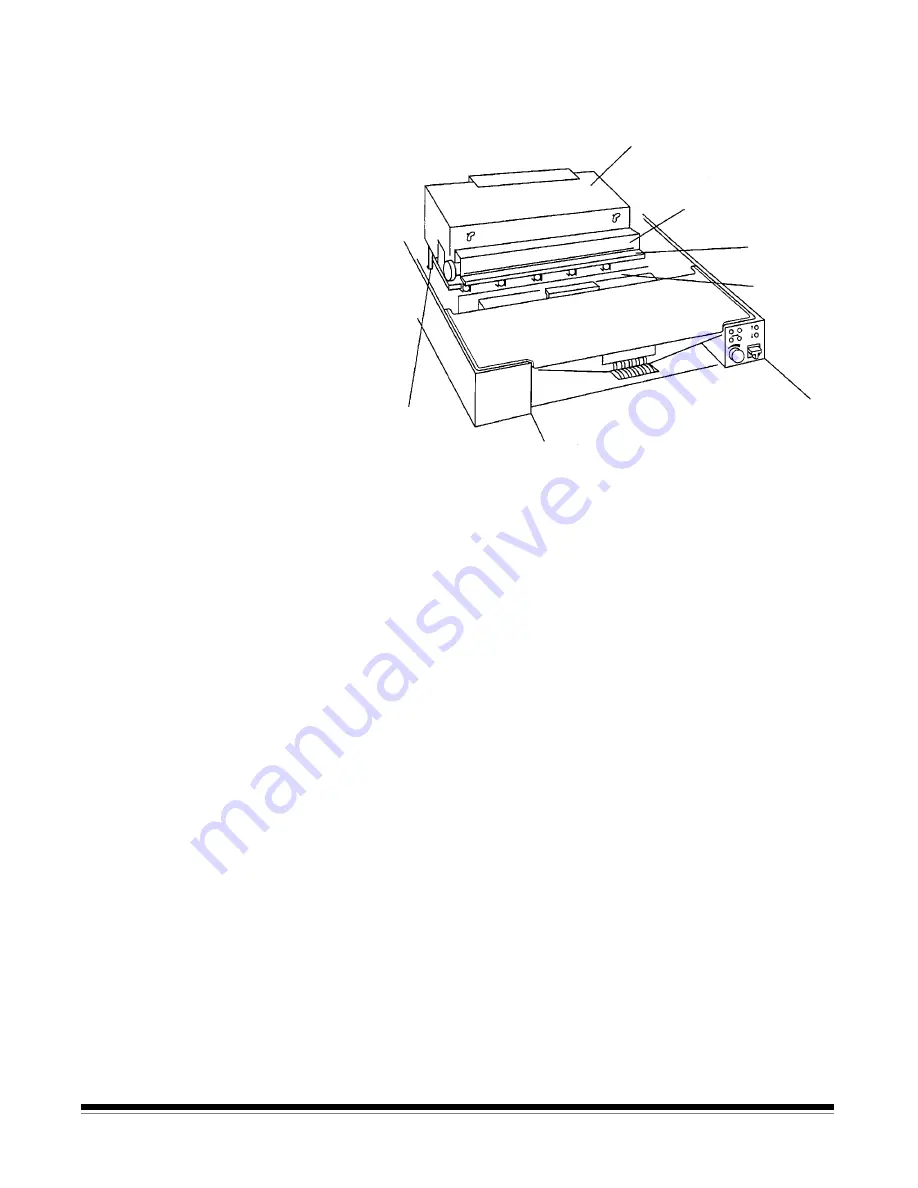
7. Set the DSA assembly down, using the mounting brackets for
support.
DSA assembly
DSA window
Lens
Transport window
Mounting bracket
Wipe all exposed surfaces of the DSA assembly, including the
DSA window, lens, and transport window. Use a clean, dry, lint-free
cloth.
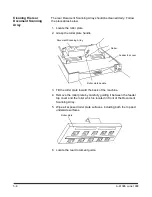
8. Lift the DSA assembly straight up from the transport area.
9. Rotate the DSA assembly toward you. The mounting brackets
should be pointing toward the back of the machine.
10. Replace the DSA assembly in its original position.
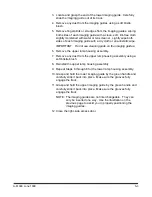
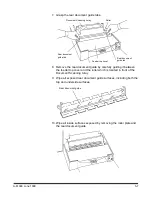
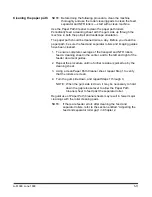
11. Push down and rotate the release handles inward so they both
point toward the center of the transport to lock the DSA assembly
in place.
•
If you are using a Document Scanner/Microimager 990D,
proceed to the section entitled, “Cleaning the rear Document
Scanning Array”.
•
If you are using a Document Scanner/Microimager 990S,
continue with Step 13.
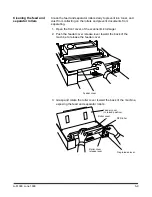
13. Close the front cover.
14. Turn the side panel switch on.


